If you’ve been peeping around these parts for the last couple months then it is no secret that I’m having a bit of a love affair with Dollar Tree. I love making super simple DIY’s but I hate spending a ton of money. Add to that the fact that I discovered Pocket Letters and suddenly I’m jonesing to go to DT every other week for craft supplies and stationery finds.
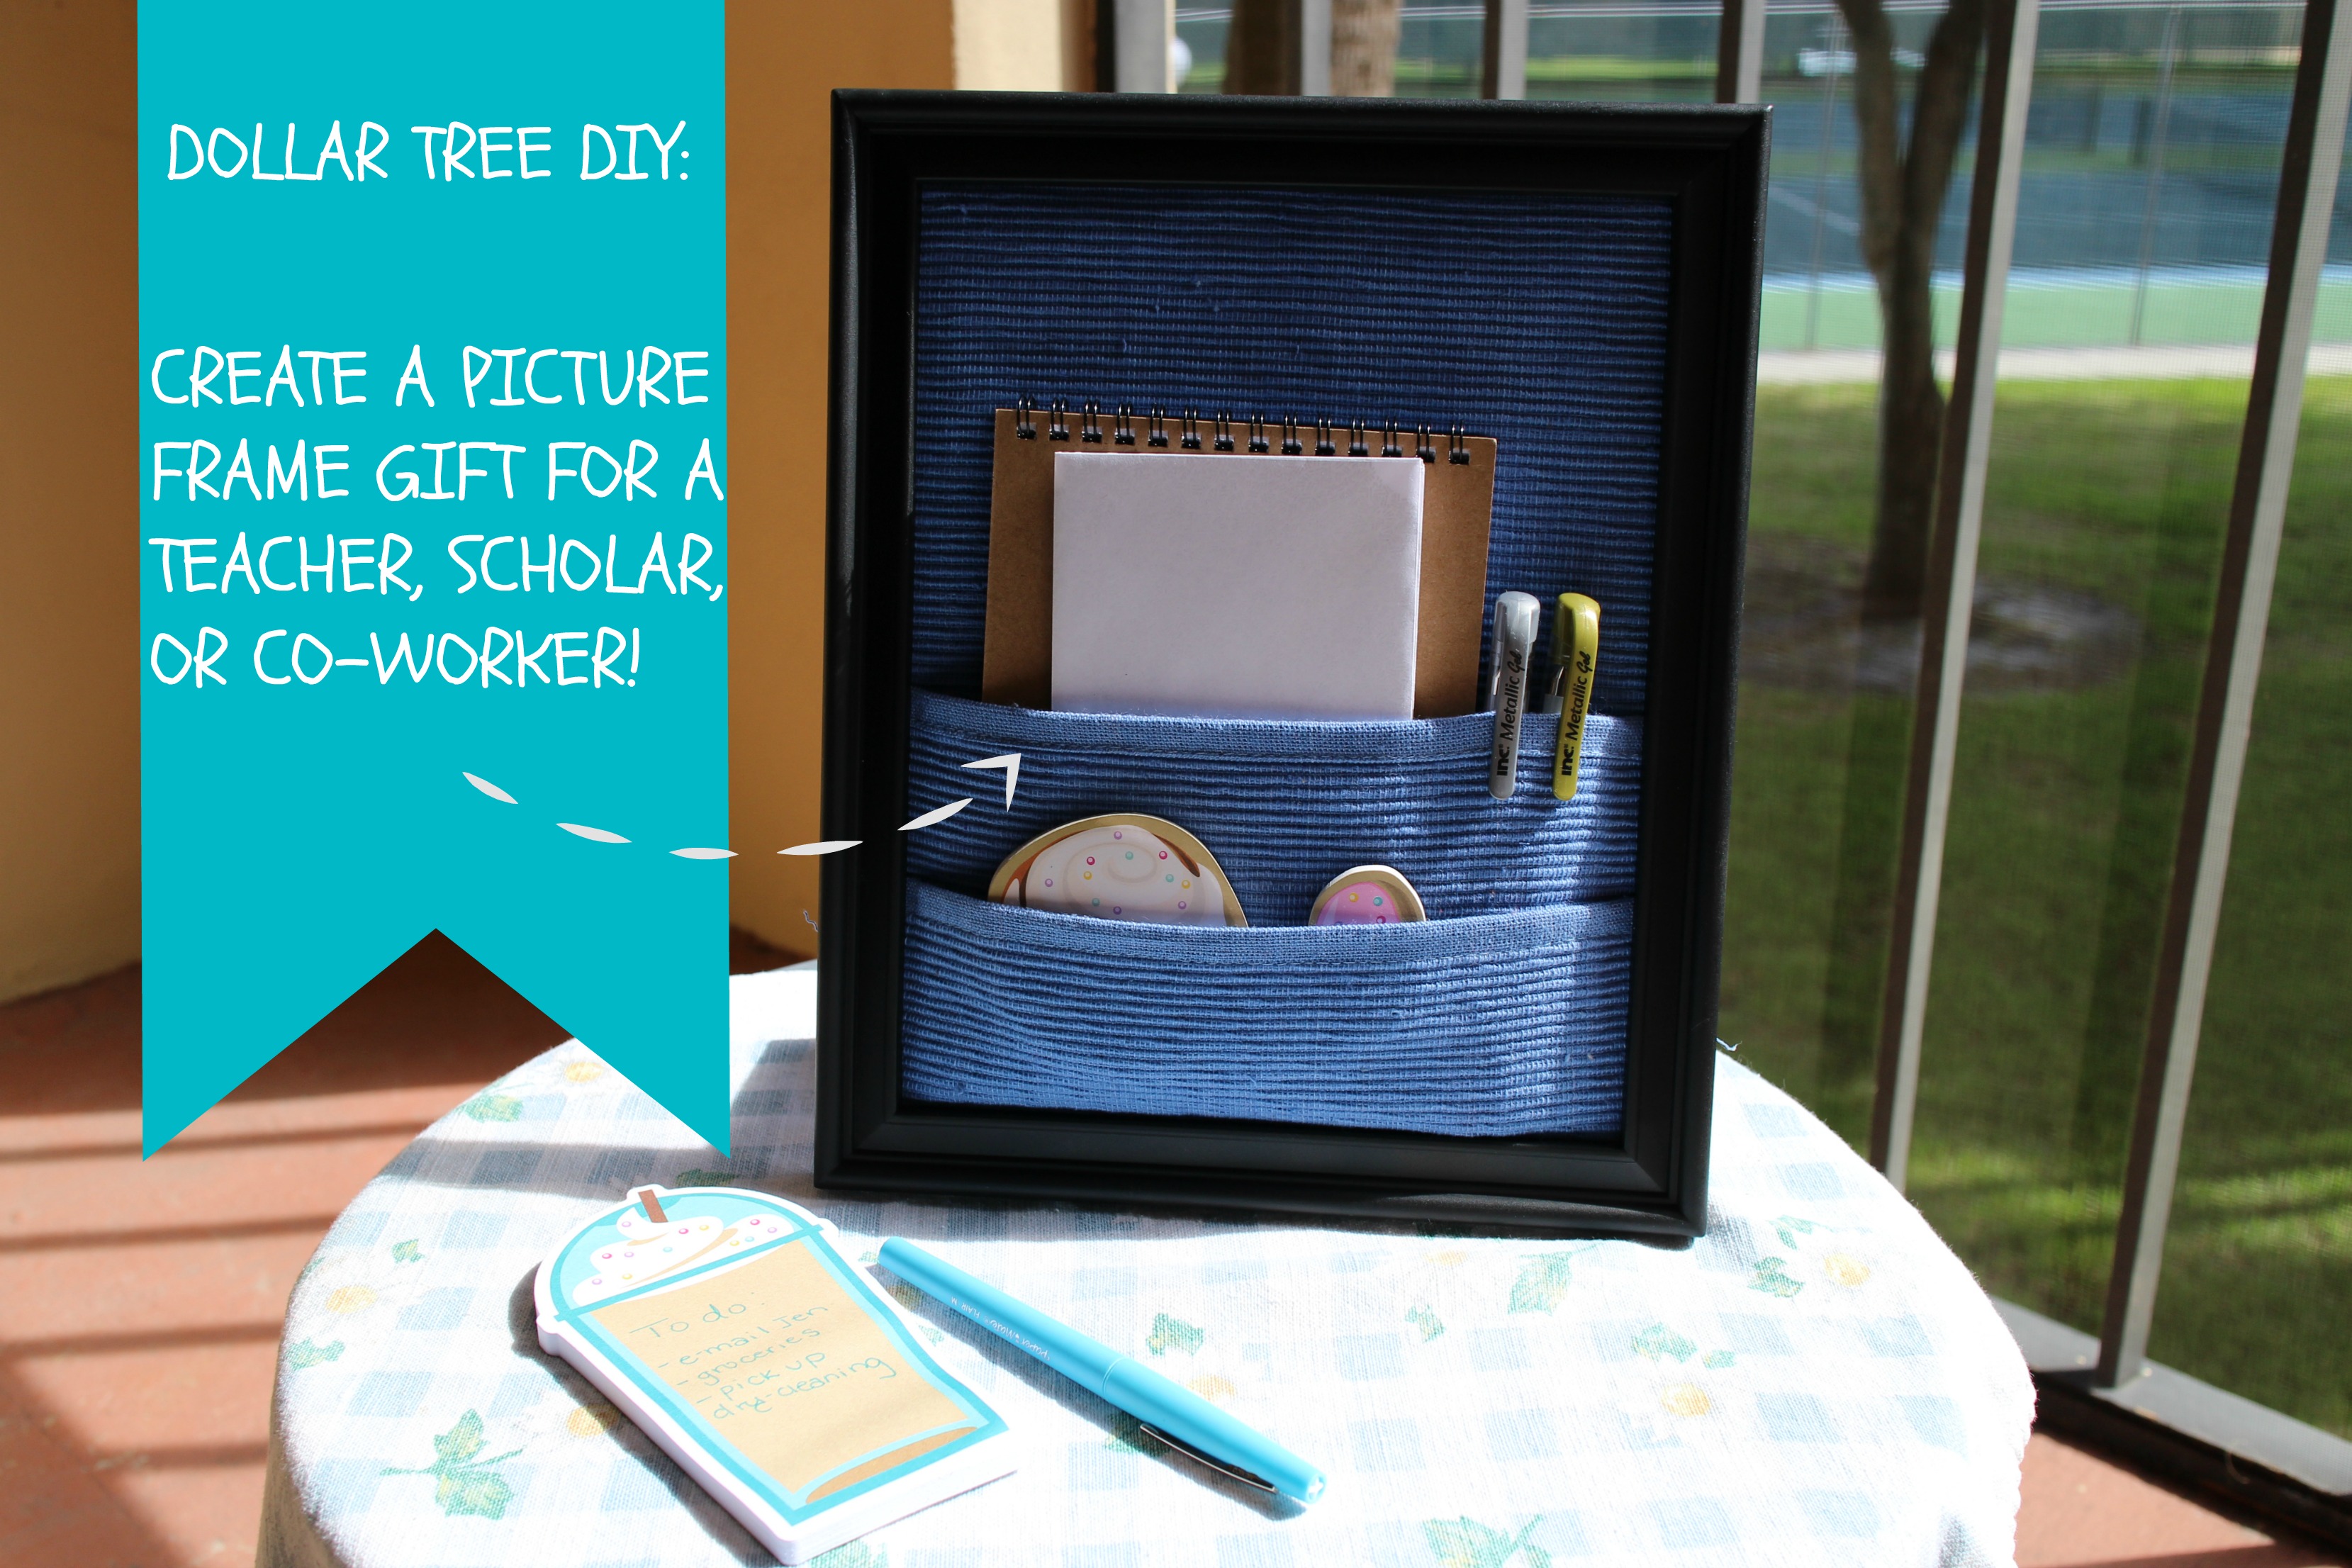
In need of a new project, I decided to see if I could create an inexpensive gift to dress up a desk. I came up with a desk organizer made from a picture frame and some fabric. This would make a really cute gift for the teachers in your life. Or shipped off to a dorm dwelling college student. Or to welcome a new co-worker to the office! The best part? It allows you to tuck in a few stationery goodies you think the receiver might enjoy. Something that Dollar Tree is PERFECT for. So, check it out! Here’s how to make a Picture Frame Desk Organizer for six bucks…
What you’ll need:
Besides a couple materials I had on hand, scissors and glue, here’s what I picked up at Dollar Tree…

- 8″x10″ picture frame
- metallic gel pens
- post-it notes (how stinking cute are these???)
- notebook
- 2 fabric place-mats (Note: You could just use any ol’ fabric. But if you do, you’ll need to create a sturdy edge for the pockets by folding the top down and sewing a border. I’m lazy and wanted to limit my materials to Dollar Tree items. If you’re like me, go for the place-mats or fabric napkins!)
- envelopes
and how it all comes together:
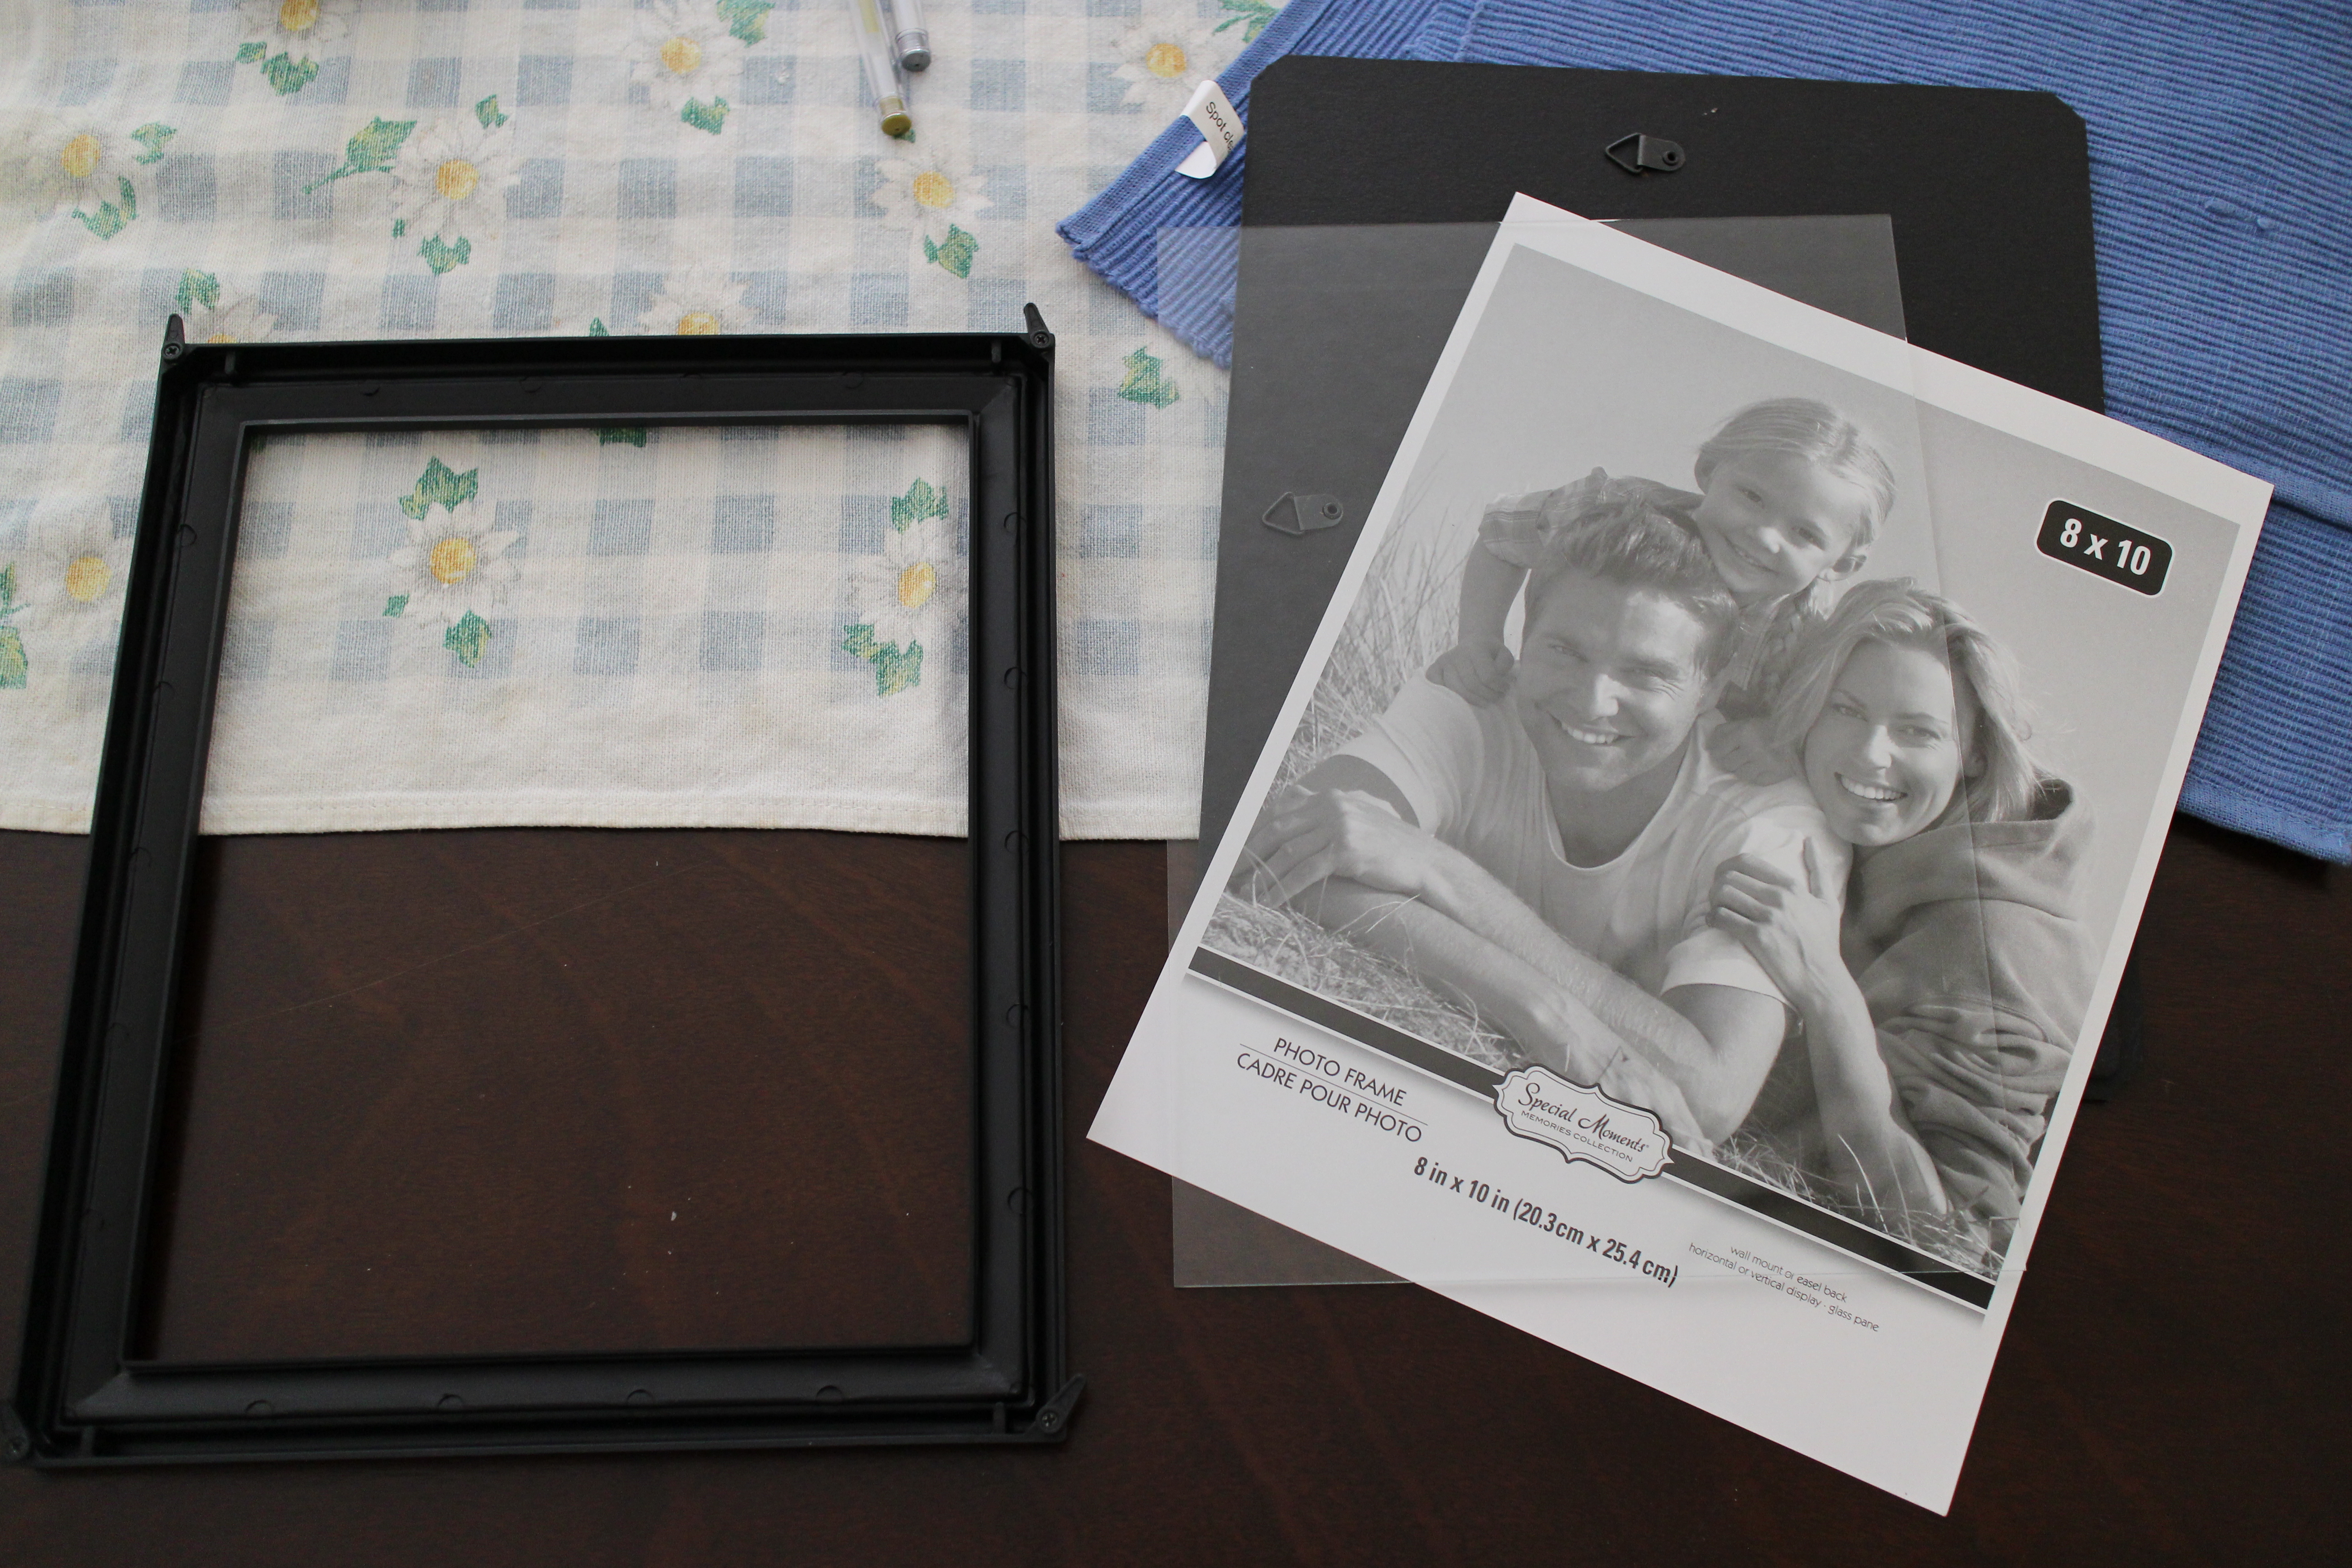
Take the picture frame apart. You won’t need the glass or that lovely (fake) family portrait.
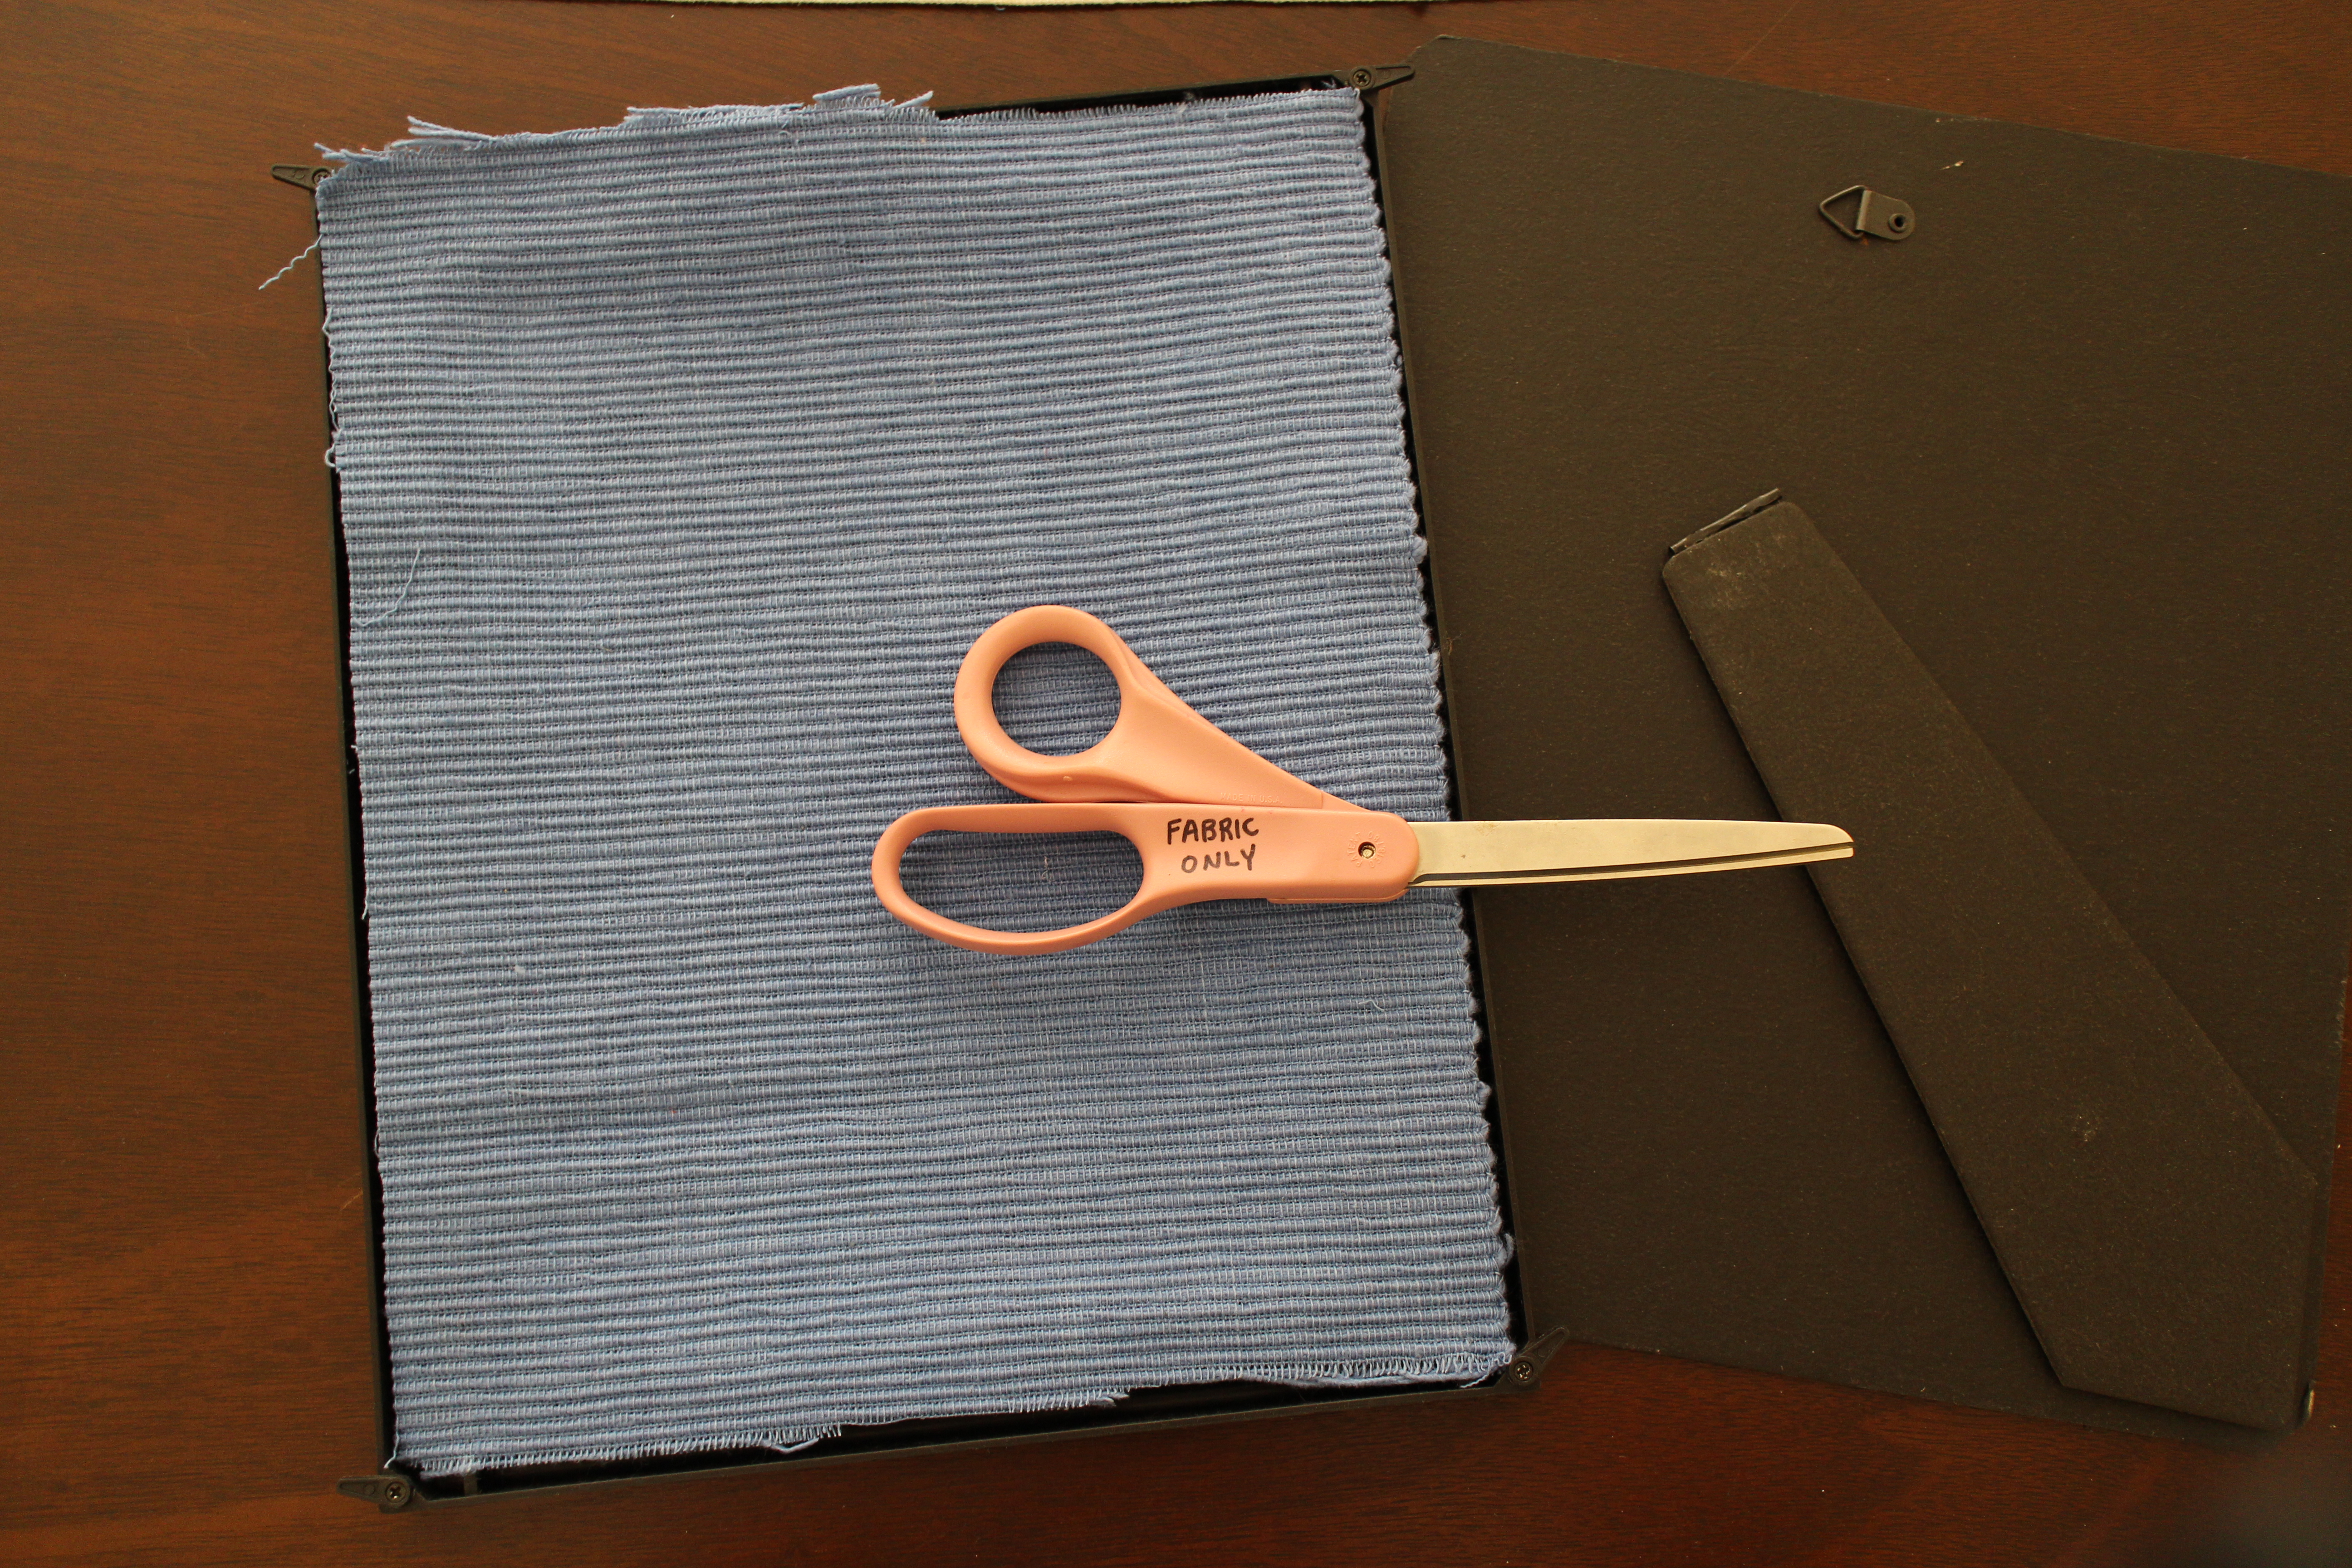
Cut a piece of the place-mat to fit the frame. This is the back piece so you won’t need to worry about borders. Just make sure it fits well.
Note my “Fabric Only” scissors. #classy

Now cut two additional pieces WITH BORDERS on the top edge to serve as pockets. Leave a little bit of room on either side so you can play with how much “give” your pockets will have. To do this, pop everything through the frame without securing it and run your finger through the pockets. Once you’ve loosened them to your liking, trim the edges.

Since you’re using a crappy Dollar Store frame you’re going to need some re-enforcement. I went in with my trusty E6000 glue all around the frame where the fabric will lay. I flipped the lined up fabric, cardboard, and frame backing over into the frame…
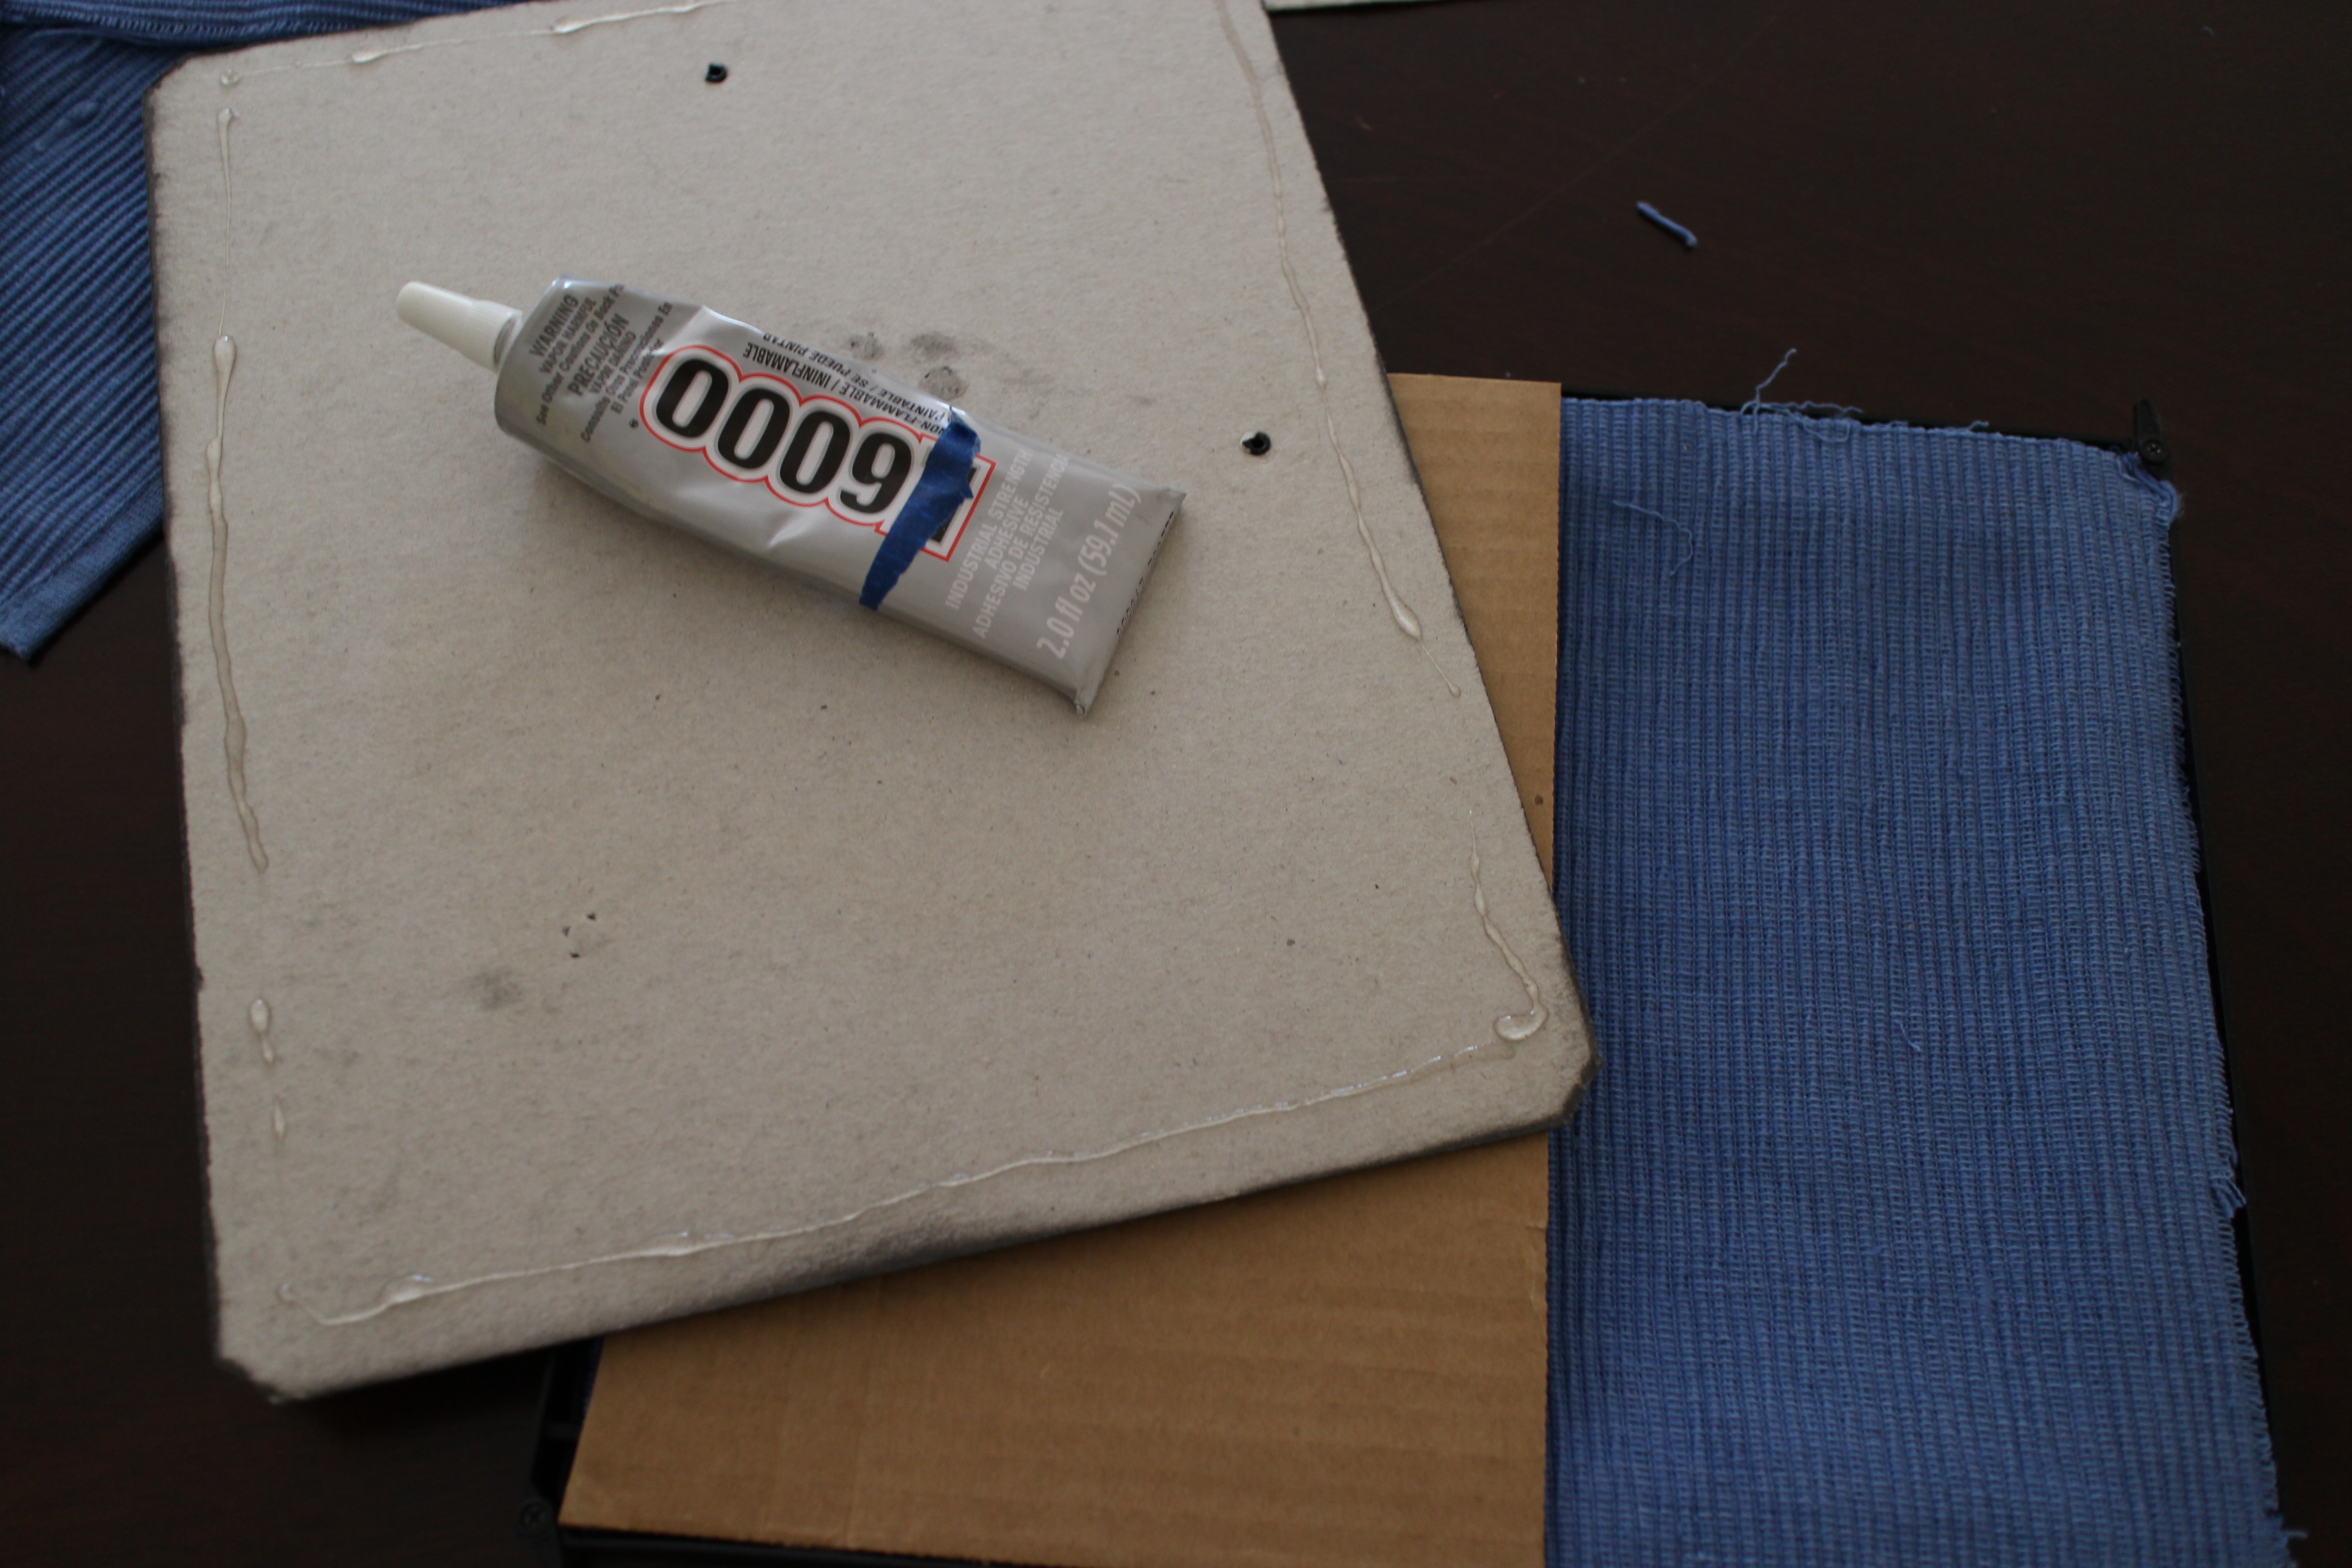
…then I removed the frame backing and put some glue on it as well. (Note: You’ll see above that there’s a piece of cardboard half the size of the frame. This frame didn’t come with the cardboard that a lot of frames do so I just cut my own out of an Amazon box. If your frame comes with cardboard I would recommend cutting it down so it only lays above the pockets. This will balance everything out while still letting you get the frame closed.)

Squeeze everything tight while the glue dries! Or, if you want to (again) follow my lazy lead, you can use giant binder clips. (I weirdly get a TON of use out of these clippy dudes.)
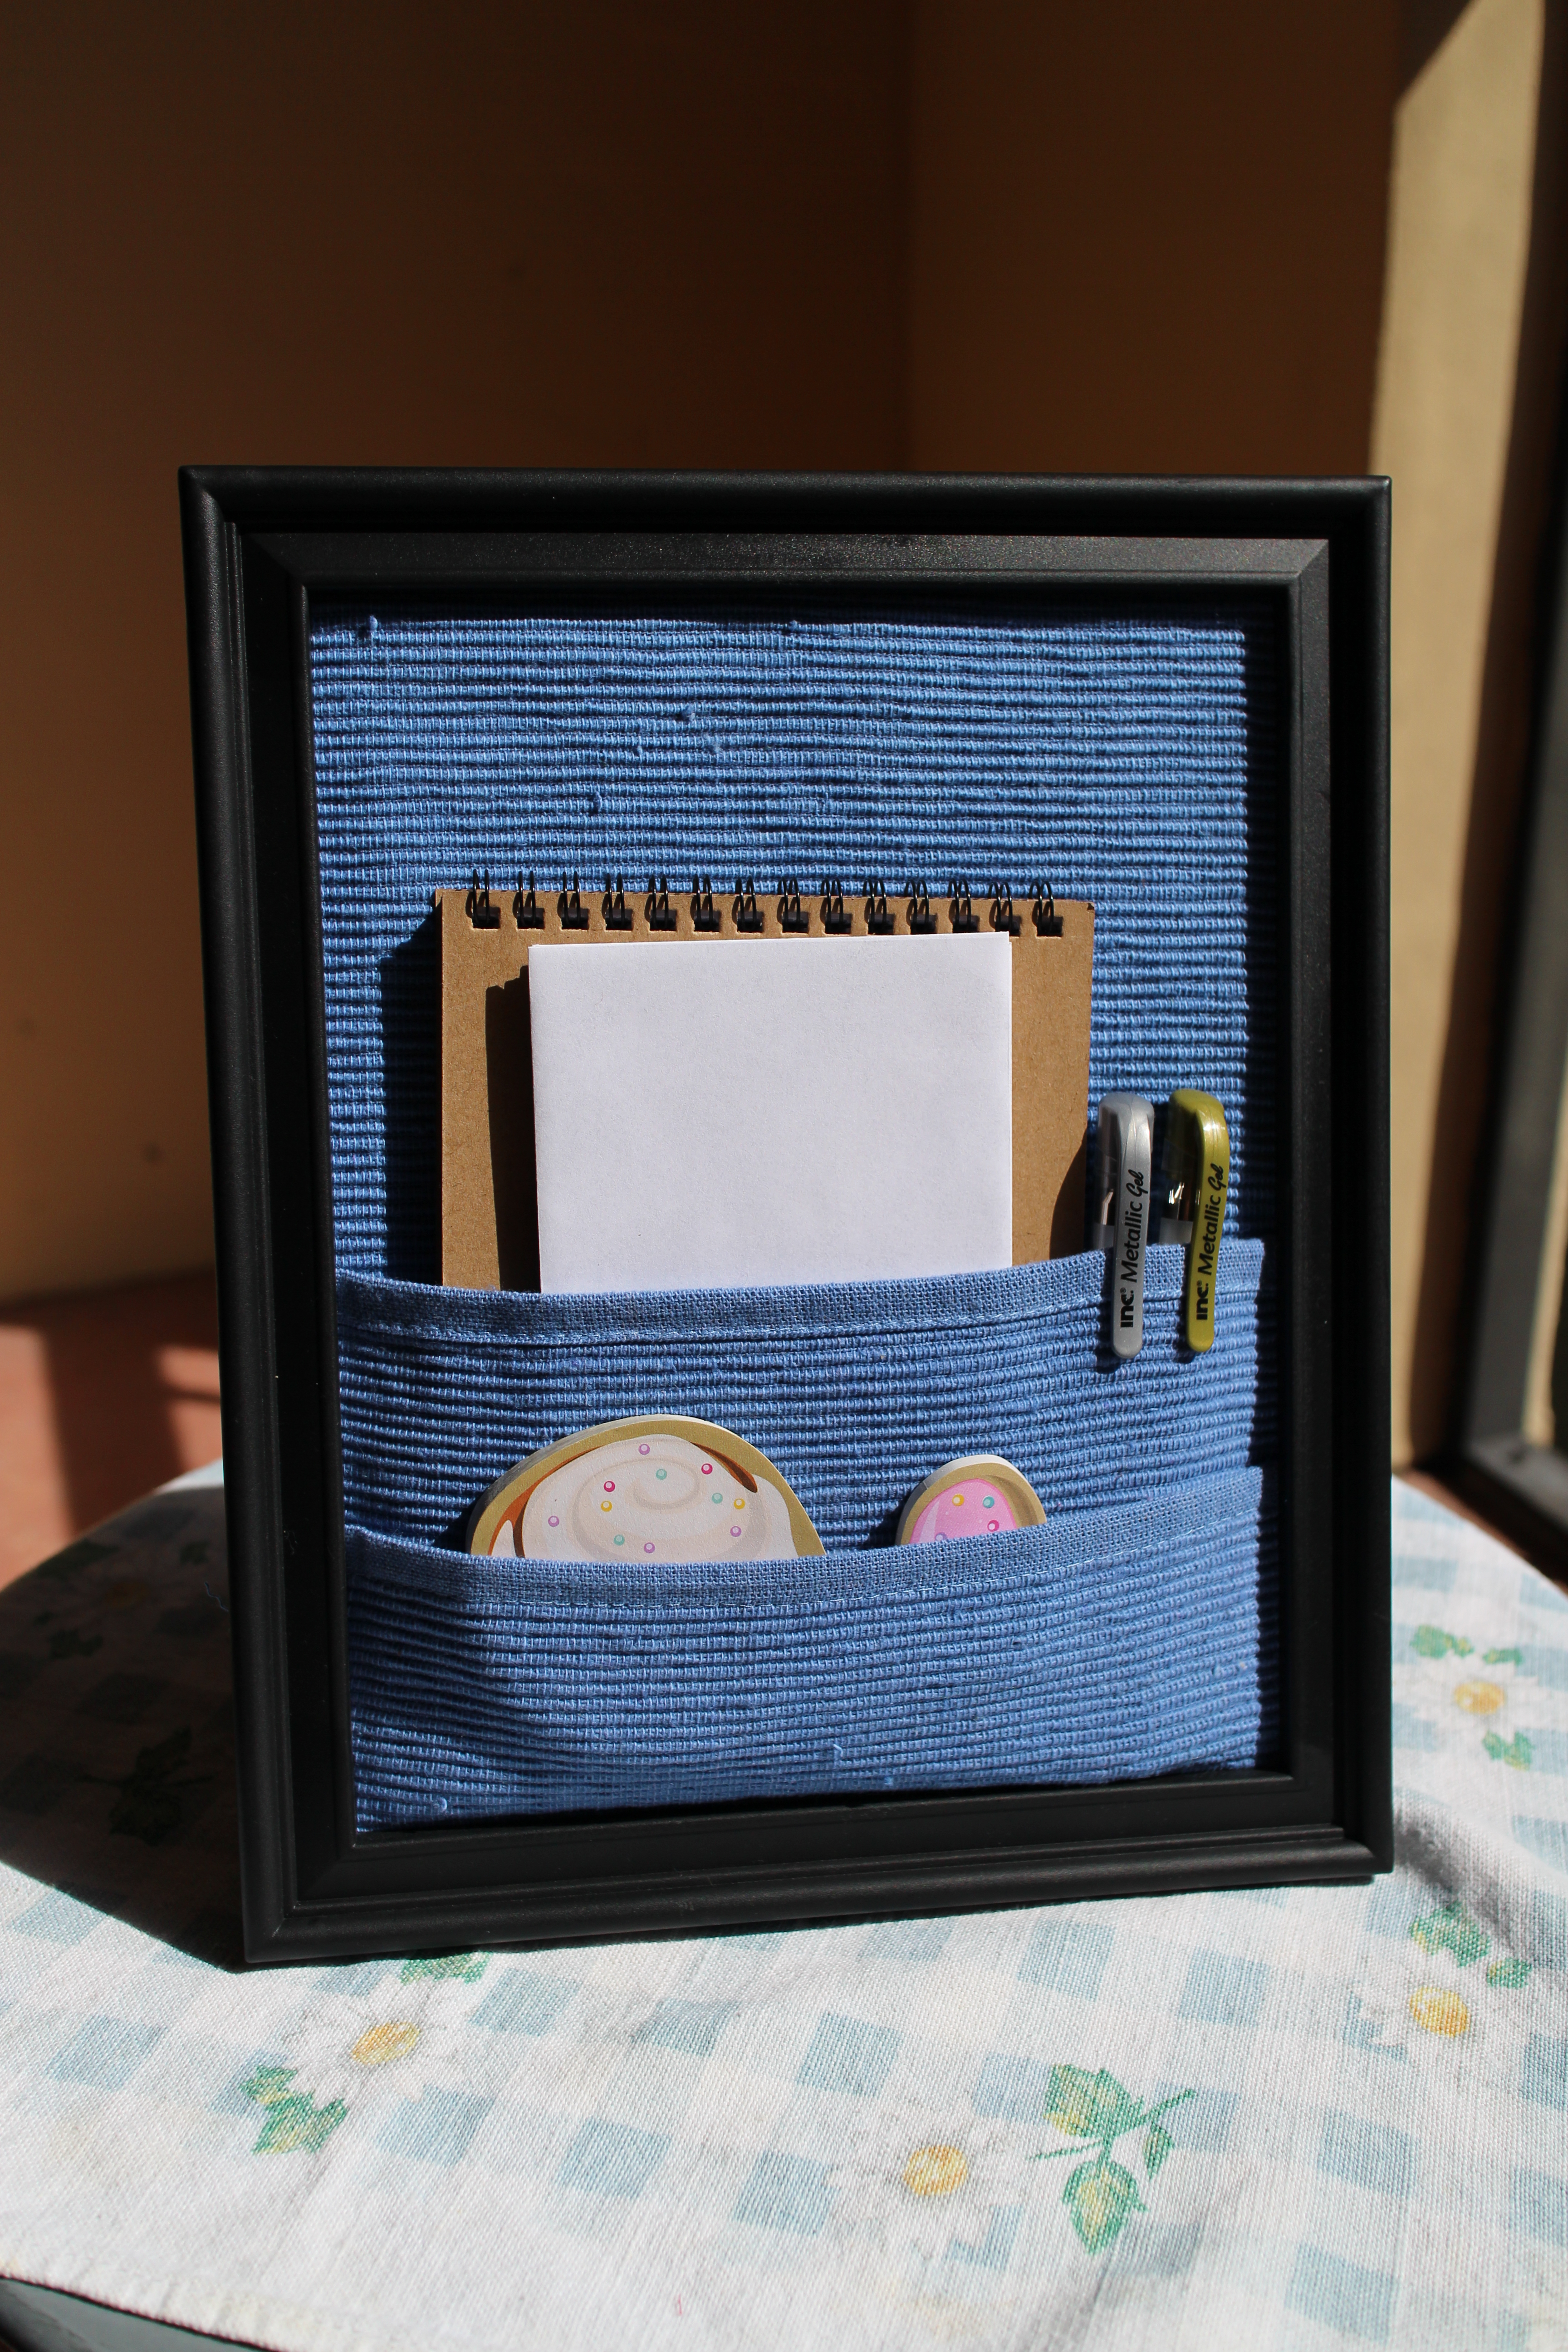
Once the glue is dry you can fill up your creation with all sorts of goodies! Feel free to embellish the fabric and pockets with sewing notions or cute pin-back buttons if you like.
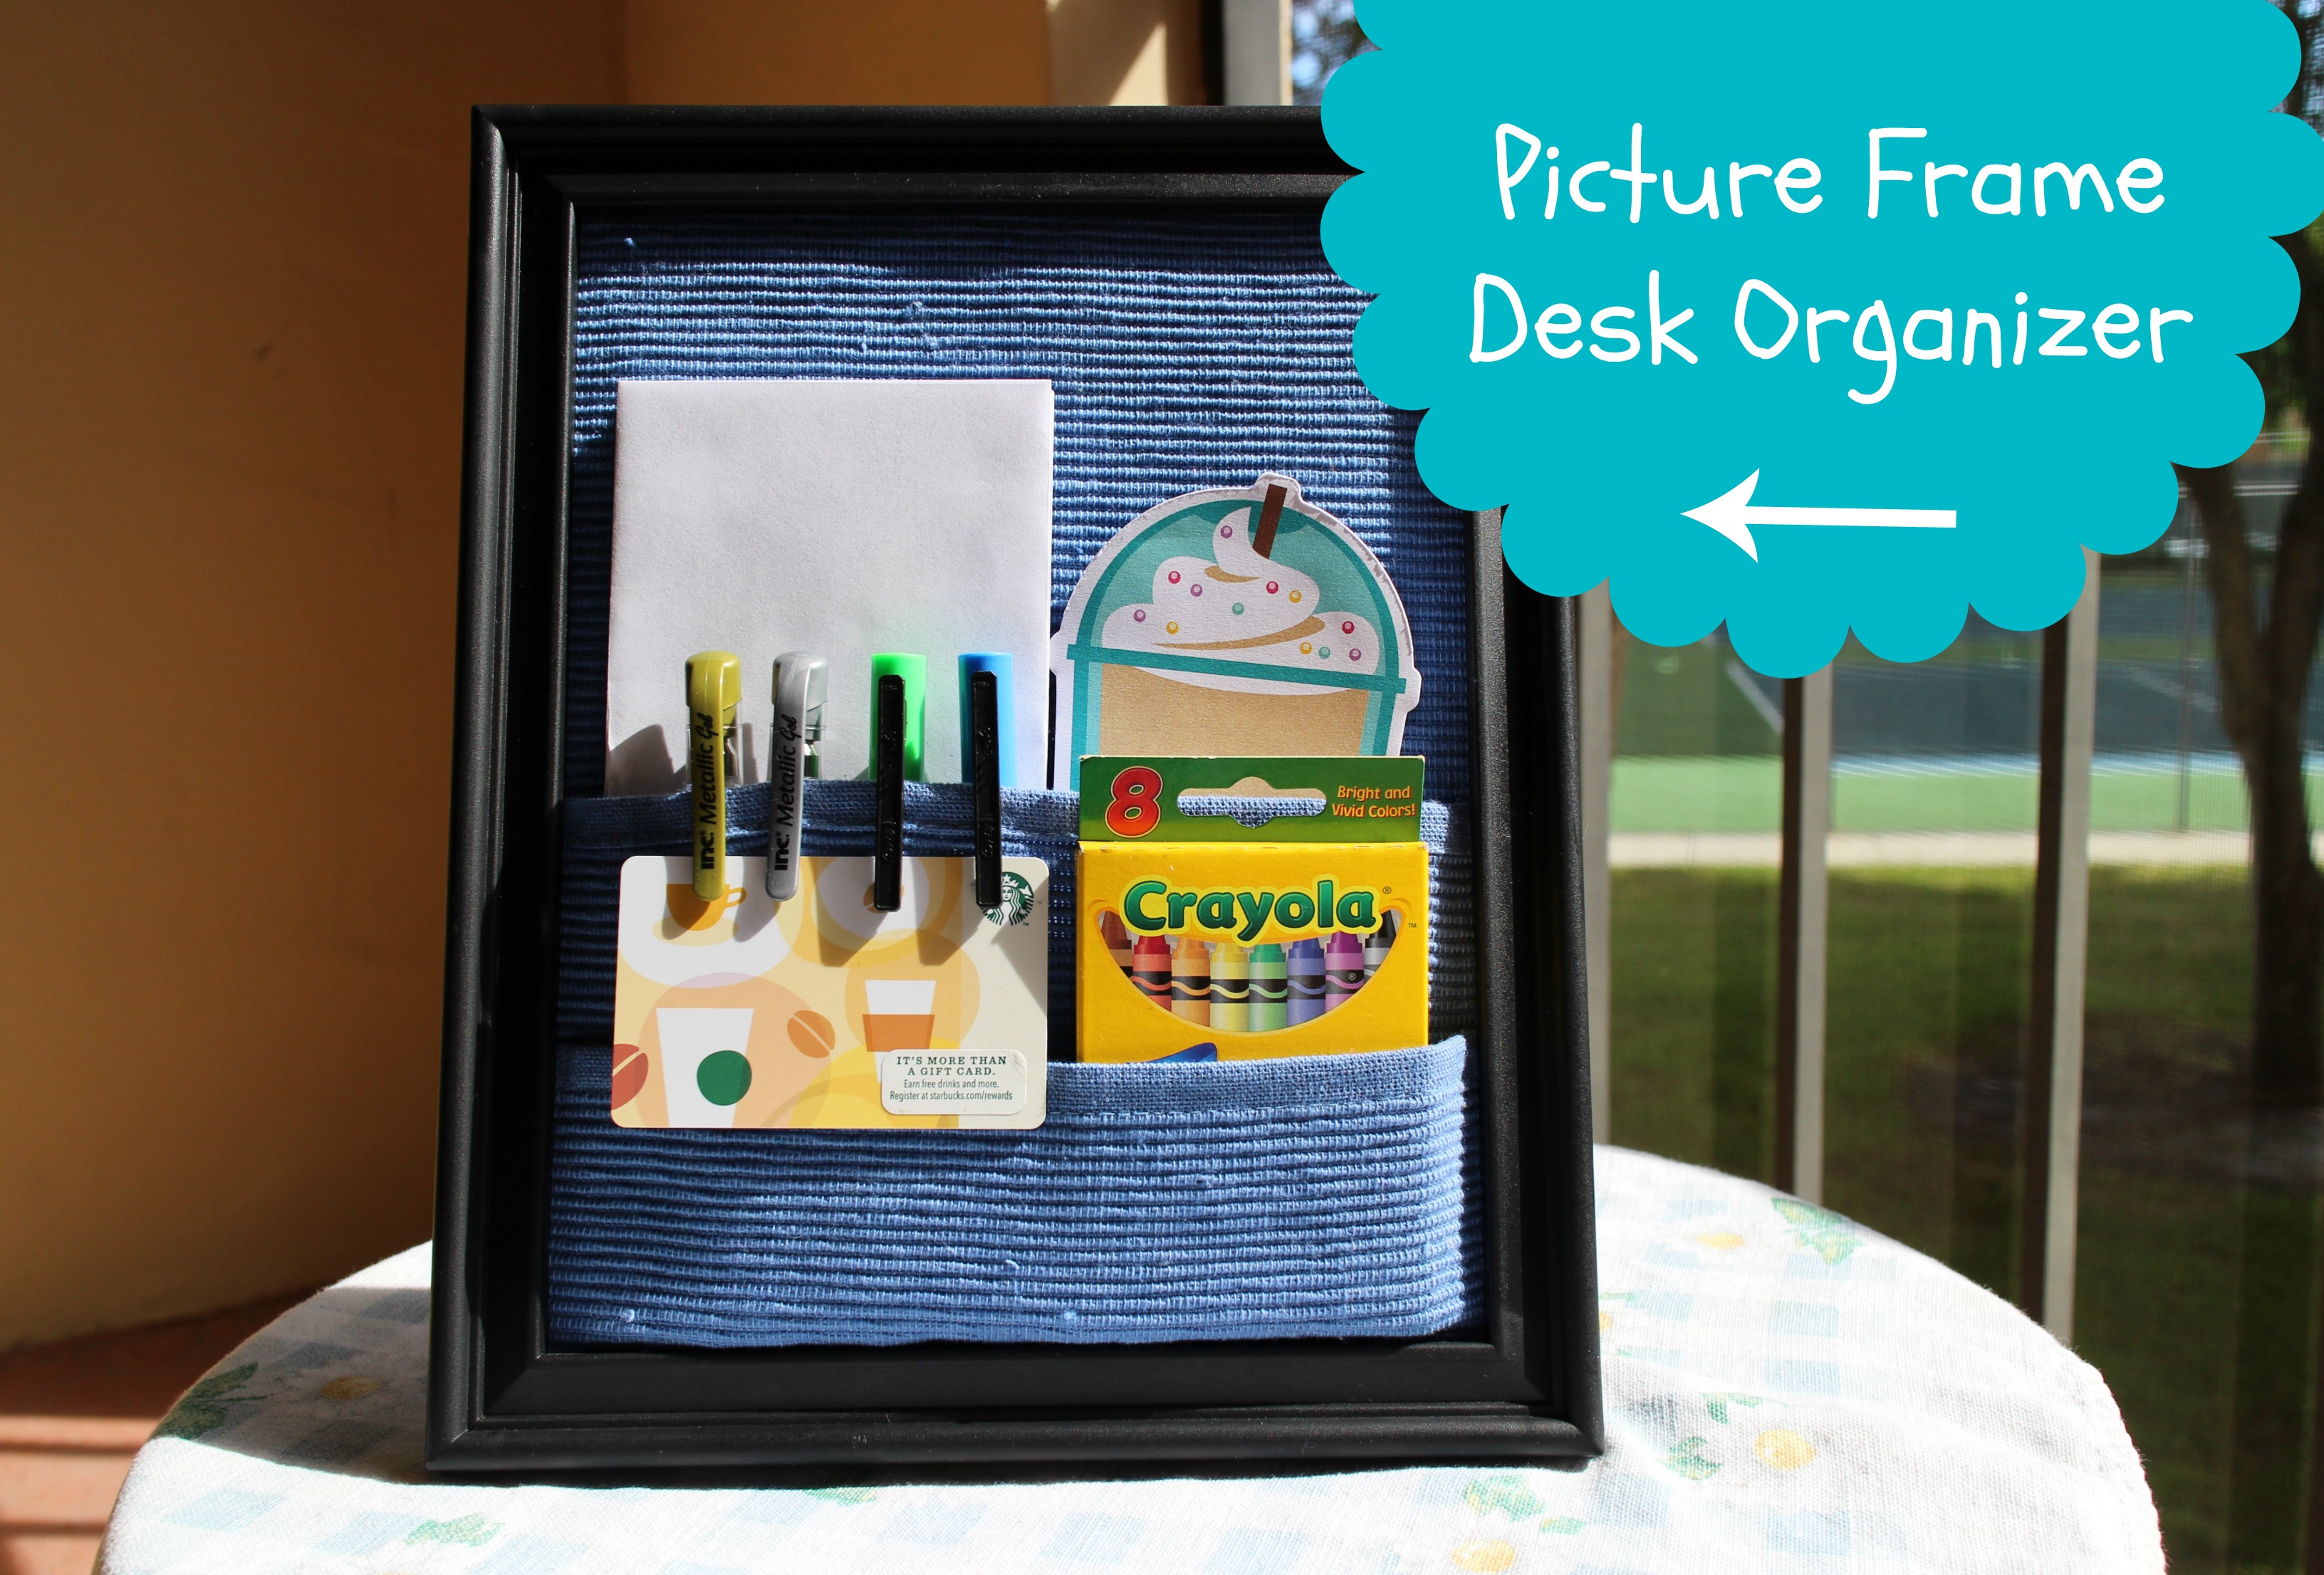
I was having way too much fun thinking about other stuff you could tuck in your desk organizer so I put this “look” together too…

…highlighters, crayons…and who wouldn’t love a Starbucks gift card clipped on front? You could also include paper clips, pencils, tablets, paintbrushes, cards, stationery paper, letter opener, book-marks. The possibilities are endless!
What do you think? Who would you gift with this little DIY? What would you tuck inside? Do you have any other cheap and easy crafts you think make great gifts?


