The other day, after examining all the boyish things over on Everyday Carry, Chet and I were feeling photographically inspired and wanted to stage some shots to showcase the items he always has on hand. There was only one problem. Where could we configure items for a carefully captured overhead camera angle? The flooring in my apartment ranges from neutral, speckled carpet to beat up hardwood to dingy tiles and laminate. All come with the occasional cat hair tossed in and all look a little like someone spun the color wheel and landed on drab. Thinking back to some of our favorite product photography we rigged up a system that we thought would work even though the sun hadn’t been out for days (and to be fair we were trying to do this at night). It looked a little something like this…

Note the reason behind all that cat hair in my apartment! (He just wants to be involved!!!) But also, note the crazy shadows being cast by the lamp we were using. Admittedly, I think these shots turned out pretty cool but not great. In natural light (a good sunny day outside your window), I still think a white foam core board makes a good background. But for a more versatile option, one that doesn’t rely on the fickle nature of winter weather, we built a super easy light-box out of a standard cardboard box and some desk lamps. Here’s how we did it!

What you’ll need:
– cardboard box (evaluate the size of what you’ll be photographing to determine what size box will be adequate for your needs)
– ruler and pen/pencil
– box cutter
– white muslin fabric
– scissors
– tape
– white poster board
– 2 lamps
and how it all comes together:
– If required, assemble your cardboard box leaving one end open and tape as needed. Cut the flaps of the open end completely off using your box cutter.
– On two opposite sides draw a square with your ruler about 1 inch in from the edge of the box.
– Cut two pieces of the white muslin cloth big enough that they will completely cover your square openings and affix them to the outside with tape. We only used one layer of muslin but you can add layers if you’d like your light to be a bit less sharp.
– Next, cut your white poster board so that it is the length of two sides of your box and the width of one. Slide it in and up the back corner. Don’t crease, you want it to look like one continuous background with no harsh lines.
– Place your two lamps on either side of the box. Desk lamps have an exposed bulb and can be easily adjusted so they work great!
– Put your objects on the white poster board and…
– SNAP. SNAP. SNAP.
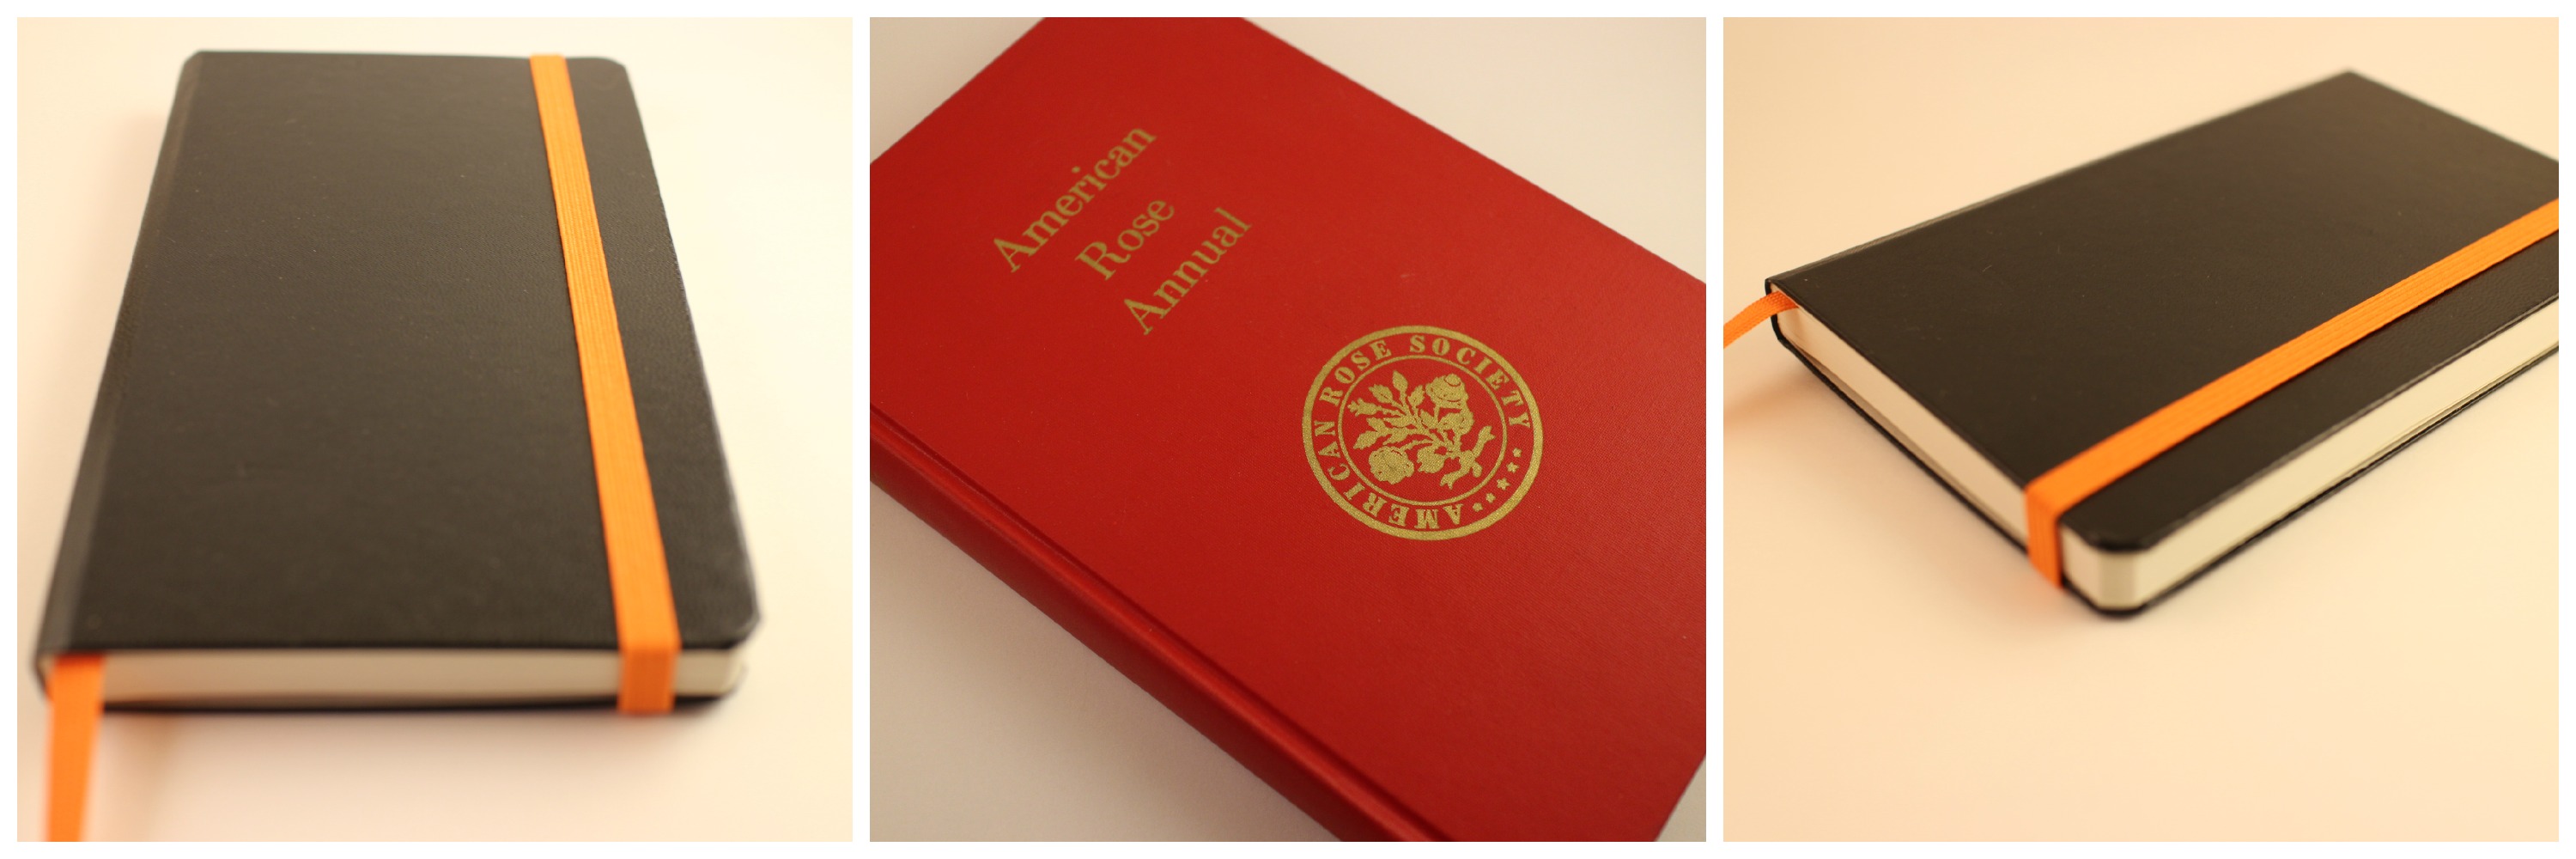
Here are some random shots to give you an idea of the kind of looks/light you can get…
If you already have a few desk lamps lying around, this DIY will come in well under $10. Assembly takes less than an hour. Essentially, if you have the supplies on hand and are in a dreary day pickle but still want to capture a few of your bits and baubles, you’ll be well on your way in no time!
Do you have any amazing amateur photography tips, hacks or DIYs? I’d love to hear!
