Today’s post is something a little bit different. For me, having a blog is a great incentivizer. If I want to whip up a certain meal, check out a local park, or crack out my craft box for a DIY, I just schedule a post pertaining to that subject matter and get to it. I know to write and design the post I’ll have to complete the activity first. I can’t show you guys how to make broccoli soup before I’ve actually made broccoli soup (and enjoyed it!). I can’t walk you through the Sunken Gardens in St. Pete without first walking through it myself (and snapping lots of pictures!).
So, I gave myself an assignment and decided I would share the results with all of you! You see, I need practice when it comes to photography and styling photos. Ultimately, I’d like to up my game with the sorts of images I create for this blog. The hope is that posting about practicing something I want to become better at will both incentivize the process AND keep me accountable for continuing to learn. Here goes…
The assignment:
Style 8 photos inspired by the following categories — Pen Pals, Gettin’ Down to Business, Cook With Me, It’s 5 O’Clock Somewhere, Get Ready With Me, Brand I Love, Glitter + Gold, and Currently Reading.
The results:
Pen Pals

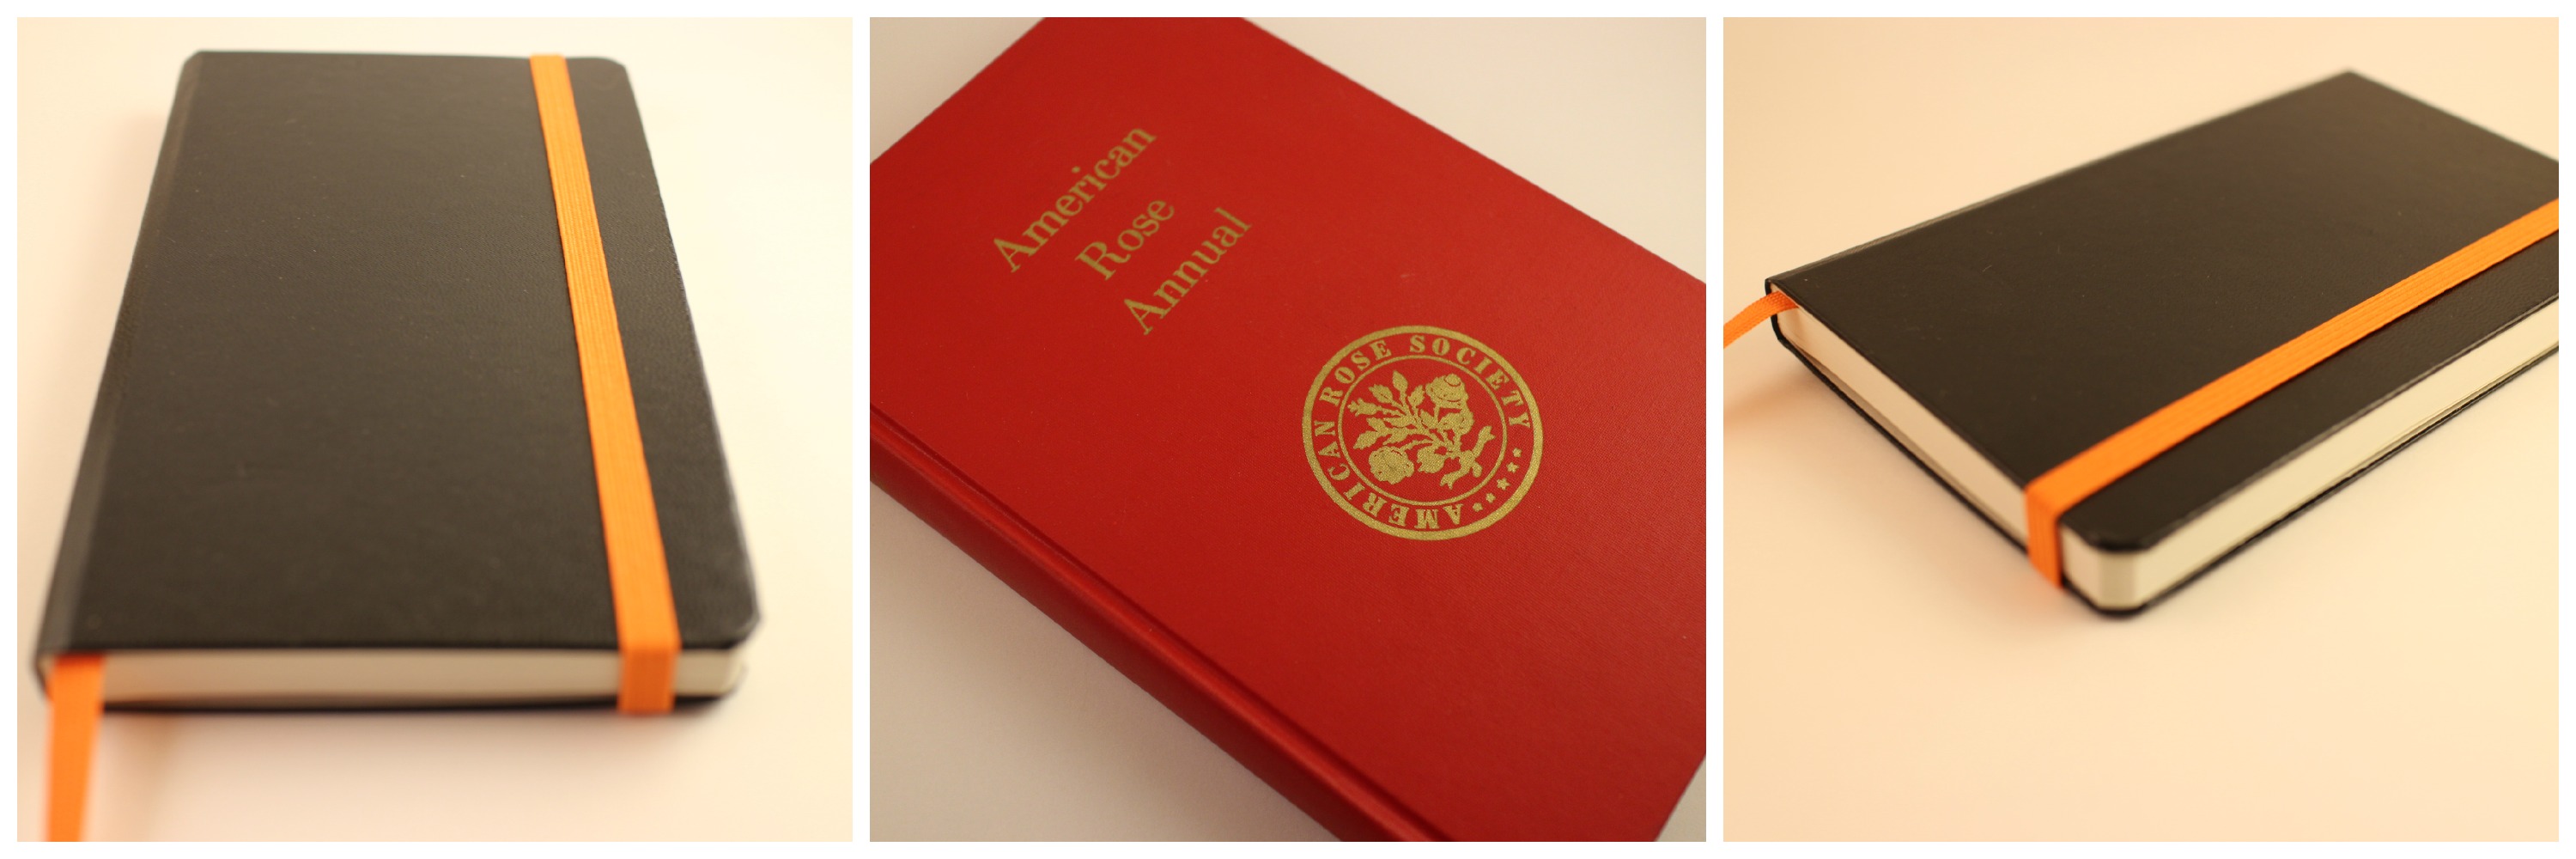
Gettin’ Down to Business

Cook With Me

It’s 5 O’Clock Somewhere

Get Ready With Me

Brand I Love

Glitter + Gold

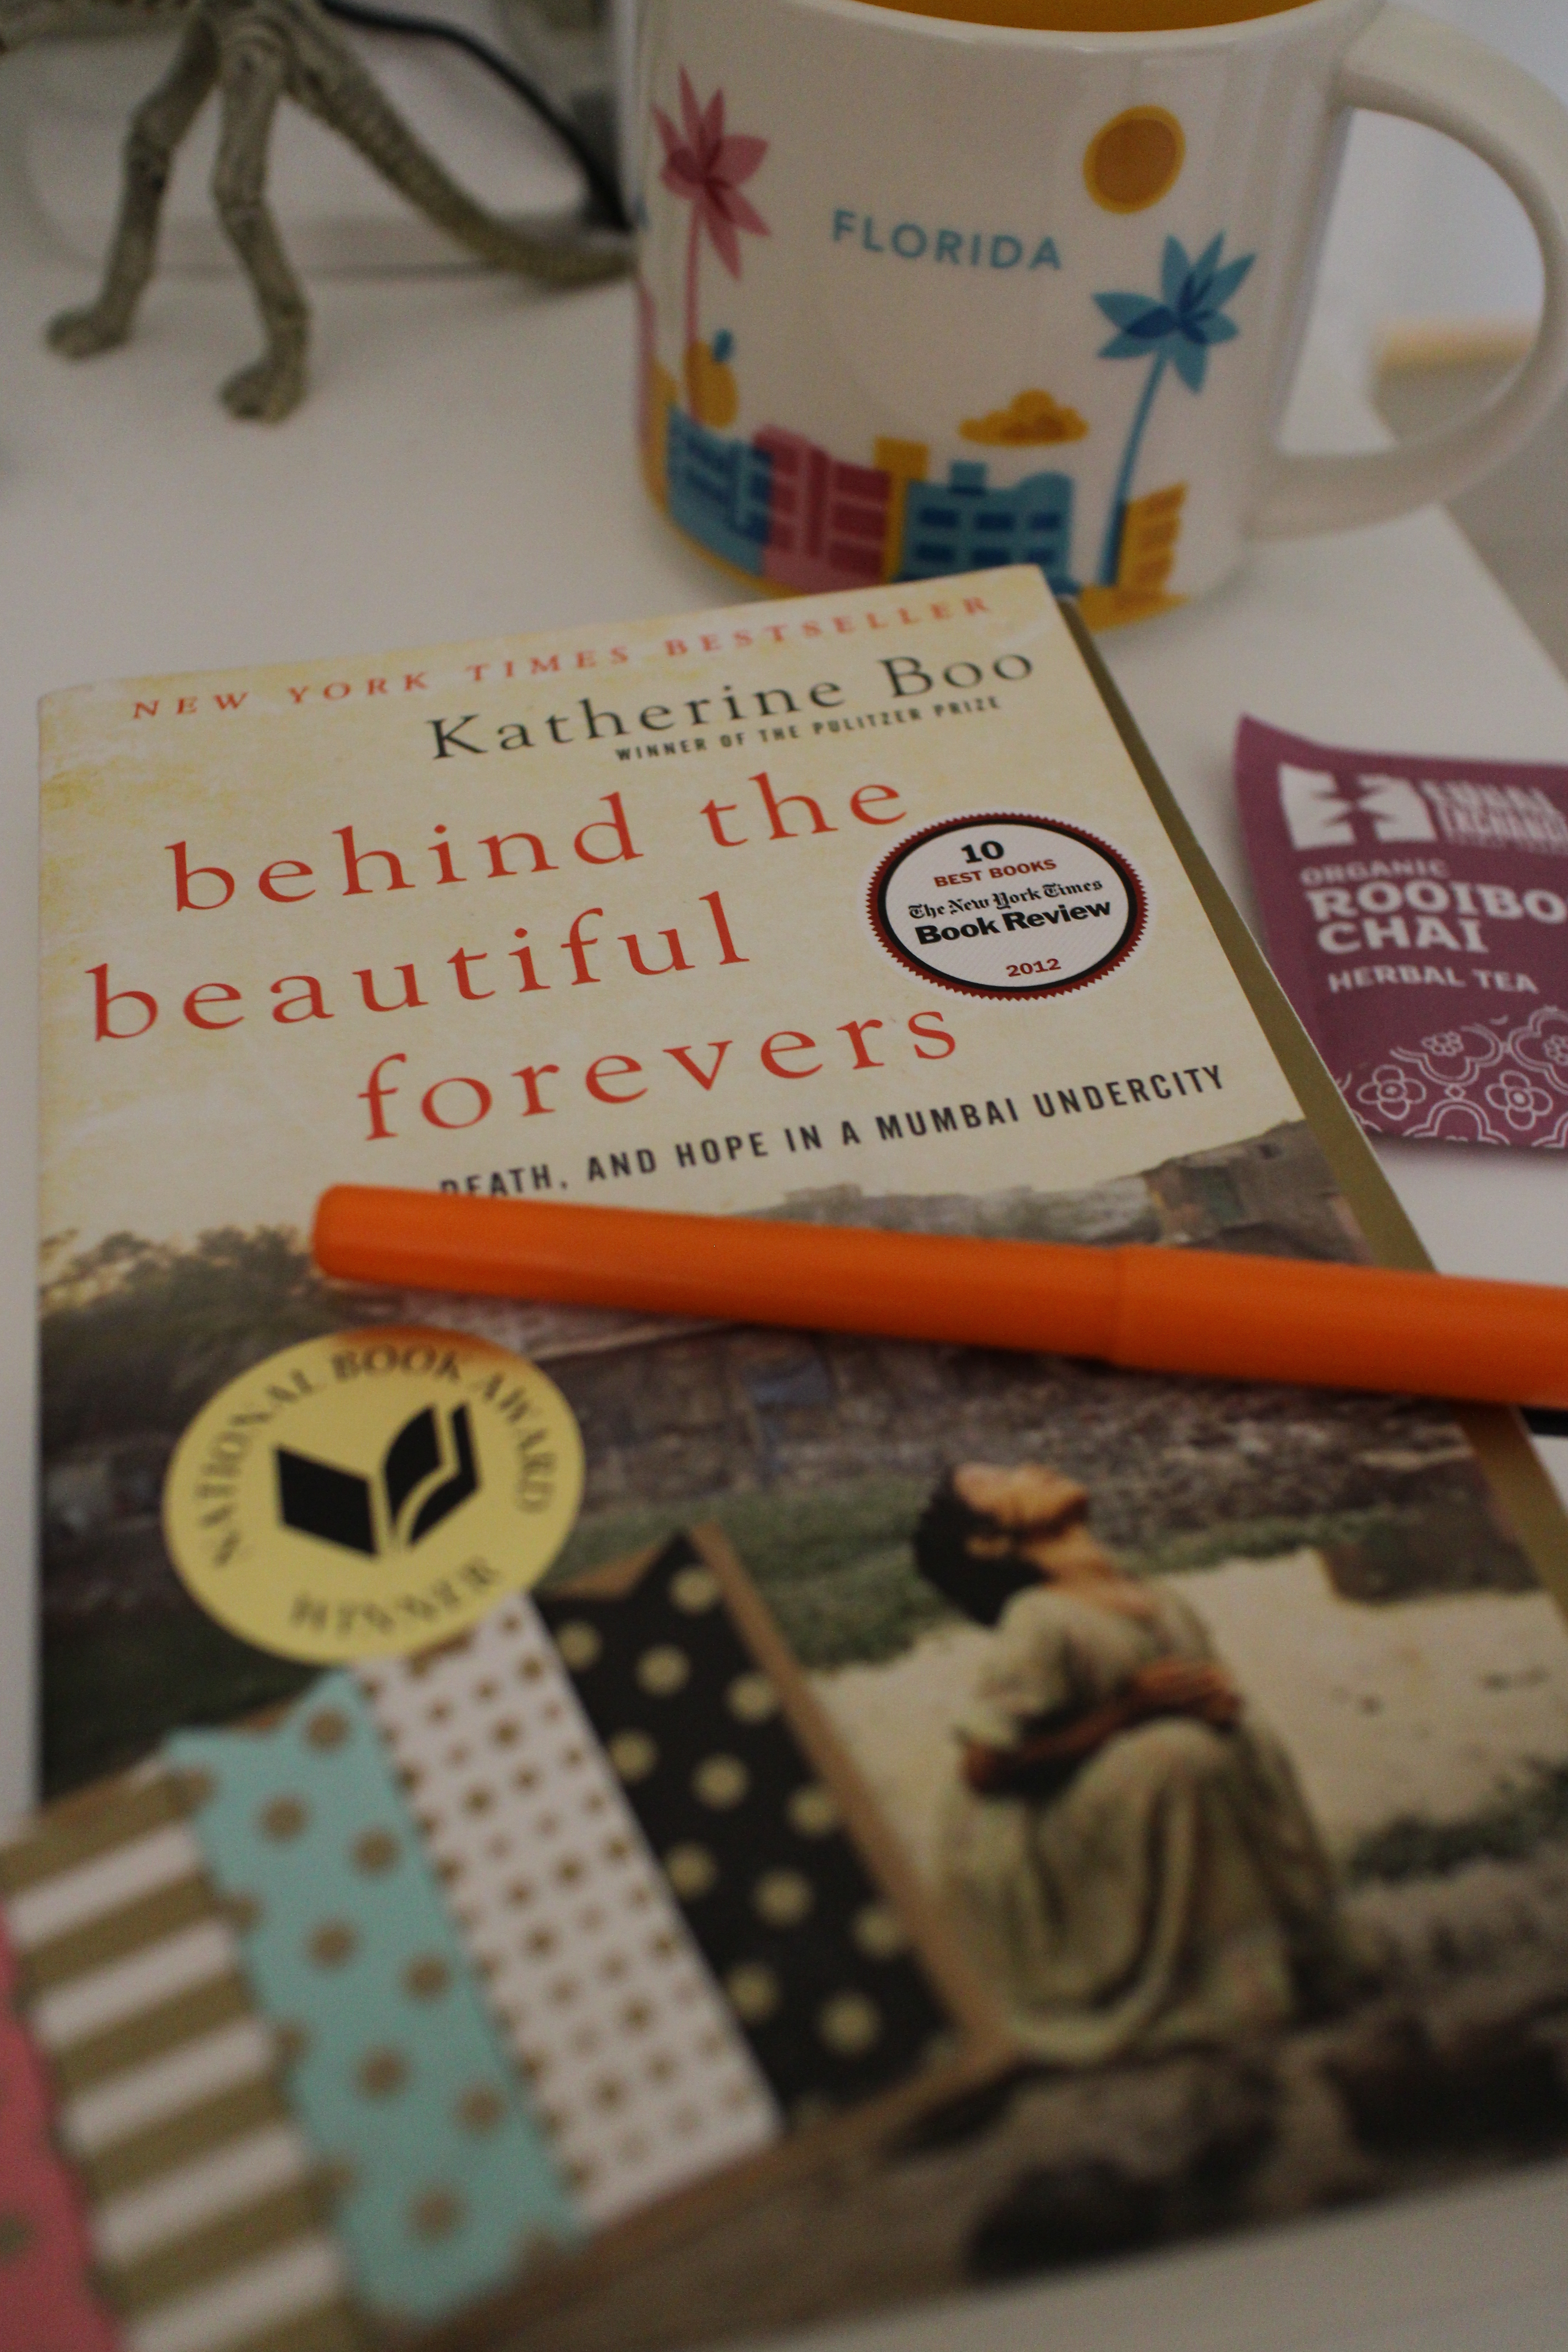
Currently Reading
And there you have it! I had a blast laying out these images…styling and taking photos is definitely something I enjoy but is also something that, unfortunately, sometimes becomes an afterthought when I’m creating a post. Hopefully with some more assignments like this one, the process will become quicker and a little bit more second-nature. For now, I’m happy for the practice and to slowly build up a repertoire of images I can use alongside future content.
Note: I used a Canon EOS M camera with EF-M 22mm STM lens to shoot these images.
How do you incentivize or hold yourself accountable for skills you want to master? Have any photography or photo styling tips or resources you’d like to share? Thoughts on the images above? Leave a comment!