
When I was really little I told my parents I wanted to be a recycling woman when I grew up. Now, in my defense, the work I thought was involved in this profession was a lot different than how you may perceive it. I thought recycling people were given trash and then recycled it into items more useful or beautiful. Literally turning things from trash to treasure. My family had a good laugh. I pursued other career options. Life went on. Yet, I’d like to think I held on to a little bit of that childhood initiative. I still feel the need to create something out of what was otherwise, to someone else, nothing. Maybe that would explain why for months I’d been holding on to a shopping bag full of corks at the back of my closet! An old co-worker’s cast-off…”Will anyone use these for a craft or something?” *raises hand* *ponders how long she’d been adding to this collection, the ol’ Wino!*
The itch to create something from her collection finally struck and I thought I’d show ya how to make your own! I’d eventually like to make a framed cork-board completely out of wine bottle corks but it’s gonna take a lot of nights sipping ol’ faithful (Read: Yellow Tail Chardonnay and whatever’s cheapest Malbec) before we get there. In the meantime…
What you’ll need:

- fairly sizable collection of wine bottle corks
- styrofoam wreath form (You can get these at any craft store but I’ve also seen them for sale at lots of other places, even Dollar Tree.)
- hot glue gun
- glue sticks
- ribbons, fake flowers, buttons, burlap, or anything else you’d like to attach
And how it all comes together: Heat up your glue gun and get to work! There’s no real science here. Just glue the corks down in whatever arrangement you fancy, making sure to leave as little open space as possible for the inside of the wreath to poke through. If there are words, design, or cool details on a cork that you want to display, affix it prominently. This can be a great way to show off a cork that may have sentimental value to you. Think: the bottle you opened on an anniversary or the souvenir wine you brought home from a trip abroad. A few of the corks I used were visibly cracked and I thought that looked cool! If you don’t, hide them near the bottom.
Note: Depending on how your wreath form looks, you may want to wrap it in fabric or burlap before gluing down the corks. Use a long piece of fabric and continuously wrap until you reach the end. Glue the first and last edge down with your hot glue gun.
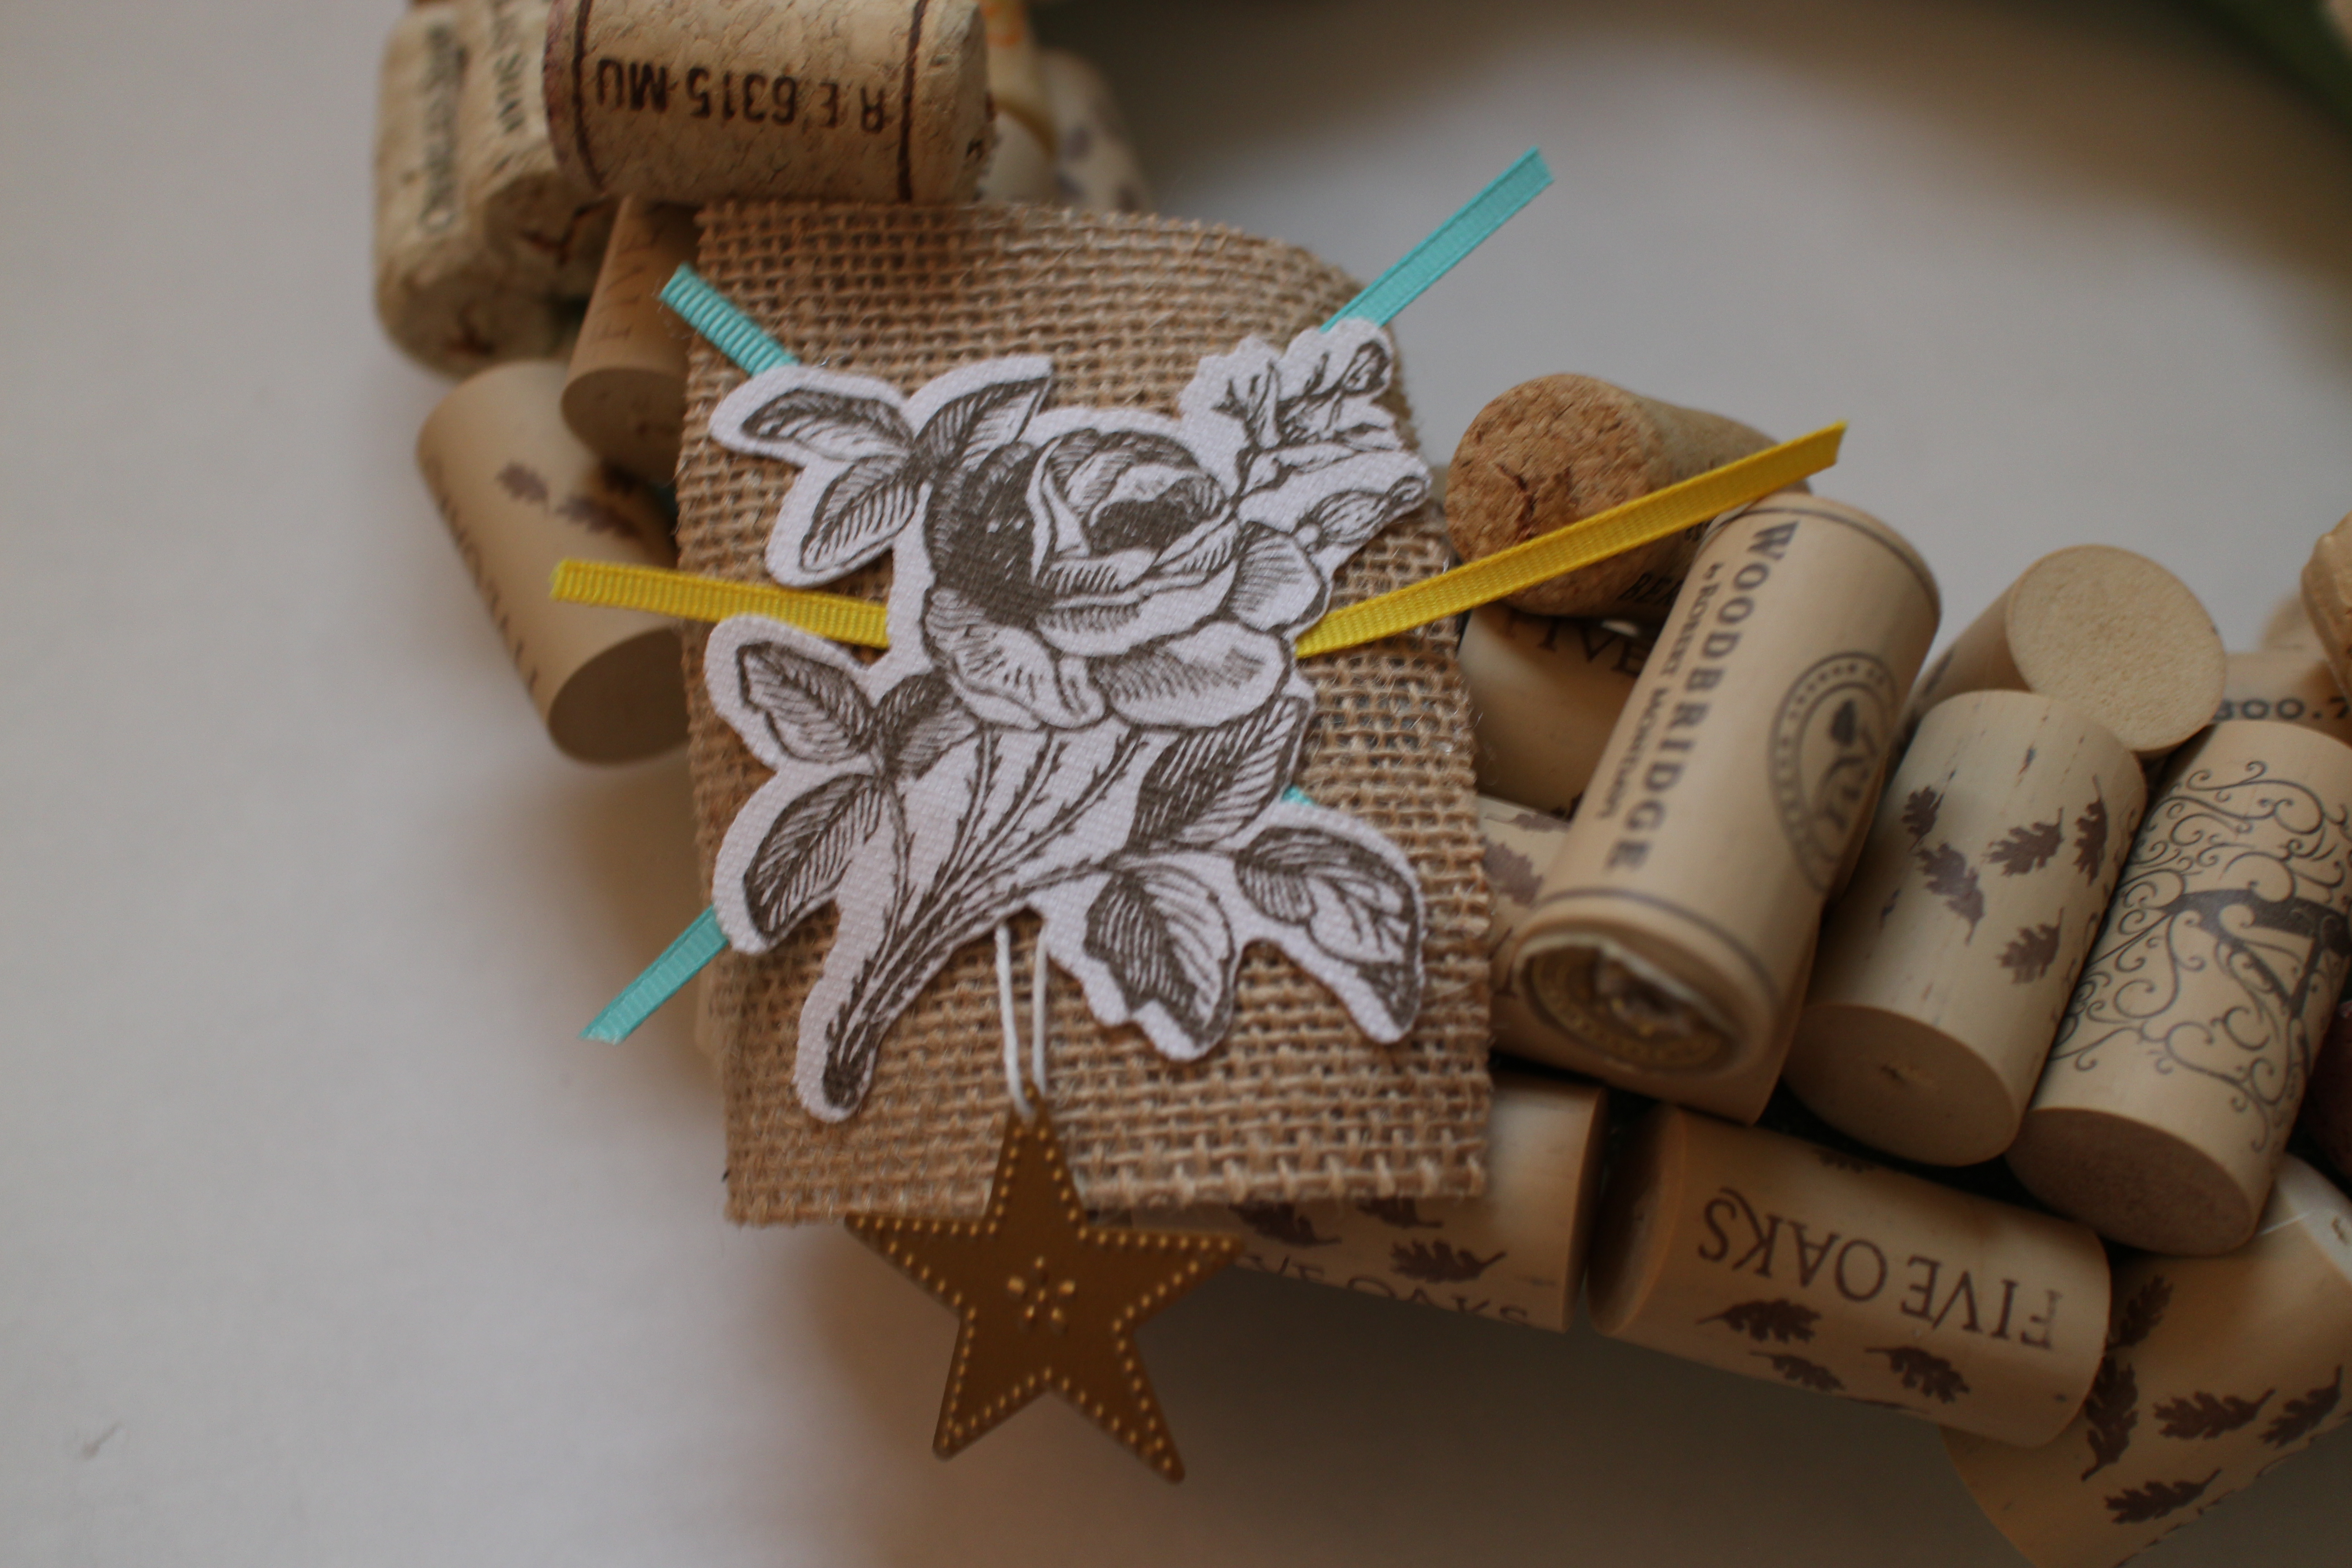
Once your wreath is completely covered in corks, you may want to add a little embellishment. I dove into my craft box to see what I had on hand and came up with some burlap, ribbon scraps, an old iron on transfer and a star charm. But you can use whatever strikes your fancy!
Now, hang and enjoy!
Do you like crafting with cast-offs? What’s a collection you have that could be re-purposed into something useful or beautiful? Pinterest awaits you! And speaking of Pinterest–follow me! I’m always pinning the cool up-cycle projects I find.

2 thoughts on “DIY: Cork Wreath”