Tag Archives: crafting

Mindfulness: Not just for monks and yogis!

We’re all wondering if quarantine will ever end, but until it does, we have some prime time to get to know ourselves.

When someone says mindfulness, what do you think of? Do you think of monks in a temple wearing robes in silence, or people sitting in full lotus position meditating for hours on end? It would be understandable if you did. 

However, mindfulness isn’t just for ancient religious practice, it’s also a secular therapeutic method designed to settle our thoughts and reduce everyday stress and anxiety so that we can better focus. Regardless of what you’re into, jogging, debating, or being a lifestyle blogger; mindfulness can help support you and improve your potential. Think of it this way – driving a car is much easier once you’ve had a few lessons. Before that it’s almost impossible. 

But on the road of life, the vehicle you’re driving is not a car – it’s yourself, and mindfulness is the way you learn how to skillfully read the signs of the road and perform tricky maneuvers. So how does it work? Your mindfulness practice can begin as you read this blog post. You’re reading the words and you’re thinking about what they mean. So you’re doing two things. Bringing awareness to these two things is mindfulness. You are aware of what you’re doing. 

Another way to practice is to bring awareness to your breath. You are slowly breathing in and out. The very fact of that is amazing, but your awareness of it? That’s mindfulness. 

Here are a few more ways to practice mindfulness in your everyday life…

Walk in nature 

Take some time to visit  nature near where you live. Try out some mindful walking, that is, bring awareness to each step you take. Find a rhythm that suits you, then turn your awareness to other things. What sounds can you hear that you might have missed if you were lost in thought?  Impressions you encounter in a mindful state are more likely to resonate with you and others. 

Apply it to a craft 

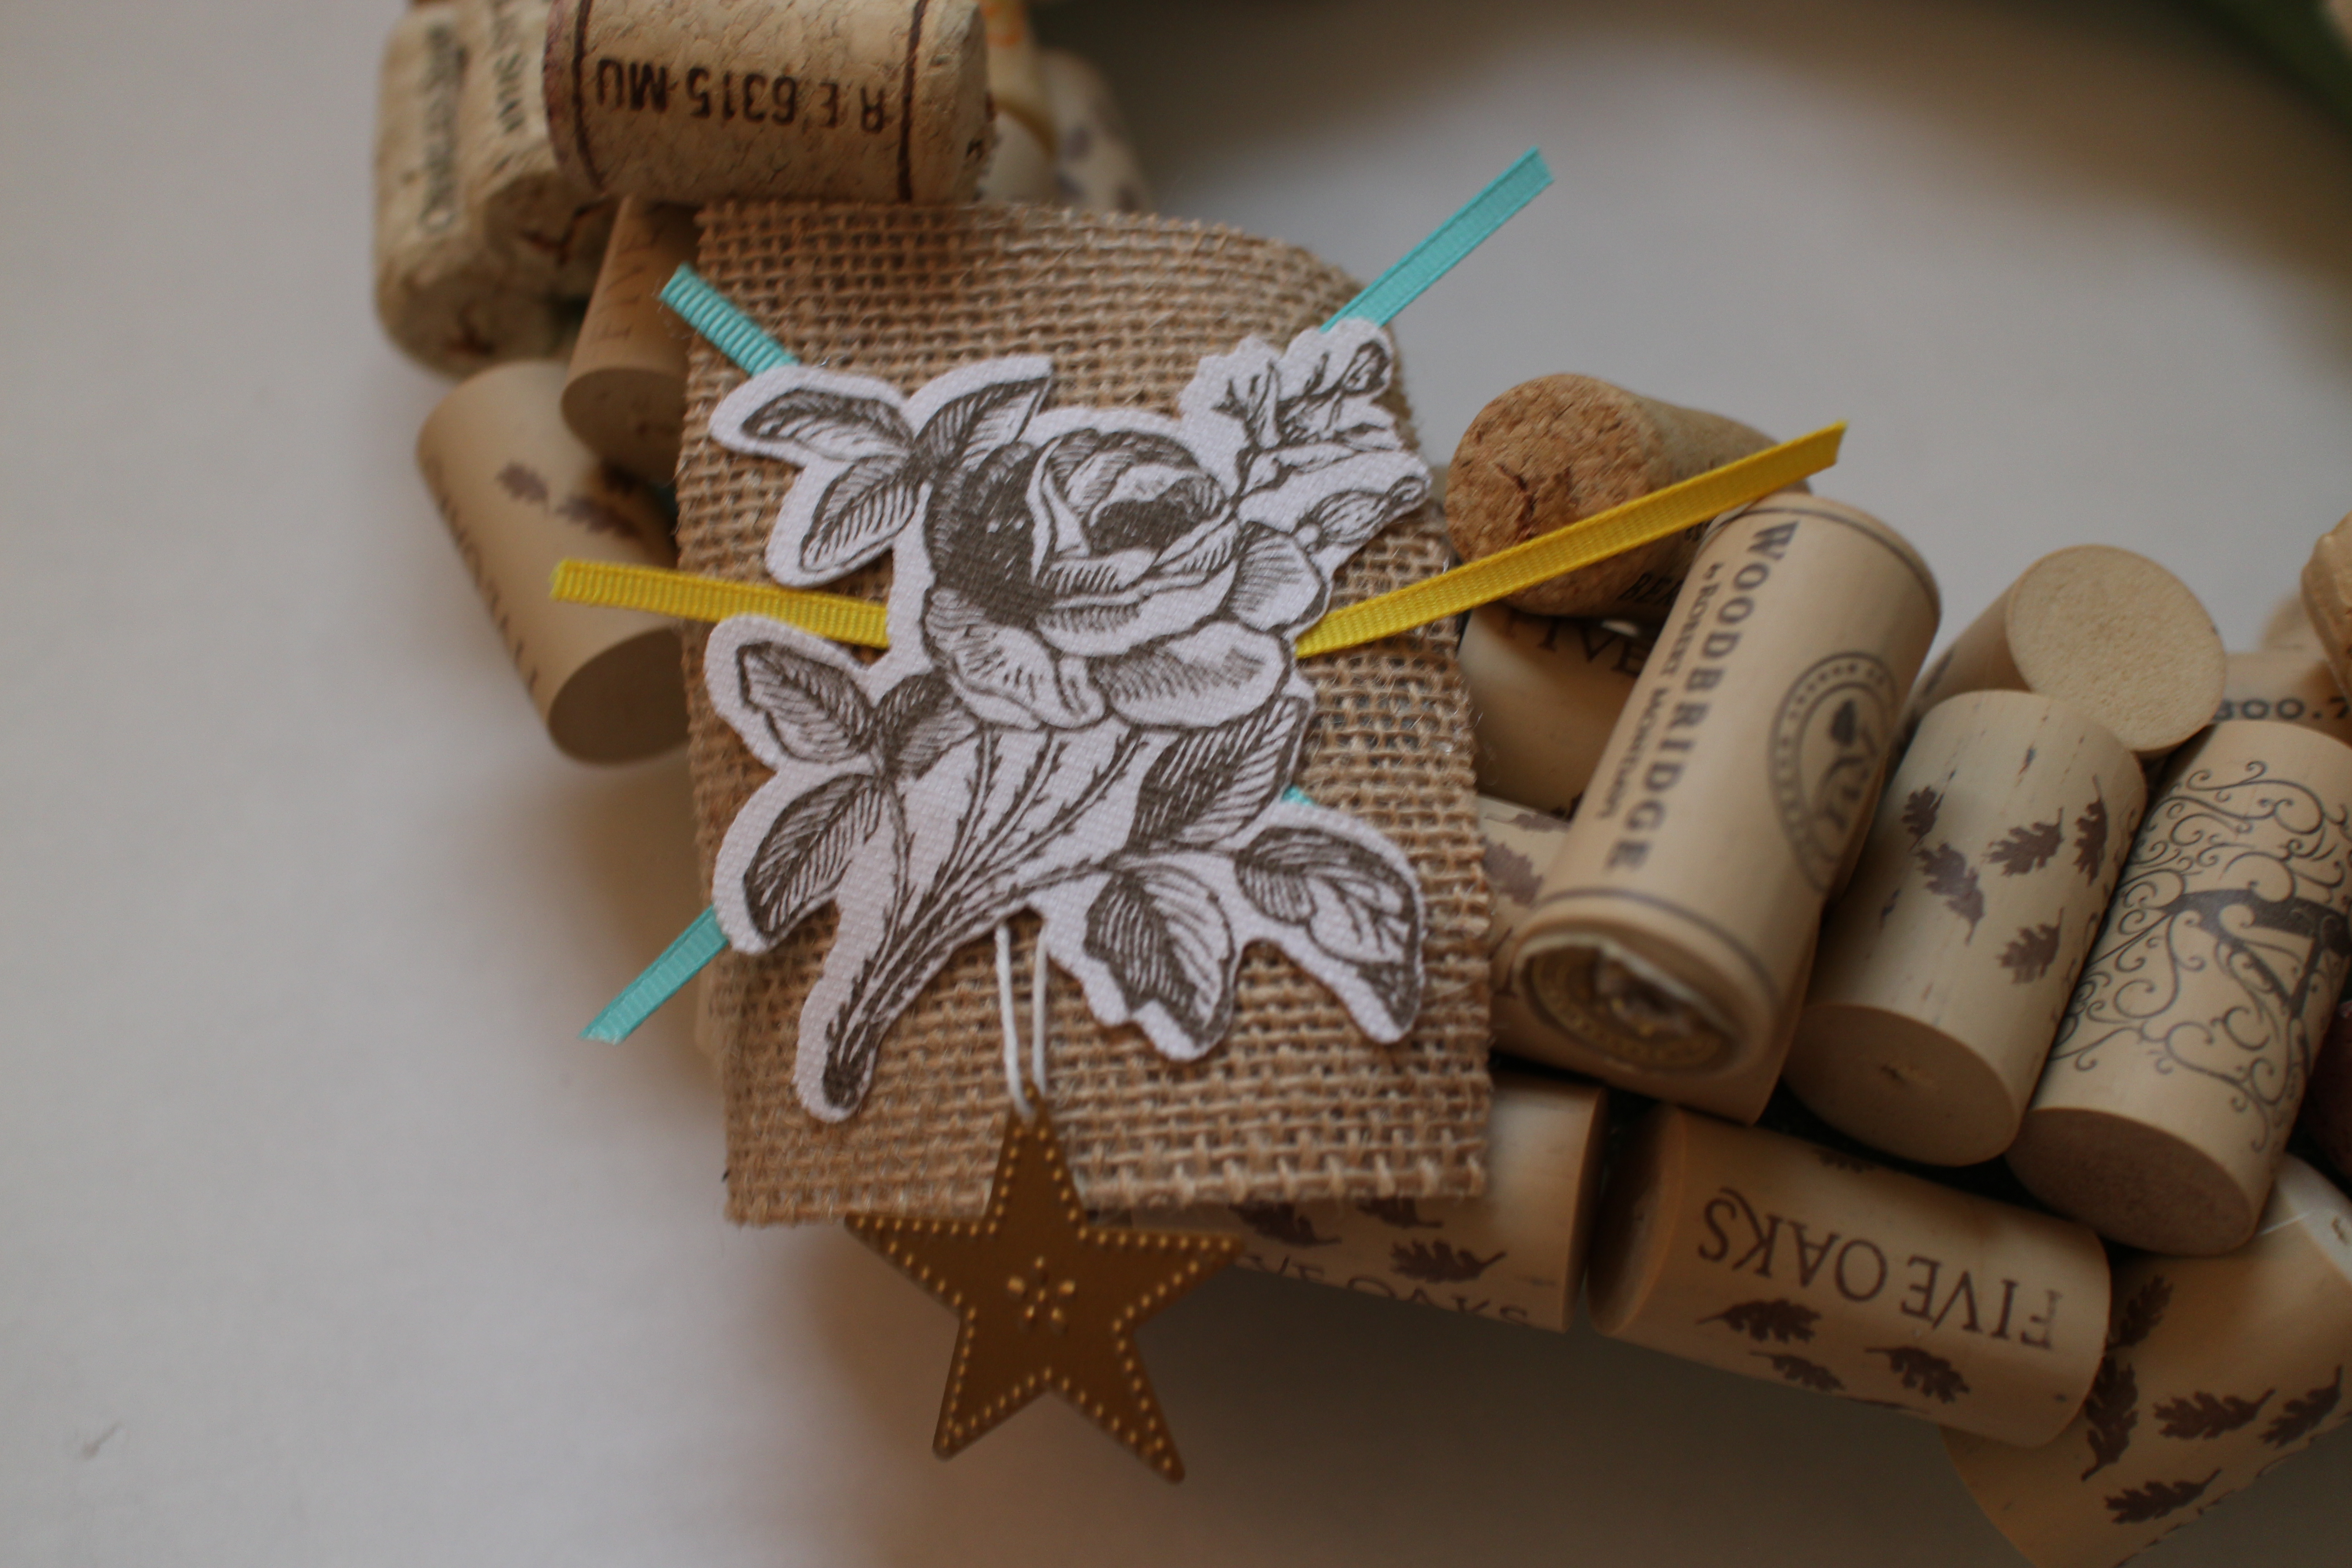
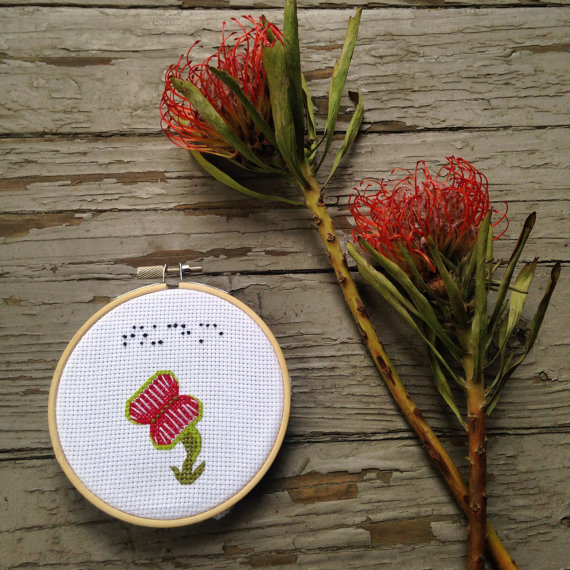
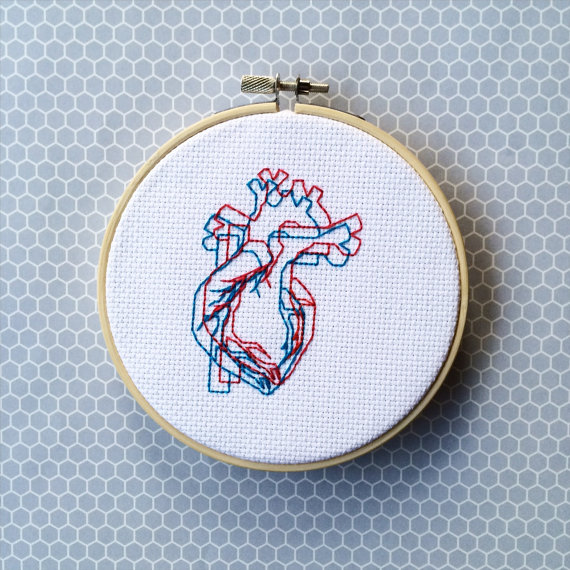
If you already do a craft like knitting, model making, or paper folding then you probably use mindfulness all the time without realizing it. It’s that controlled awareness you bring to your subject. If you don’t do a craft then taking one up can be a great mindfulness practice. Not to mention, you can always feel satisfied with achieving an end product – something you have made yourself. But now you know that the process to achieving that final product is just as rewarding.

Use it in conversations 

Mindfulness is very effective in conversations with people, because mindfulness doesn’t only mean being mindful of yourself. Instead of thinking about what you’re going to say next, why not reflect on what has been said already – then respond. Bringing awareness to your conversations is a wonderful way to improve your interactions, and relationships, in a fun, creative way. 

When do YOU practice mindfulness? Do you find it difficult or rewarding?

P.S. Hobbies to try if you’re a creative soul.

Advertisement

DIY: Autumnal Bunting

autumnal bunting

As I mentioned yesterday, I’ve been giddy with excitement about the new season. So I decided to lean in and put up FALL DECOR! I started poking around in some boxes and remembered that most of my seasonal decor was heavily downsized in the move. But…NEVER FEAR. Where there is a will to give your home an autumnal makeover there is a WAY to give your home an autumnal makeover, mk?

SO…this is your semi-regular reminder from me to you that if you are a hoarder of craft supplies (*ahem*), it’s always best to evaluate your stash before hittin’ the stores. 

A little fabric, a little glue gun action, and a little leftover rope…and wam-bam, thank you MA’AM! An autumnal bunting was mine in less than 20 minutes flat.

To recreate something similar, all you’ll need is:

  • fabric
  • felt leaves (which you can cut out yourself or get a pack at the Dollar Tree)
  • glue gun and glue sticks
  • rope, ribbon, or twine

To assemble, just:

  • cut your fabric into squares
  • fold the top of the fabric back and hot glue the edge down to create a little tube for your rope to string through
  • glue on the leaves
  • string the fabric squares along the rope
  • tie loops at the ends
  • and ENJOY…

Do you ever create seasonal decor with items you have on hand? How are YOU decorating for FALL? Thanks in advance for the inspiration! xoxo

P.S. Check out this post to learn how to make a ZERO COST, 30 SECOND fabric pumpkin! I’ll definitely be making a few of these, too!

DIY: Autumnal Tissue Holders

Ok gang! I’m comin’ at ya with a super simple DIY today…but it was just too cute not to share!!!

It’s no secret that I love podcasts. I listen to them while I do my chores and when I go on walks. But sometimes, ya girl wants to binge listen. And when I binge listen to a podcast, I need something to do with my hands. (Are you the same way?) So the other evening, I wanted to dive into a podcast people have been raving about — Dirty John. And I knew I’d probably get sucked in. Inspired by some gorgeous felt I’d recently purchased, I decided to whip up some autumnal tissue holders as I listened. Perfect for throwing in your purse to combat the change-of-season sniffles, I thought! And the perfect level of difficulty for when your mind is with more pressing matters. Like who the heck this mysterious man, John, really is.

Admittedly, this is a craft suited for an elementary school student…but HEY! It was a great quiet time activity for my true crime binge. If it’s not already obvious how these came together, keep reading and I’ll give ya the deets.

What you’ll need: 

  • felt, cut into 6×6 squares
  • embroidery thread
  • pins
  • needle
  • scissors/pinking shears
  • buttons
  • tissues
  • ruler
  • sharpie

And how it all comes together:

Take a 6″ x 6″ square of felt and fold the left and ride side in to the center line. Use pins to secure in place so the folds stay down.

Measure 1/2″ down from the top and make a mark. This is where you’ll sew across. Use a ruler to draw dots across the entire line if you want to make sure to sew in a straight line. (You can eye ball both these steps if you prefer.)

Now choose your embroidery thread and sew the top closed. Make sure to start and end your stitches from the inside of the holder so your knots aren’t visible. Repeat the measuring, line drawing, and sewing on the bottom.

If you have pinking shears (I didn’t have any on hand), you can cut the ends to give it a fancier look!

Finally, finish it off by sewing a cool button or felt shape above the opening.

You’re ready to put the tissues inside! Just get a pack of travel tissues, remove them from their packaging, and stuff ’em in your own (way cooler!) holder.

Finito!

I don’t know what it is about these little guys but I’M OBSESSED. Do you have any fun felt crafts you’d recommend? (I have a whole stack of the stuff!…and more podcasts to listen to!)

P.S. Other DIY’s you might enjoy — Polaroid Display and Fabric Pumpkin.

DIY: Polaroid Display

On our recent mini vacay to Delray Beach, we brought along an old polaroid camera. We had gotten it at a flea market a few years back and I never really thought it would function (I just wanted it as a funky bookshelf accessory). But lo and behold, Chet found a way to get it working and we took a roll of beach-y, vintage-vibes snaps.

I really wanted a way to display this special roll of film. Each of the pictures make me happy and I love that they look like they could have been shot in 1977. (#nofilter just an old ass camera, lol)

Here’s what I came up with and instructions in case you wanna make your own!

What you’ll need:

  • a frame
  • hot glue gun
  • glue sticks
  • thick twine or rope for hanging
  • thin twine or yarn for stringing across the frame
  • mini clothespins
  • sandpaper if your frame needs a lil distressing

And how it all comes together:

The most important part of this project, in my opinion, is to find a frame that fits the vibe of your polaroids. I found this one on clearance at Home Goods. The light blue, antiqued look really goes with our beach-y, vintage-looking polaroids. You could probably find a great frame for your own photo display at a thrift store or maybe you have one sitting around your house! If you’re going for a distressed look, you could always paint and then sand to let a little wood peak through.

Once you have your frame, take out the backing and glass. Lay out your polaroids to see what arrangement will work best. Then, measure out some twine and string it across. Secure with hot glue.

Next, cut some thick twine to attach to the top of the frame for hanging. Depending on how heavy your frame is you may need to staple down the ends.

Finally, clip your polaroids on with some adorable mini clothes pins.

Hang on the wall and admire your finished product…

I’m totally obsessed with how this turned out and love displaying our tiny collection of beachy polaroids by my desk! Have you completed any DIY projects lately? I’d love to hear about them. ❤ 

mid-week round-up

What’s up, buttercups? I haven’t been feeling too well the last couple of days. I wouldn’t go so far as to say I’m sick, (I NEVER get sick..so THERE!) but allergies and hormones are kicking my ass. Hopefully on the mend soon! Also, we finished the second season of Master of None. Have you seen it yet? SO. GOOD. (I loved the Thanksgiving episode especially.) I hope you have a wonderful rest of your week, and here are a few links to celebrate the mid-week…

How 3 fan favorites from The Real World are nailing the actual real world.

How the Swachh Bharat Mission is heading for failure.

I can’t wait to see this movie! (Have you read the book? It’s one of my favorite memoirs ever!!)

Related: 6 Beach Read Recommendations

How communal singing disappeared from American life (and why we should bring it back!).

Pregnant at 18. Hailed by abortion foes. Punished by christian school.

Forget adult coloring. What about adult PERLER BEADS?

Getting to know a father who has spent the past 30 years behind bars.

Donald Trump allegedly believes that exercise is bad because the body has a finite store of energy (exactly the logic used to warn 19th century women off education).

Made me laugh…because #FACT.

How a true-crime podcast became a mental-health support group.

Related: 6 True-Crime Documentaries For Your Inner Detective

My first shipment from Le Tote is scheduled to arrive today!! So pumped.

Hoarder? Splasher? Understanding your financial psychology could save you money.

P.S. A few Finding Delight posts you may love — How to Eliminate Decision Fatigue and Get More Done and Corita Kent: In the Beginning was the Word.

mid-week round-up

Hey peeps! How have you been? Last week I took an adventure into the Everglades (tell ya more about it later this week!) and managed to get a trillion bug bites. And the last couple days I’ve been in full blown allergy mode so I’m basically itchy and sneezy. Wonderful, eh? Hope y’all are faring better as we slide into Summer, and here are a few links…

A family’s slave:  “She lived with us for 56 years. She raised me and my siblings without pay. I was 11, a typical American kid, before I realized who she was.”

We can end police violence in America. Join Campaign Zero.

The surprising pattern behind color names around the world.

I have this bra in beige but now I really want it in blush!

Related: In Search of the Comfiest Bra

Recently discovered Melissa Voigt and I’ve been binge reading her blog posts!

This 90-year-old lady seduced and killed Nazis as a teenager.

The cutest zebra mug.

In honor of Mother’s Day last weekend, 25 famous women on their mothers.

The people behind “The Handmaid’s Tale” know they’re giving you nightmares.

Design your own “thinking of you” greeting card.

This Appalachia Life opens up about his first Mother’s Day without his mom.

10 years on, Amy Winehouse’s best-known songs still hurt and heal in equal measure.

P.S. Here are a few links from me you may have missed — Irresistible Me Review and Books to read if you’re in search of a history lesson…

Pinterest, Mason Jars, and Wedding Planning

glass jars

While I don’t plan on being one of those brides who makes herself crazy trying to achieve every last wedding detail she pinned on Pinterest, I just can’t help but to love a good mason jar decor project. If it pops up, I’m pinnin’ it. Now I know you might be thinking this skews a little #basic and a little #typical but listen… I’m a vAAAAry early adopter of the mason jar. I’m talking getting vintage ones for Christmas when I was in elementary school early. So. You’re lucky I don’t plan on walking down the aisle covered in them. Instead, I’ll just pin a bunch of DIY tutorials to my wedding board, very few of which will I actually have the time or wherewithal to complete, and we shall end up with appropriate levels of mason jar accouterments. (The Lord finds a way.)

Of the projects I’ve come across I think one I will make the effort to complete is a Wedding Wish Jar. Here are a few tutorials…

wedding wish jar 1

This tutorial from Yesterday on a Tuesday includes free mason jar printables! I probably wouldn’t go for the glitter though.

wedding wish jar 2

This Wedding Wish Jar DIY from The Cottage Market is sweet, simple, and freakin’ adorable.

wedding wish jar 3

Guest Book alternative from Confetti Daydreams. Not a mason jar but I love the gold and the hand-lettering inspiration.

Or for less than 30 bucks, I can just buy one already made. Because if there’s one thing you can count on — if there’s a way to capitalize on Pinterest, Mason Jar, Wedding Planning mania — someone is out there doing it.

wedding wish jar 4

Alternatively, I can skip the mason’s all together and go for JENGA! Damnit Pinterest! You’re killin’ me.

Wanna find out how many mason jars I can pin between now and July? Follow me on Pinterest here

DIY: Cork Wreath

trash to treasure

When I was really little I told my parents I wanted to be a recycling woman when I grew up. Now, in my defense, the work I thought was involved in this profession was a lot different than how you may perceive it. I thought recycling people were given trash and then recycled it into items more useful or beautiful. Literally turning things from trash to treasure. My family had a good laugh. I pursued other career options. Life went on. Yet, I’d like to think I held on to a little bit of that childhood initiative. I still feel the need to create something out  of what was otherwise, to someone else, nothing. Maybe that would explain why for months I’d been holding on to a shopping bag full of corks at the back of my closet! An old co-worker’s cast-off…”Will anyone use these for a craft or something?” *raises hand* *ponders how long she’d been adding to this collection, the ol’ Wino!*

The itch to create something from her collection finally struck and I thought I’d show ya how to make your own! I’d eventually like to make a framed cork-board completely out of wine bottle corks but it’s gonna take a lot of nights sipping ol’ faithful (Read: Yellow Tail Chardonnay and whatever’s cheapest Malbec) before we get there. In the meantime…

What you’ll need:

IMG_0933

  • fairly sizable collection of wine bottle corks
  • styrofoam wreath form (You can get these at any craft store but I’ve also seen them for sale at lots of other places, even Dollar Tree.)
  • hot glue gun
  • glue sticks
  • ribbons, fake flowers, buttons, burlap, or anything else you’d like to attach

And how it all comes together:IMG_0939Heat up your glue gun and get to work! There’s no real science here. Just glue the corks down in whatever arrangement you fancy, making sure to leave as little open space as possible for the inside of the wreath to poke through. If there are words, design, or cool details on a cork that you want to display, affix it prominently. This can be a great way to show off a cork that may have sentimental value to you. Think: the bottle you opened on an anniversary or the souvenir wine you brought home from a trip abroad. A few of the corks I used were visibly cracked and I thought that looked cool! If you don’t, hide them near the bottom.

Note: Depending on how your wreath form looks, you may want to wrap it in fabric or burlap before gluing down the corks. Use a long piece of fabric and continuously wrap until you reach the end. Glue the first and last edge down with your hot glue gun.

Once your wreath is completely covered in corks, you may want to add a little embellishment. I dove into my craft box to see what I had on hand and came up with some burlap, ribbon scraps, an old iron on transfer and a star charm. But you can use whatever strikes your fancy!

IMG_0941

Now, hang and enjoy!

Do you like crafting with cast-offs? What’s a collection you have that could be re-purposed into something useful or beautiful? Pinterest awaits you! And speaking of Pinterest–follow me! I’m always pinning the cool up-cycle projects I find.

Introducing the illest stitches in Chicago…

sick beet 1

Today, I’d love to showcase the fabulous new Etsy shop, Sick Beet Stitch. Based in Chicago, the shop offers unconventional hand-embroidery lovingly stitched by owner and creator Robyn Novak. Wouldn’t her work make the perfect addition to a gallery wall? Or a meaningful gift for the keeper of all your inside jokes? I love the collection’s mixture of tongue-and-cheek references and dainty images. And each piece seems incredibly well thought out! Did you clock the double check mark next to “silence” above? Made me laugh out loud. Check out some other pieces…

sick beet 2

sick beet 3

sick beet 4

sick beet 5

For more – visit the shop, follow on Facebook, and double tap some snaps over on Instagram!

(Photos by Robyn Novak.)


DIY: Mason Jar Bath Salts

bathsalts

Ok, I realize the concept of bath salts has been getting a bad rap as of late, ever since weirdos in Florida started smoking them and eating people’s faces off. But ACTUAL bath salts, the kind you soak in, are freaking awesome. Combine the benefits of essential oils with the benefits of salt in your bath water and you have a recipe for mindfulness, muscle recovery, stress relief, improved circulation, and a headache solution. This is a really simple DIY that you can adapt based on your favorite colors, scents, and containers to customize to your liking. Make a huge batch and you’ll have an arsenal of gifts you can break out at a moment’s notice. Not to mention, during the process, your house will smell amazing! I packaged this batch in mason jars because DUH! and I love mason jars (I also wanted to decoupage the tops for some added flair) but I think these, these or these would work well too. You could even be super thrifty and reuse cleaned out food jars.

What you’ll need:

For the salts–

-1 cup of epsom salt

-1 cup of sea salt

-essential oil (I used peppermint and lavender)

-food coloring (I used red and blue)

For the mason jar packaging–

-mason jars with this kind of lid

-magazine cutouts

-decoupaging supplies (I used glue, water and a paintbrush but use Mod Podge if you’re feeling fancy)

-pretty ribbon/s (twine would also look adorably shabby chic)

-a fun charm to tie around the top of the jar

and how it all comes together:

-Mix one cup of epsom salt and one cup of sea salt in a large mixing bowl.

-Add 3-6 drops of food coloring. Mix and add more until you reach your desired hue.

-Add 5-10 drops of your chosen essential oil(s). (You can do a little online research if you’re not familiar with oils and their various benefits.)

-Set the bowl aside and pretty up your mason jar tops by decoupaging a tiny collage on top.

-Spoon your salts into the jars and throw the top on.

-Tie a small charm or gift tag/label around the jar with your chosen ribbon/s.

Voila! You’re well on your way to giving someone the gift of stress relief and a proper pampering.