
With Thanksgiving fast approaching, I thought I’d share a super simple way to make your table a little more special on the big day! On Saturday I had a poke around our local Dollar Tree for craft supplies. (If you love crafting, scrapbooking, DIY home decor, etc my biggest money saving tip is to check out dollar stores BEFORE shelling out beau coups cash at places like Michael’s.) With my materials in hand I couldn’t wait to get home and start throwing them together! If you’d like to dress up your table for Thanksgiving, check out what you have on hand. You may be able to use this tutorial as a guide to put together something similar. Then, when Turkey Day rolls around you can lay out some place-mats and cloth napkins, put on some sweet sounding music, and start serving up your favorite dishes. The perfect, classy aesthetic for an intimate and simple Thanksgiving feast!
Bonus: I fully plan on switching out the more autumnal looking flowers for Christmas-y ones (poinsettias maybe?) and rolling this little set-up straight through December!
Ok, enough chatting! Here’s how you can get a similar look for your Thanksgiving table…
What you’ll need:

- a bag of clear glass gems
- a couple fake flowers (Typically the fake flowers from Dollar Tree come all connected in a bunch of three. I cut these two off…and probably ruined a pair of scissors in the process since the stems are plastic covered wire. C’est la vie!)
- tea light or small votive candle
- glass vase
- scissors
- gold jingle bells (I picked up a bag of tiny ones and a bag or normal sized ones because I thought it would be more visually interesting. Not necessary.)
- postal twine
- coordinating ribbon (I used a roll of white with gold polka dots that I had on hand from a previous project.)
Not pictured because I was just making this up as I went–
- E6000 glue
- 2 jars (Mine used to hold pickles! You could use mason jars or whatever you have.)
- 3 cups of dried lentils
And how it all comes together:

Pour the glass gems and jingle bells into the bottom of the large vase and make sure they’re all mixed up.
Create a little hole in the center and nestle the candle down in all those shiny baubles!

Measure out some pretty ribbon and two lengths of postal twine, all the same length.
Lay these three pieces together and tie them all around the top of the vase in a bow. I liked the layering look of combining the ribbon and twine together but you could use one or the other. OR include more lengths of both to bulk it up a bit. Up to you!
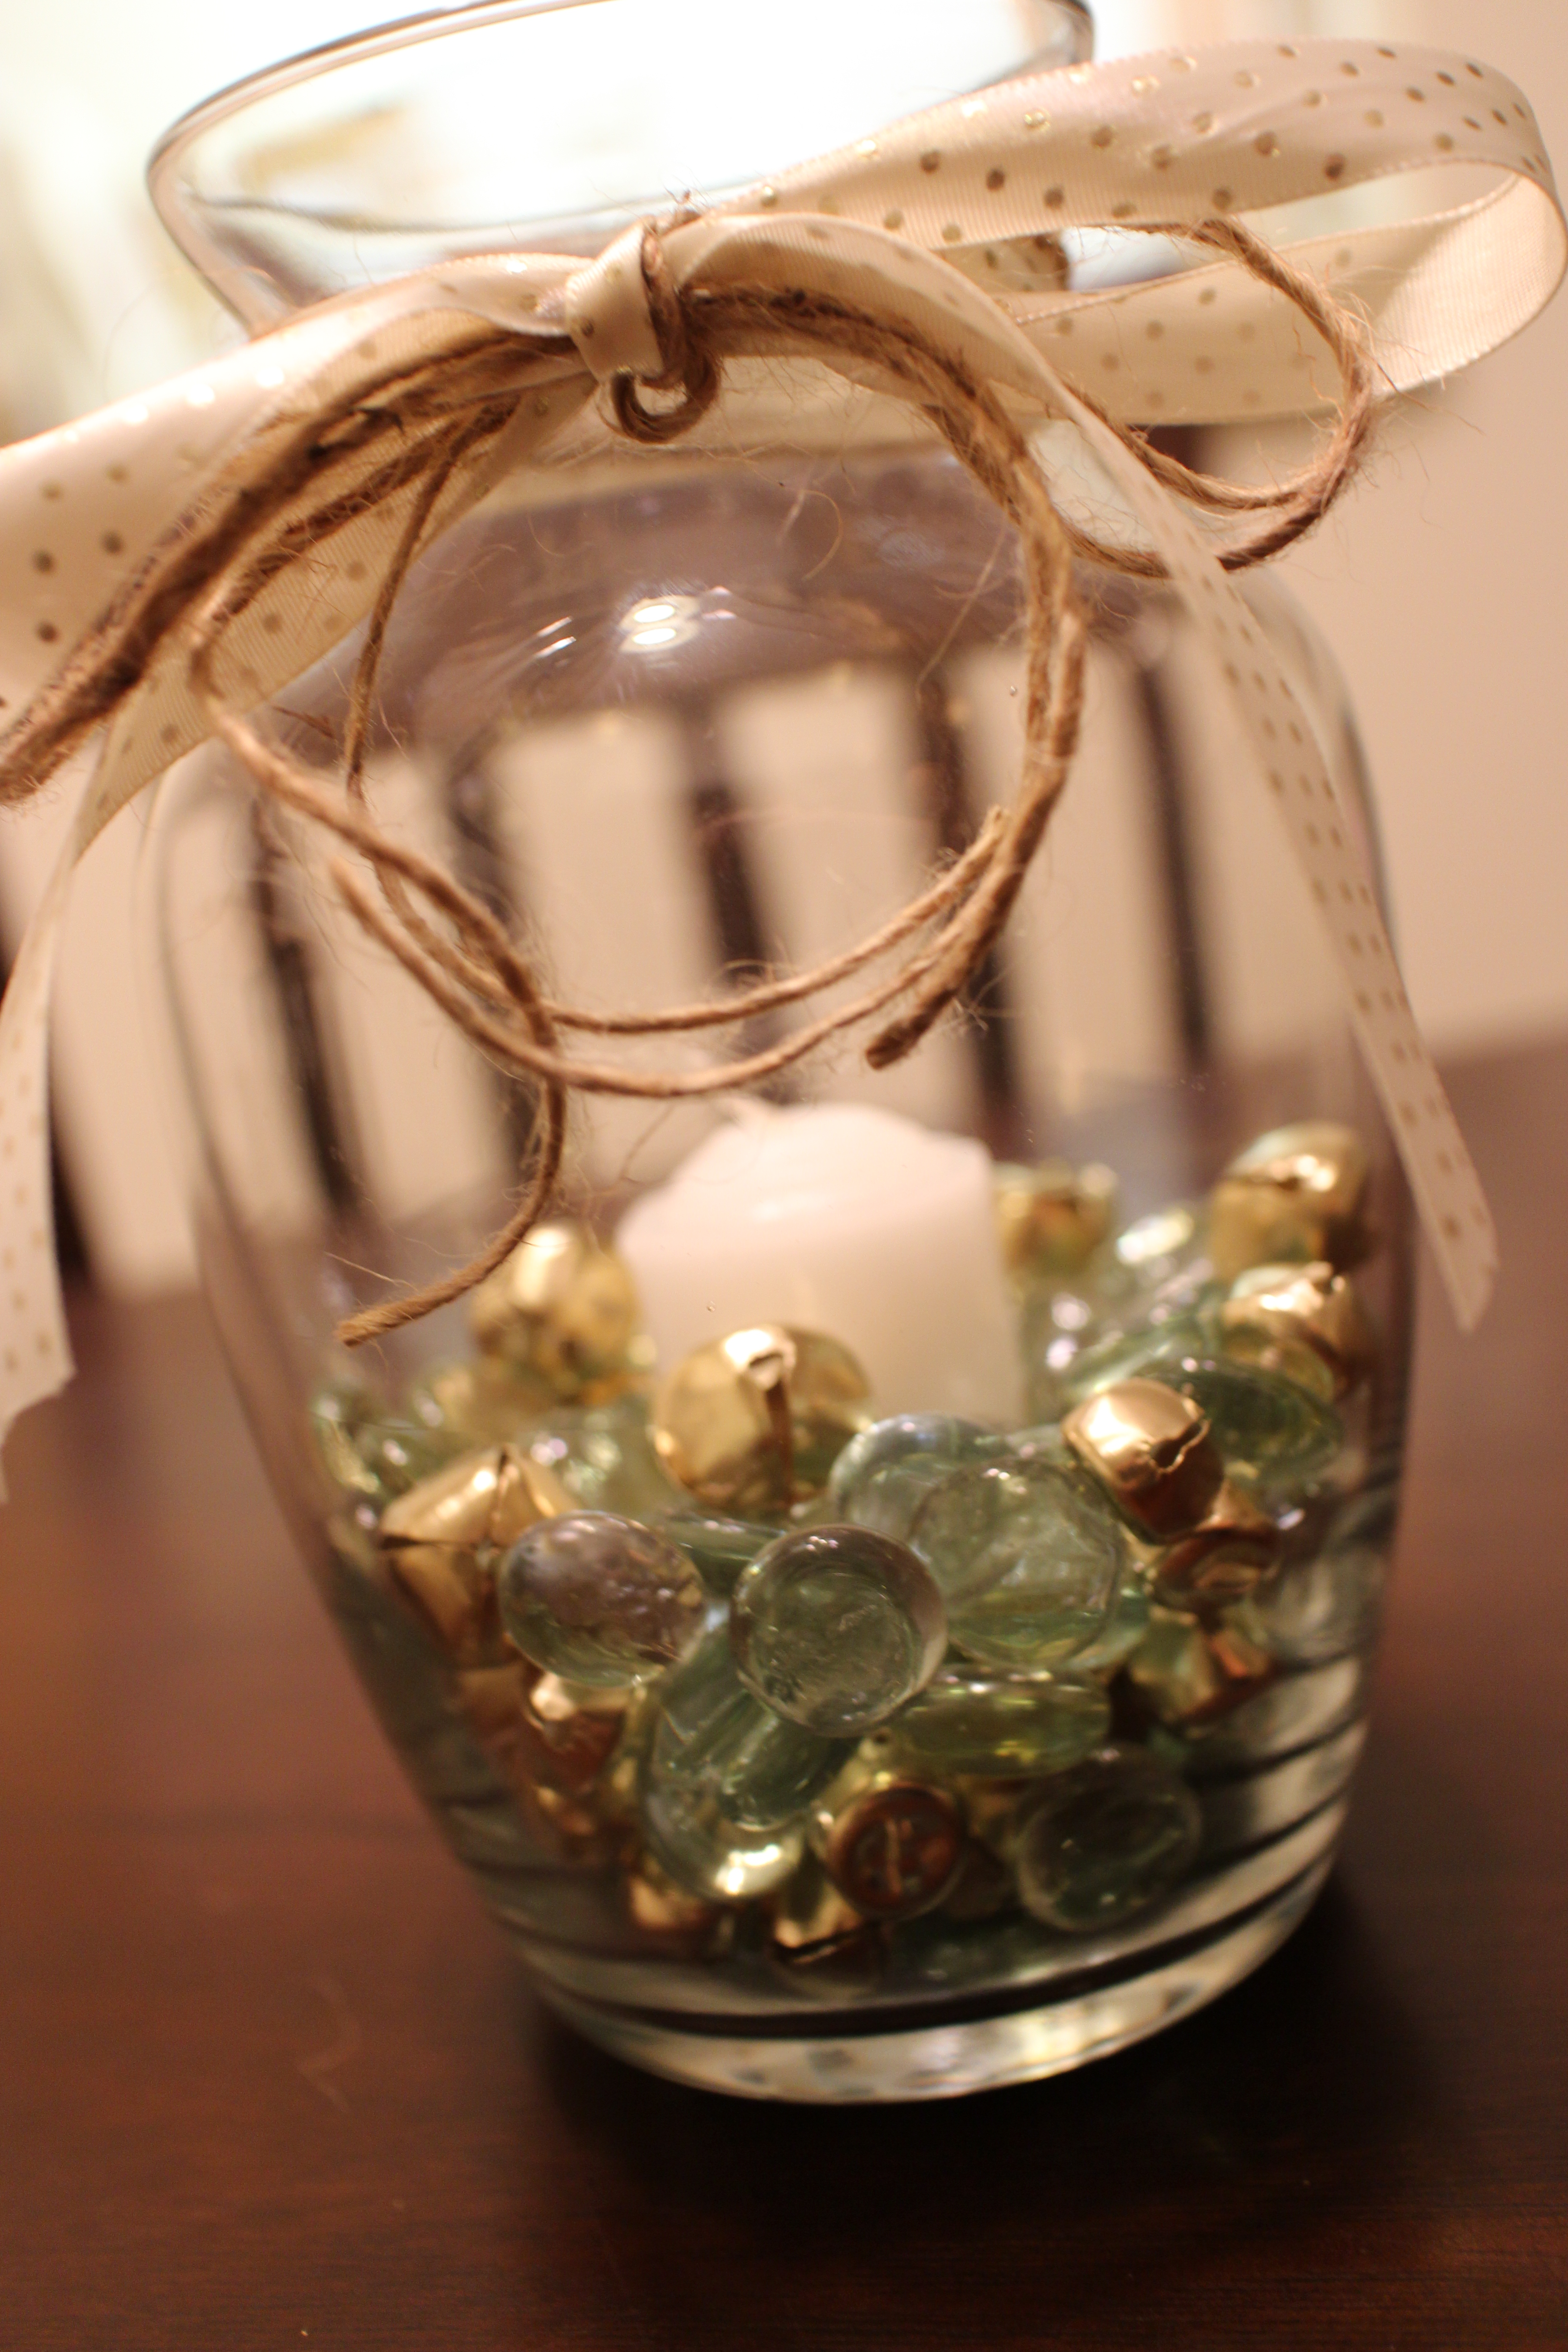
I love how the glass stones and gold bells reflect off each other…and the more rustic bow balances out all that bling. I can’t wait to see how it looks when the candle is lit!
Because I ended up liking this vase as is (without including the flowers), I started grabbing elements from my kitchen to make a couple side jars. I glued the same ribbon around the middle of two pickle jars (They were well washed out. Don’t worry!) and poured some dried lentils inside to give the flowers something to stand up in.

I thought the burlap flowers went nicely with the brown postal twine. There’s also a light dusting of gold glitter on these flowers that the camera didn’t quite pick up. So coordinated!
I placed the large vase in the center of my (smallllll) dining room table flanked by the two smaller jars. If I had a larger table, I would extend this tablescape out by picking up two of these glass taper candleholders from the Dollar Tree (which, side-note: LOTS of people were buying when I was at DT on Saturday. Thanksgiving preparedness, perhaps? Yes, I am a basket peeper.)and this 2-pack of white taper candles. Then I would scootch the little jars down and stick the candles in between. Voila! You could also wrap some fake greenery amongst the five pieces or sprinkle fake leaves.
For my tiny table, however, I’m loving this simple look.

Do you plan on doing anything special for your Thanksgiving table? Have you ever found great craft supplies from an unlikely place? Would you consider creating a centerpiece like this one? Let me know in the comments below!

