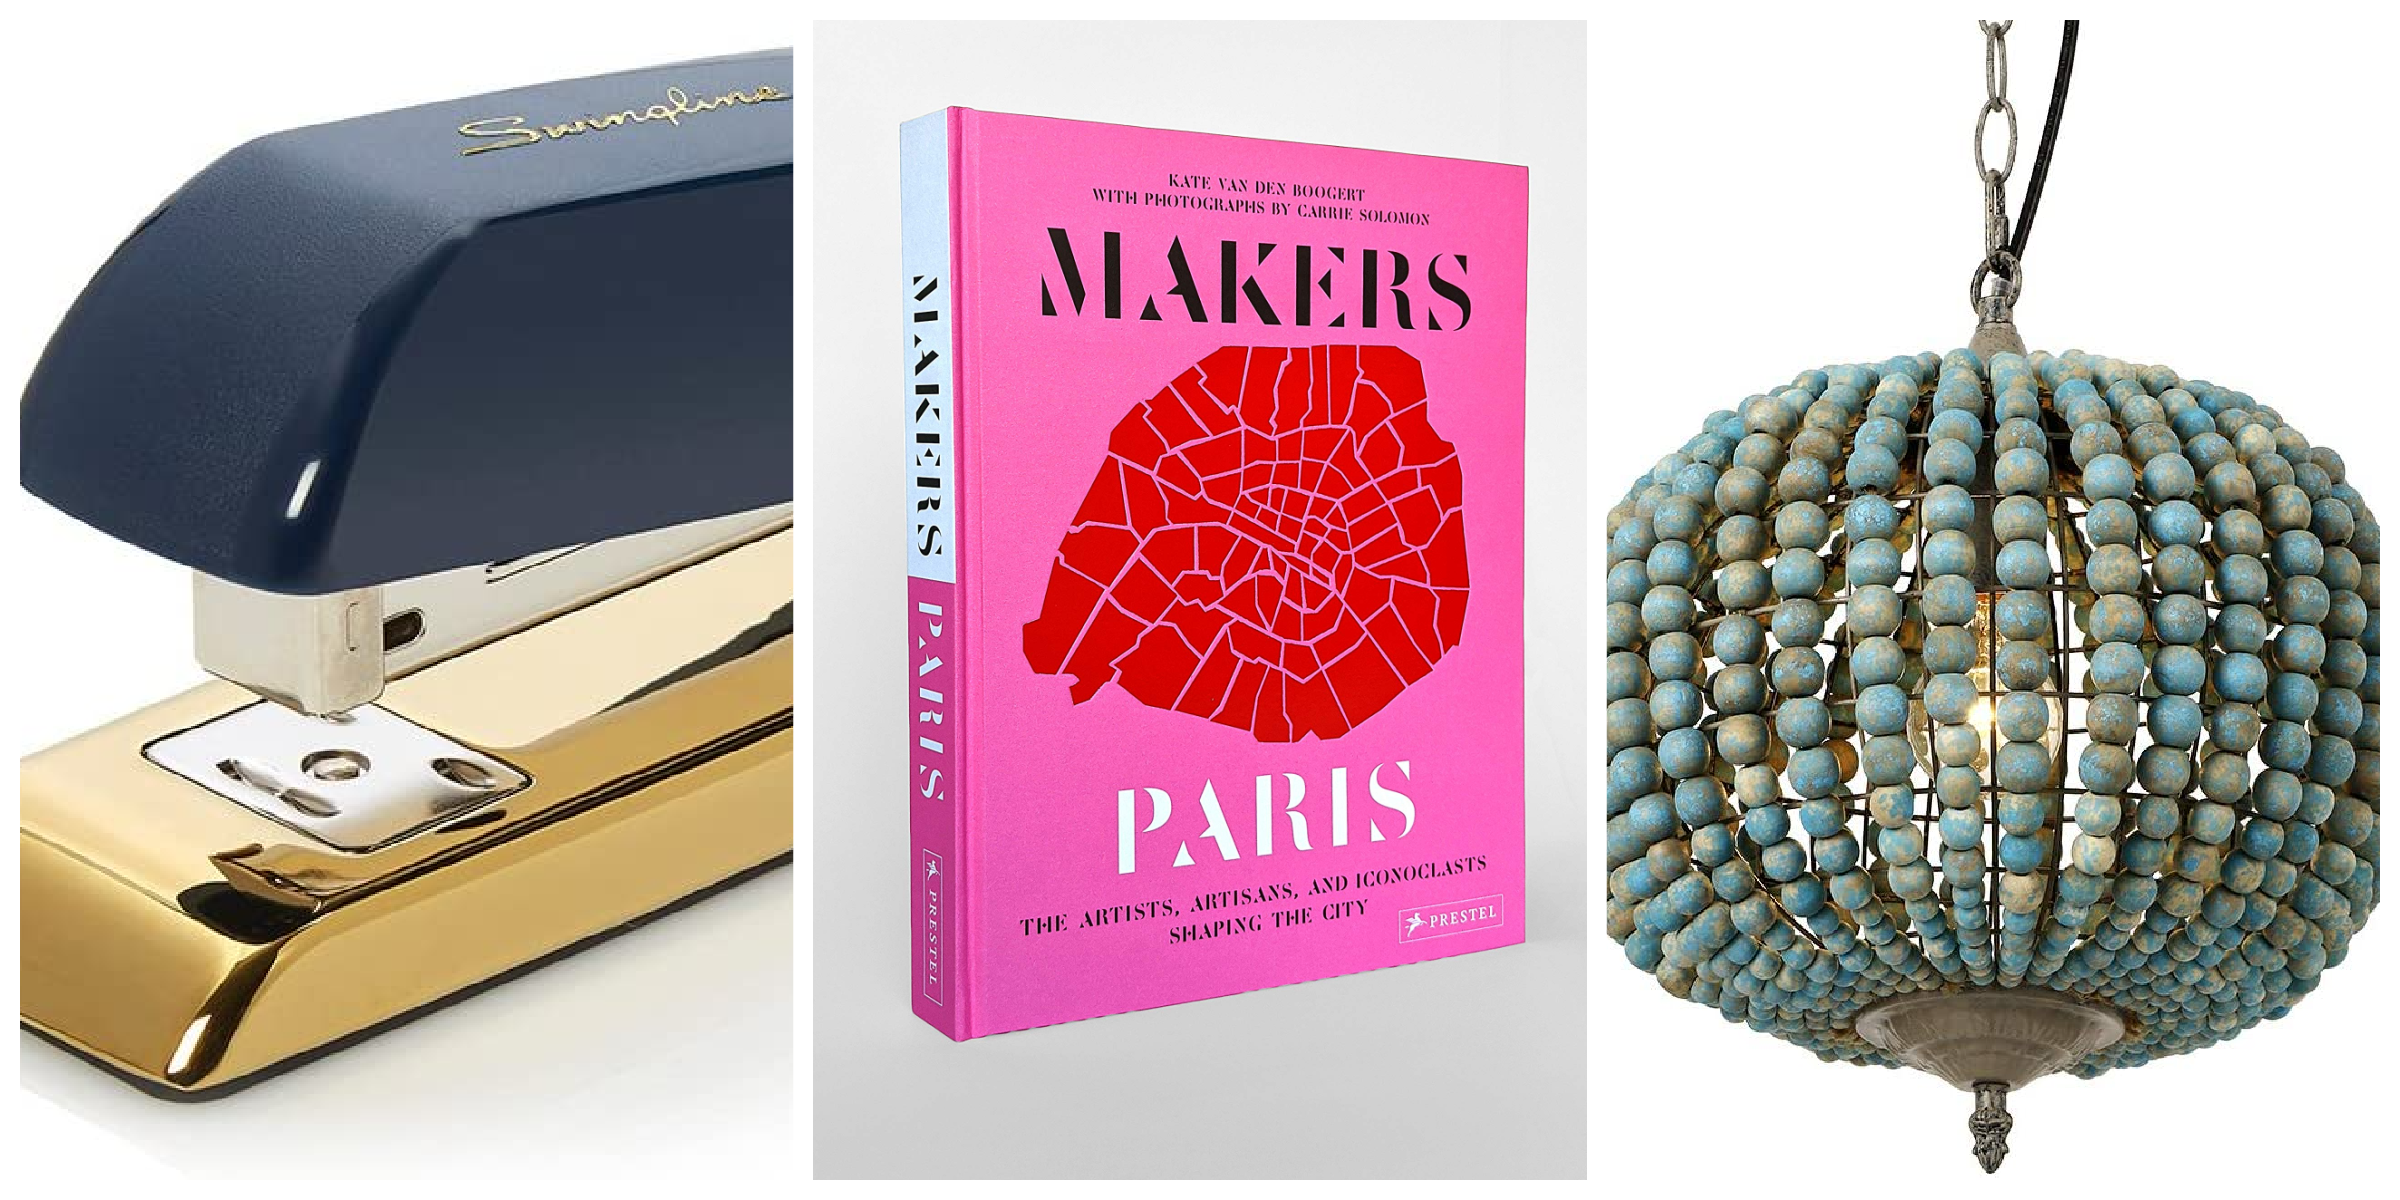
Stapler // Coffee Table Book // Pendant Light
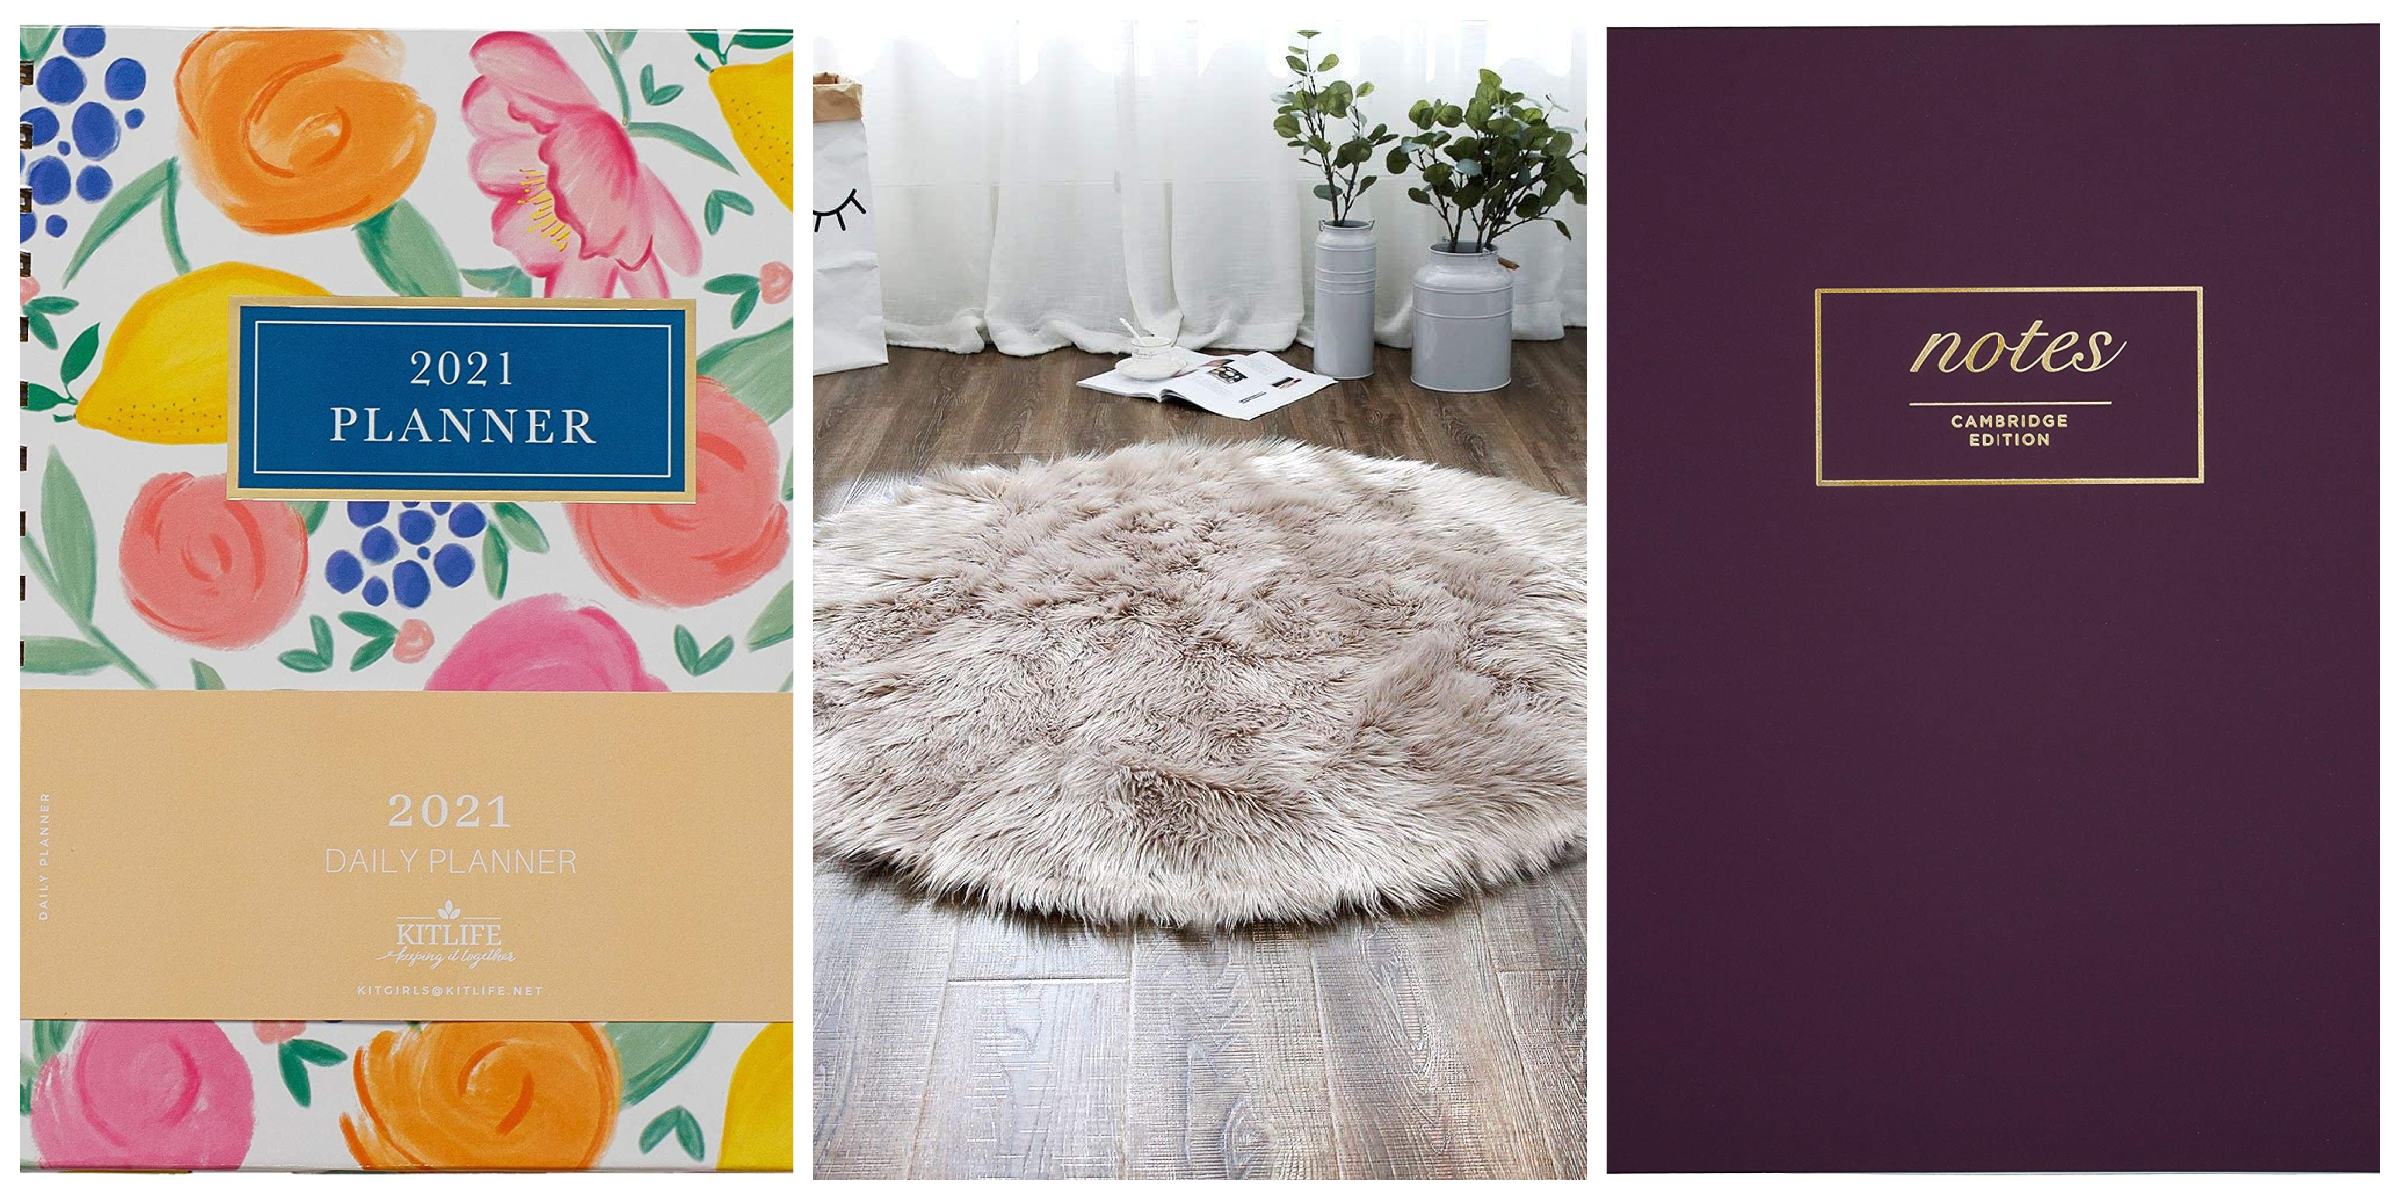
Planner // Cozy Rug // Notebook
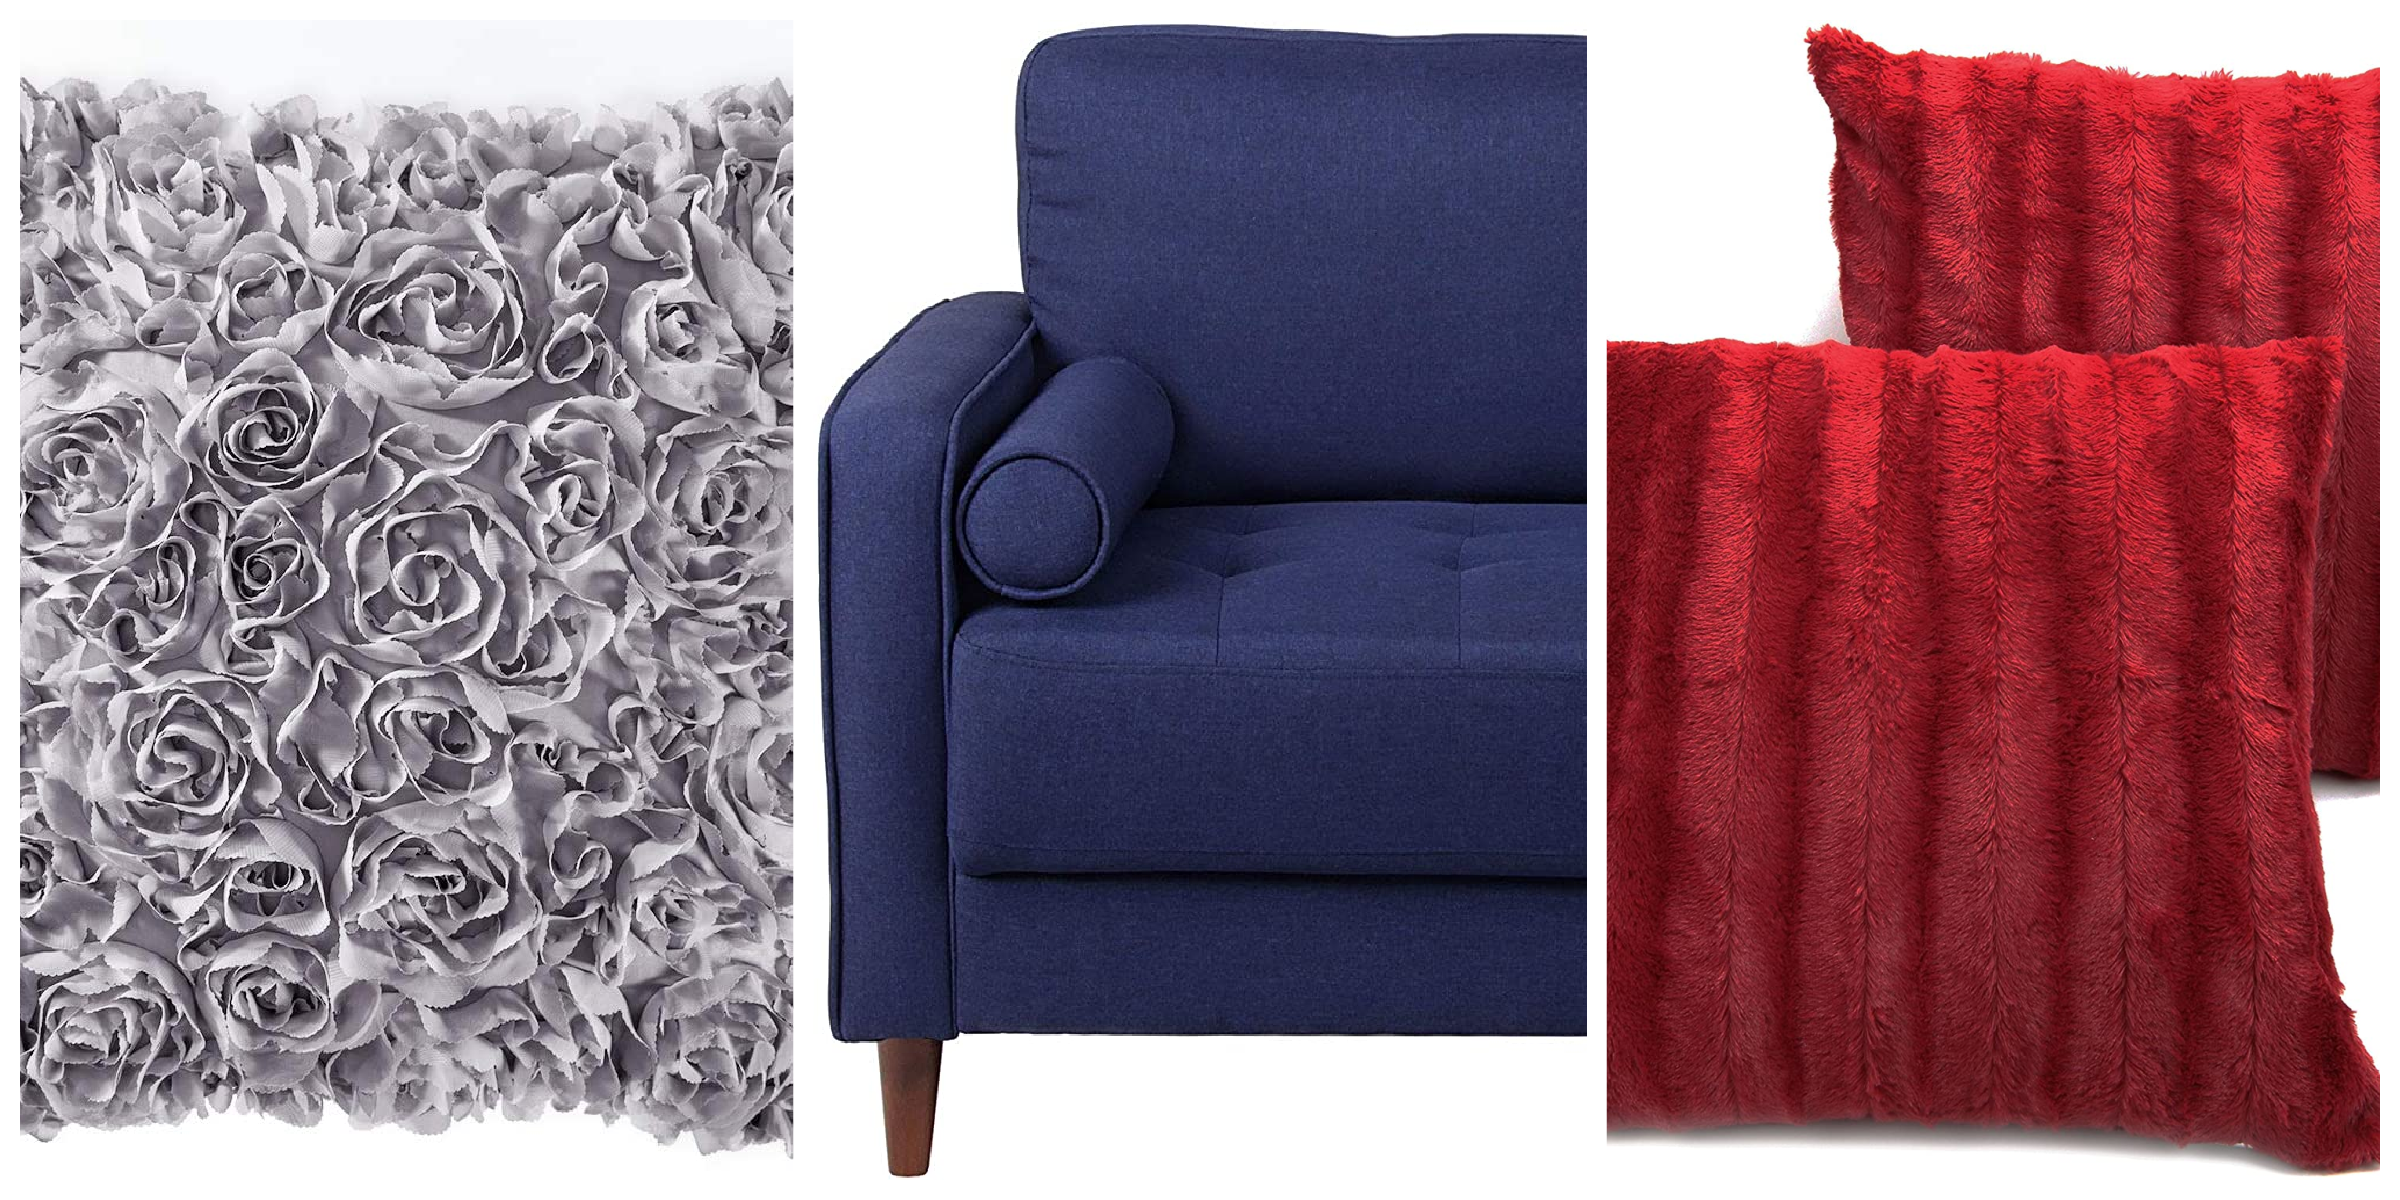
Rose Pillow // Loveseat // Furry Pillows
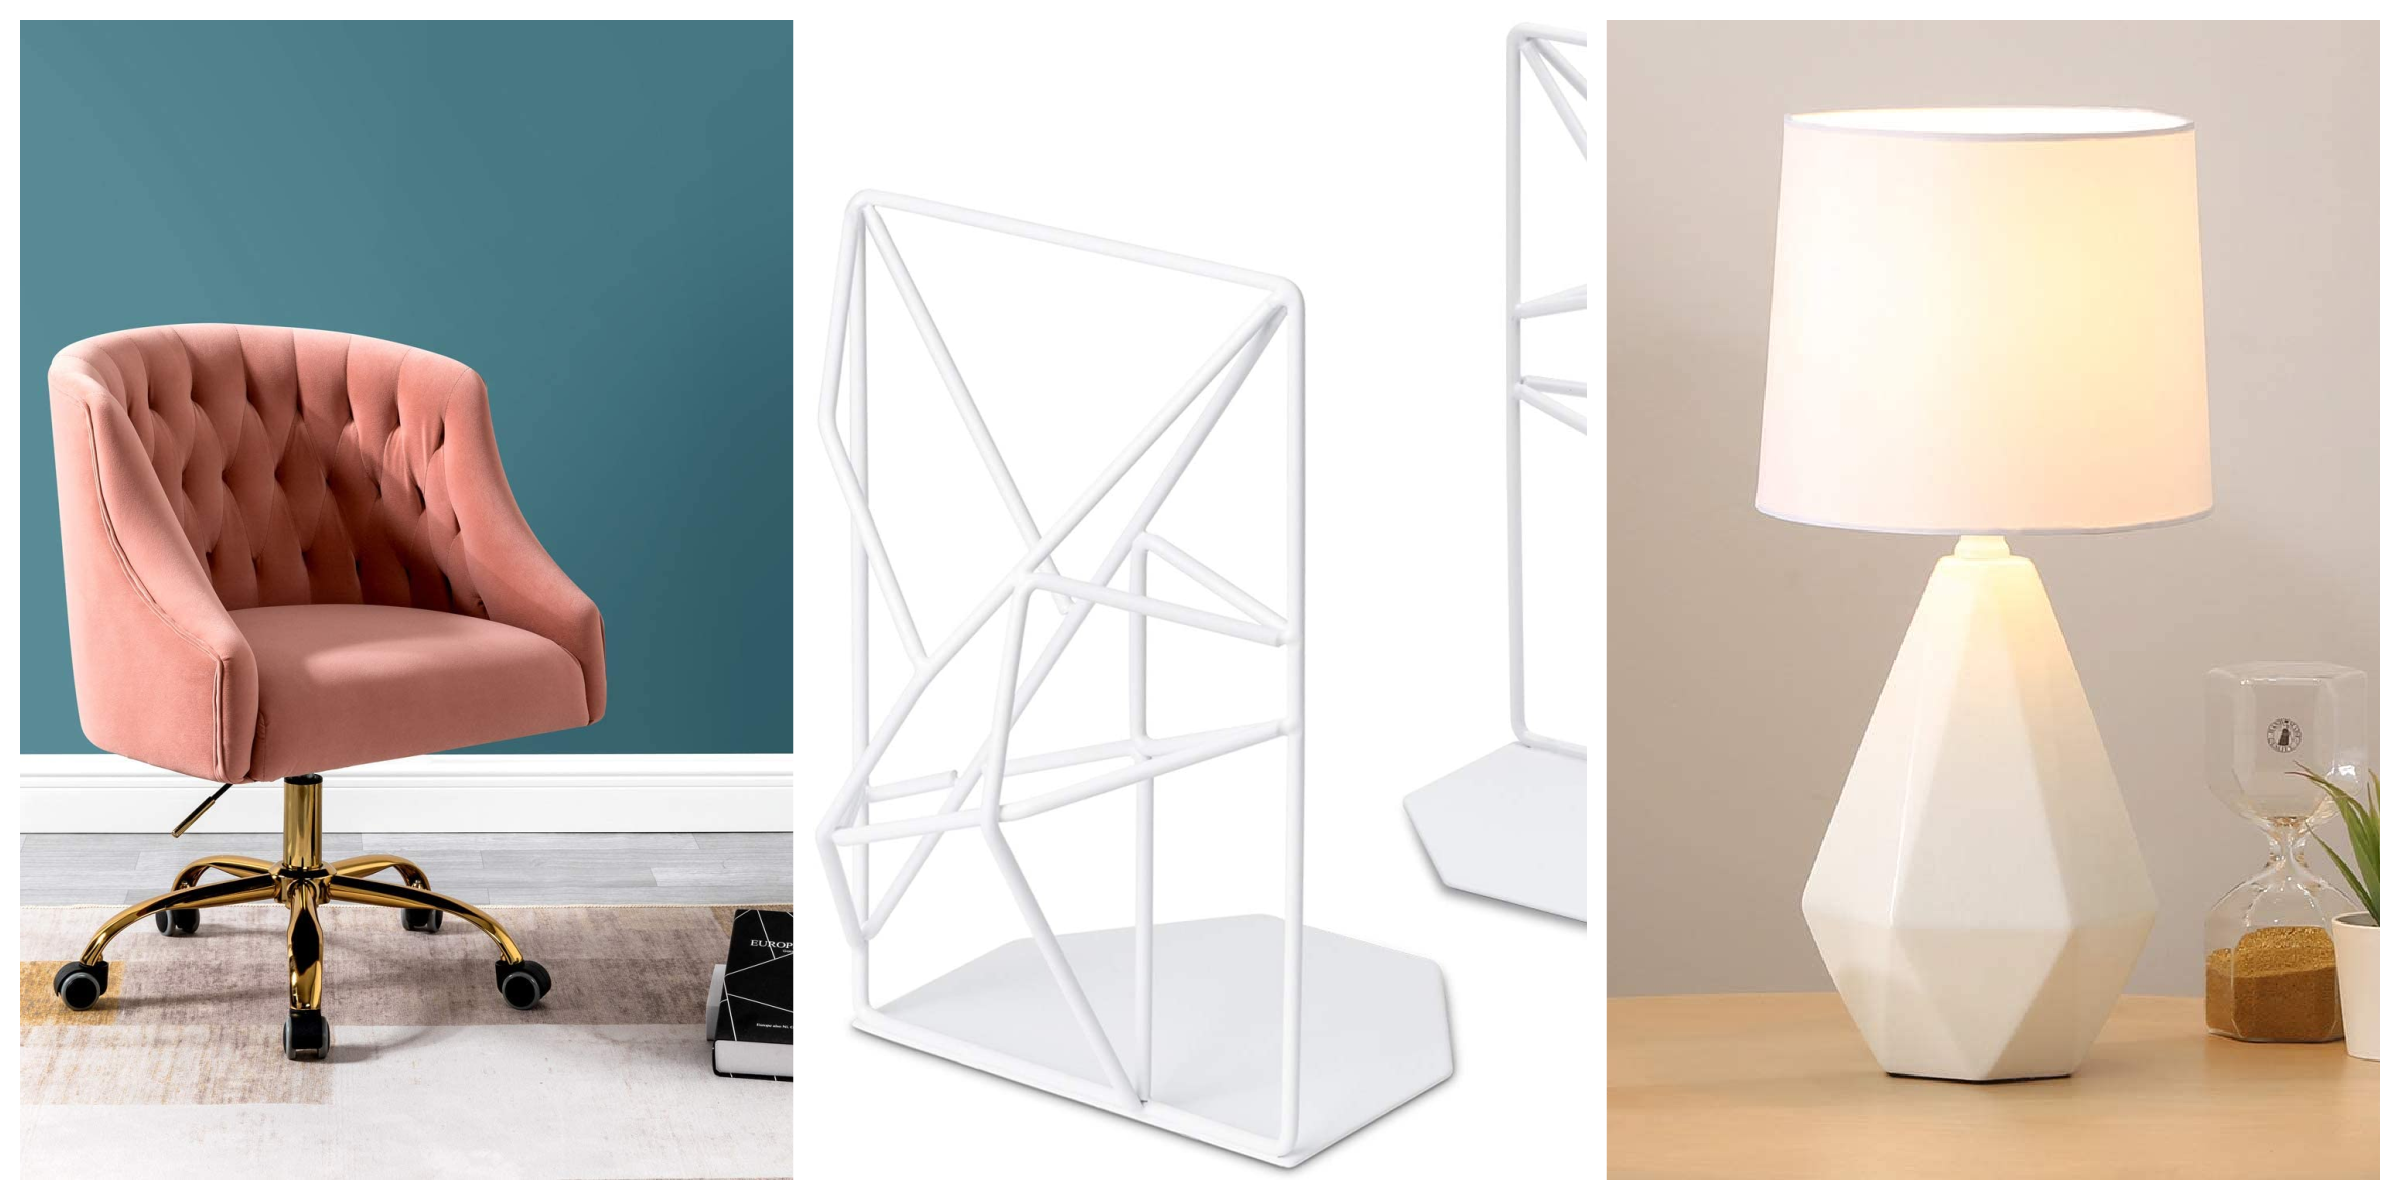
Office Chair // Bookends // Lamp
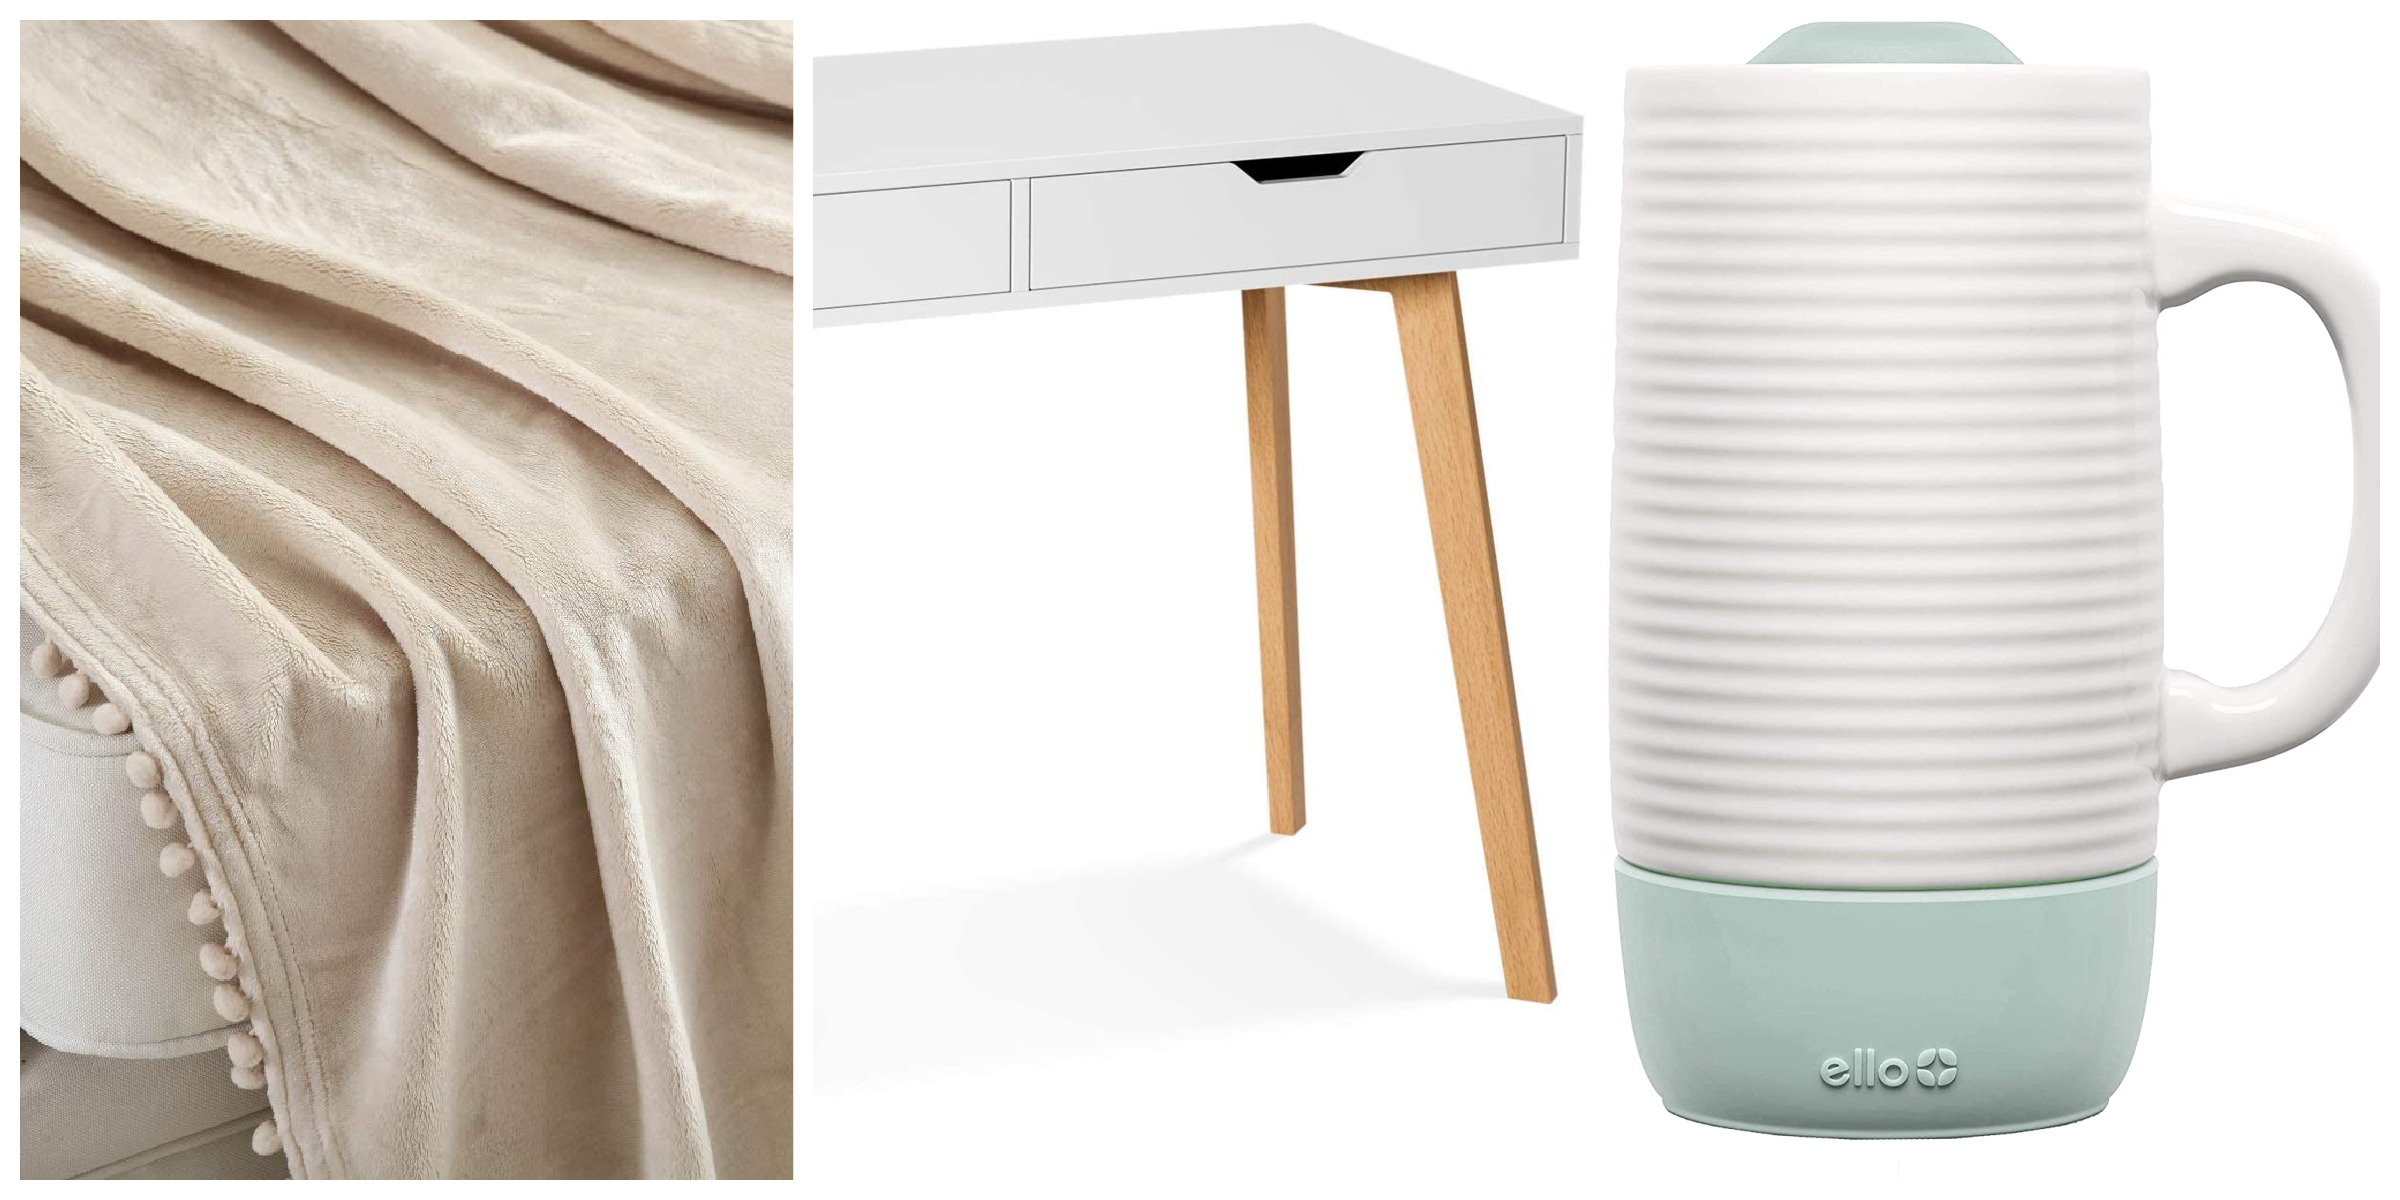
Throw // White Desk // Travel Mug
P.S. Increase productivity with these office design tricks!
Stapler // Coffee Table Book // Pendant Light
Planner // Cozy Rug // Notebook
Rose Pillow // Loveseat // Furry Pillows
Office Chair // Bookends // Lamp
Throw // White Desk // Travel Mug
P.S. Increase productivity with these office design tricks!

One HUGE advantage to our little home in Alabama is that I have a dedicated home office. I love having a space for my desk that’s not about one foot away from where I sleep (like it was in Miami!). I also have a closet (for overflow crap), some drawer storage for craft supplies, a book shelf, and a comfy chair by the window (mostly for my cat/office assistant lol).
But one piece of my home office puzzle that I haven’t quite figured out yet? One big, blank wall. I have my desk against one wall, and all the others either have a door or a window, but then there’s a HUGE blank canvas on the other side.
I’ve been picking up pieces here and there for a potential gallery wall…but then I stumbled upon an idea on Pinterest. A command center! Many examples that I found seemed to be more geared towards household/large family management, yet I think they could be adapted to fit a freelancer’s needs! What do you think?
Here are 5 inspiring examples…

(From Beneath My Heart)

(From The Happy Housie)

(From Sarah Rosemary)

(From The Idea Room)

(From Simply September)
What do you think? Have you ever made a command center? Do you think having one in a home office would be helpful?

My sister, Katie, and I did this DIY project a few months back but I thought it was too cute not share with you guys. We thought it was a really adorable way to take something cheap, cookie sheets from Big Lots, and turn it into something beautiful–fabric covered magnet boards. I love how easy this project is to customize. Choose fabrics and details that suit your style and follow a few simple steps…presto, change-o! You’ve got some cool decorative flair for any room. Because we were making our boards as a present for our Mom, we chose a bright, cheery color palette that we knew she would enjoy. Once you’ve got a style and color palette picked out (and some GORGE buttons for magnet-making), it’s time to get started!
What you’ll need:

-Cheap-o cookie/baking sheet(s)
-Fabric
-Glue gun (mine just happened to match PERFECTLY!)
-Glue sticks
-Magnet dots or magnet tape (you can get the kind with adhesive backing but I would use the glue gun so your decorated magnets hold together a bit better)
-Scissors
-Sewing notions to make magnets–we used a variety of buttons and some golden ribbon
And how it all comes together:

-Cut your fabric to size and hot glue it to the back of the cookie sheet.

-Fold edges like a package and trim so they are all even. Cut another piece of fabric to size and glue over the opening–creating a backing. You could do this with a solid more sturdier piece of fabric (maybe even a felt) or stick with the same fabric you used for the front.

-Once your boards are covered with fabric, it’s time to make magnets! Glue buttons, ribbon, googly eyes, ANYTHING YOU LIKE onto magnets with your hot glue gun. Be sure to press them on hard and let them dry completely.
Magnet inspiration–


-For hanging you can get some picture hanging kits from the craft or hardware store to attach to the back or just set ’em on your desk and prop against the wall. Now load your board up with grocery lists, reminders and pics and you’re ready to go!

—
Where would you like to hang one of these babies? By your back door? At your office? What colors would you choose? My work just ordered me a new desk (eeps!) so I would love to have one there for a full work-space face-lift. Maybe in some pretty Fall colors to kick off the season!

Recently, I decided to jazz up my desk at home in order to psychologically witch-craft myself into using it more often. I moved the desk next to a window for some natural light, hung some prints on the wall around it, and placed some pens in a pretty cup. One thing felt missing though…a simple, shabby-chic inspired calendar! I like this calendar DIY because you can write in the month/dates with dry erase (it’s framed in glass) and it can hang on the wall, gently reminding you of all your upcoming tasks. Here’s how to make your own—
What you’ll need:
– burlap
– ruler
– fine point Sharpie
– scissors
– square frame (with glass on top, not plastic)
– any little extra bits of cloth, stickers, ribbons, etc to take it to the next level
and how it all comes together:
– Cut a square of burlap so that it will fit in your chosen frame.
– Do a little measurement math and sketch out (probably with a pencil at first) the bones of your calendar. I chose to put a rectangle in the top right for writing in the Month and a large grid below it with 7 squares across and and 5 squares down to write in your days. Now, write the days of the week across the top of each square.
– Go over your outlines with a fine-tipped sharpie. The effect of Sharpie on burlap is pretty cool because it ends up looking like the outlines/writing have been stitched on. #crafthack
– Add some swag! I happened to have a bunch of those white/tan cloth stickers in my craft box so I put a few on to really up my Shabby-Chic game. Any cloth scraps cut into cool shapes would look super cute too.
– Frame that puppy up and stick it on your wall at home or in your office.
– Use dry-erase markers to write in the month and days (which I’ve done for April in the picture above) and all your important appointments (which I’ve yet to do in the picture above).
Yay! Crafting for the win….because this post was totes written at my cozy lil home desk. : )
