Tag Archives: wall decor

My New Photo Wall

mixtiles photo wall

Guys! I am so obsessed with my new photo wall. I’ve been toying with the idea of putting one up for months now but it always just seemed like SOOO much work. Choosing the photos, getting them printed, then framed, and – MOST DAUNTING OF ALL – hung.

(Hung straight and without making the wall look like swiss cheese with all the nail holes, that is.) 

Well, then I discovered Mixtiles and it seemed like the perfect opportunity to finally pull the trigger on the photo wall of my dreams! I still took great care to choose my photos, narrowing down a field of many to 12 of my favorites. I wanted them to all have a cohesive color palette (blue, red, green, and light maroon) so that the arrangement would look nice in our living room. This helped weed out some contenders. Also handy was the fact that the Mixtiles website will tell you if a picture is going to be lower quality when printed as soon as you upload it. So that eliminated a few more.

My 12 winners included:

  1. Chet at the aquarium
  2. Me on a trail with my trusty Tom Bihn
  3. Katie at the shuffleboard club
  4. A snap from a trip to the Everglades
  5. Andy, Mom, and I at Sunken Gardens
  6. Chet and his Mom at his doctoral graduation
  7. Chet and I on a trip to St. Pete
  8. The weekend we moved to Alabama
  9. Breaux Bridge
  10. My Mom in Miami
  11. Wink enjoying some outdoor time
  12. and the Berger siblings

All I had to do was upload the photos, select the type of frame I wanted, and the next thing I knew they were on my doorstep. And best of all? They hang WITHOUT nails and are removable, reusable, and leave no marks. Perfect for people (like me) who are indecisive and want to play around before they settle on the ideal placement.

I would highly, highly recommend Mixtiles if you’ve always wanted a photo wall but were too scared to take the plunge! I’m already itching to order more!! They are beautiful quality and the perfect addition to any home.

Do you have a photo wall?

Advertisement

How to Spruce Up Your Neutral Rental

When it comes to home decor, you can’t go wrong with light neutrals. Shades like light grey, beige, or even plain white can all bounce the light around making any space look bigger or brighter- plus the colors work with any style of decor. In my vast rental experience, landlords love painting their properties this way as it appeals to the most amount of tenants, allowing them to get people in and renting their places as quickly as possible. However, while there are great benefits to a neutral, blank canvas- it can feel very impersonal and can take a bit of sprucing up to make it feel like YOUR home.

Here are some of the ways you can liven up a rental without changing those neutral walls and flooring…

Add Wall Decoration

Landlords can be funny about their tenants putting holes in the walls, so it’s worth speaking to them first and getting permission. (If you’re not allowed to make holes, you can always use command hooks.) You could hang anything from a piece of art that you’ve carefully selected to a gallery wall made up of framed prints that you switch up every few months. Either way, wall decor is an easy way to add personality to a room without paint or wallpaper. Round out the look with a statement clock and a mirror, these will also break up the bland walls but they’re of course functional, too!

Choose Statement Furniture

When the rest of your decor is  plain, you have the freedom to be a bit more adventurous with other items and your furniture is one place you can go wild. How about choosing a statement coffee table, or upcycling your tv unit or sideboard for a unique look? A plain sofa might be best as it’s an investment piece that will need to stand the test of time. But pair it with a brightly colored or patterned chair or a funky footstool. Choose one or two key pieces to stand out and go with bold and unusual styles. A fantastic way to show off your personality!

Think About Lighting

Lighting is something that’s often overlooked and left as an afterthought when it comes to decor, but it shouldn’t be. Lighting is such an important element, and it’s another way you can inject a little extra personality into the room. It could be anything from a chandelier to an industrial looking fitting with exposed bulbs. And don’t forget to add lamps! If you purchase smart bulbs, you can adjust the brightness and warmth of any room’s glow right from your phone. Plus, colorful or interesting lamp bases, shades, or both can bring in a little extra something to a room that’s decorated in neutral colors.

Consider Accessories

Your accessories are what will bring the room together, show your style and allow your personality to come through. Add cozy cushions and throws to spruce up sofas, chairs and beds. Patterned or colored rugs to make floors feel more comfortable and to tie rooms together. Let your interests and hobbies shine through! Whether that includes a place to display your geode collection, a Viking axe hung on the wall, or a beautifully aquascaped aquarium! Don’t just choose things for the sake of it, instead have a good think about not only what will work well in the space but what really reflects YOU. Your home should be a curation of the things that you love. Just remember – it’s quality over quantity when it comes to things out on display.

Add Plants

Any home (whether a rental or not) will benefit from the addition of plants! Not only does the color and texture liven up a home but they’ve even been shown to boost mood. You could go with some larger standing varieties in pots, a few mini cactus, smaller plants on tables and desks, and hanging plants. If you’re bad at keeping plants alive, go for low maintenance varieties, or there’s even some rather realistic-looking faux varieties on the market these days. Vases of flowers are another option. You can buy bunches from supermarkets very cheaply, and they will brighten your home for days! Plus, it’s a fun way to treat yourself. 

How have you spruced up a neutral rental without upsetting your landlord?! 

DIY: Polaroid Display

On our recent mini vacay to Delray Beach, we brought along an old polaroid camera. We had gotten it at a flea market a few years back and I never really thought it would function (I just wanted it as a funky bookshelf accessory). But lo and behold, Chet found a way to get it working and we took a roll of beach-y, vintage-vibes snaps.

I really wanted a way to display this special roll of film. Each of the pictures make me happy and I love that they look like they could have been shot in 1977. (#nofilter just an old ass camera, lol)

Here’s what I came up with and instructions in case you wanna make your own!

What you’ll need:

  • a frame
  • hot glue gun
  • glue sticks
  • thick twine or rope for hanging
  • thin twine or yarn for stringing across the frame
  • mini clothespins
  • sandpaper if your frame needs a lil distressing

And how it all comes together:

The most important part of this project, in my opinion, is to find a frame that fits the vibe of your polaroids. I found this one on clearance at Home Goods. The light blue, antiqued look really goes with our beach-y, vintage-looking polaroids. You could probably find a great frame for your own photo display at a thrift store or maybe you have one sitting around your house! If you’re going for a distressed look, you could always paint and then sand to let a little wood peak through.

Once you have your frame, take out the backing and glass. Lay out your polaroids to see what arrangement will work best. Then, measure out some twine and string it across. Secure with hot glue.

Next, cut some thick twine to attach to the top of the frame for hanging. Depending on how heavy your frame is you may need to staple down the ends.

Finally, clip your polaroids on with some adorable mini clothes pins.

Hang on the wall and admire your finished product…

I’m totally obsessed with how this turned out and love displaying our tiny collection of beachy polaroids by my desk! Have you completed any DIY projects lately? I’d love to hear about them. ❤ 

DIY: Paper Flowers on Canvas with Home Made Luxe

home made luxe subscription box

I love craft tutorials. I love pinning neat DIY’s to my Pinterest boards. I love watching YouTube videos where the creator whips up a clever craft. And sometimes I love hauling my butt to the craft store, loading up on supplies, and parking myself in front of a project.

But here’s the thing. I’ve pinned so many projects to Pinterest that sometimes I’m not sure where to begin. The nearest craft store to me is basically a nightmare. A lot of my craft supplies get bought, used for one project, and the extras sit in my closet for months on end.

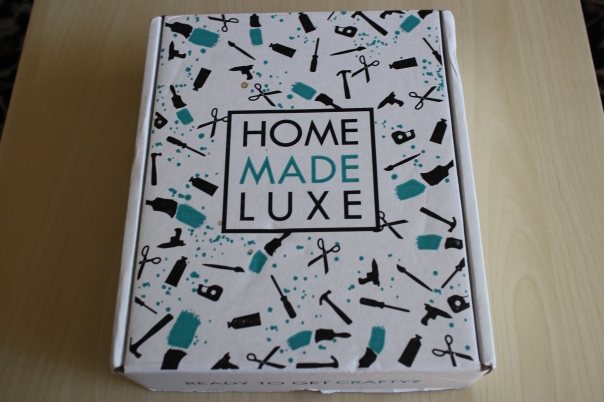
So when I heard about Home Made Luxe I was anxious to give them a try! Home Made Luxe is a monthly subscription box containing all the materials you need to make a beautiful home decor project. No need to fight my way down the crowded aisles at my local Michael’s. No need to scour my Pinterest board for the perfect craft. Everything just shows up in a box, including detailed step by step instructions and a link to video instructions as well. Score!

craft

Let’s see how I fared with my May box from Home Made Luxe…

All the supplies and instructions arrived neatly packaged (and even included a handwritten note just for me!). The May box included everything I needed to create a trio of paper flowers on gold painted canvases. As I put mine together, I thought it might be fun to give you a little tutorial on how to make your own! But without your very own Home Made Luxe subscription you’ll have to scavenge the supplies on your own. 😉

What you’ll need: 

home made luxe supplies

The picture above shows you everything my box included (+my cat’s butt) –

  • Heavy cardstock
  • 3 8×8 canvases
  • Gold paint
  • Paint brush
  • Paper flower templates
  • Glue Sticks
  • and a paper drop cloth

Not included in the box but also needed –

  • Scissors
  • Glue gun
  • Pencil

and how it all comes together: 

home made luxe painting

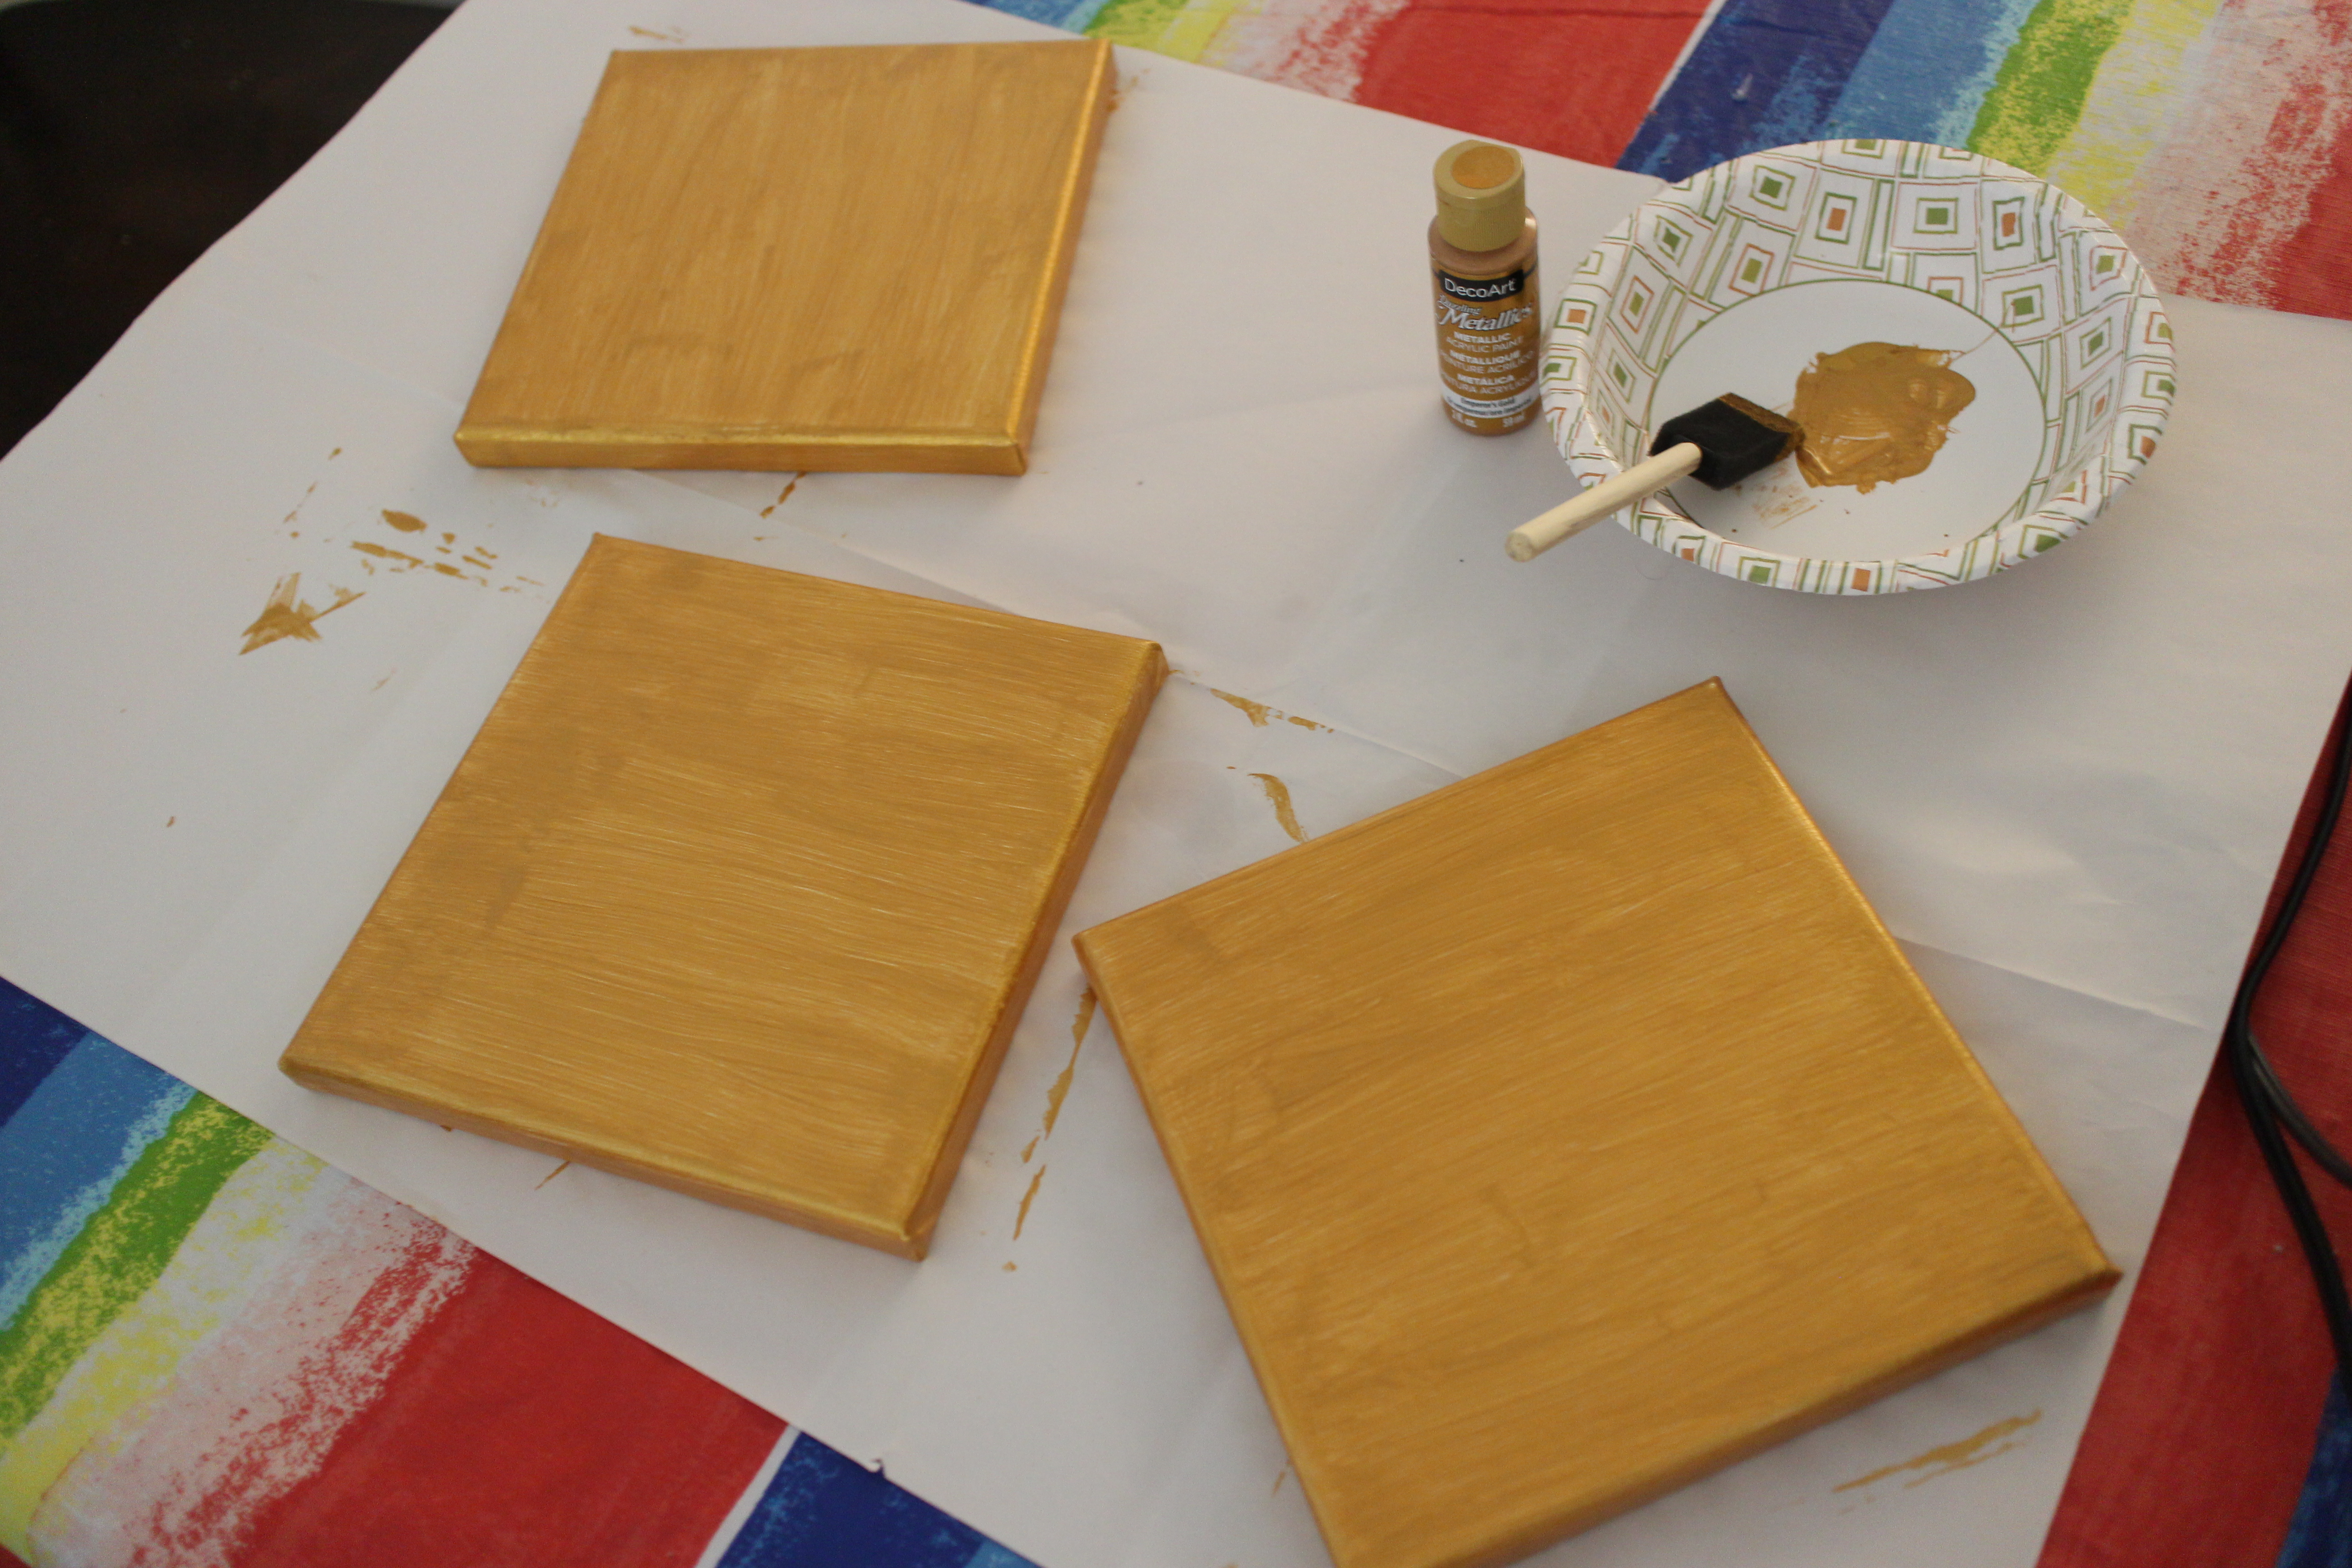
Step one. I applied a first coat of gold paint to my canvases.

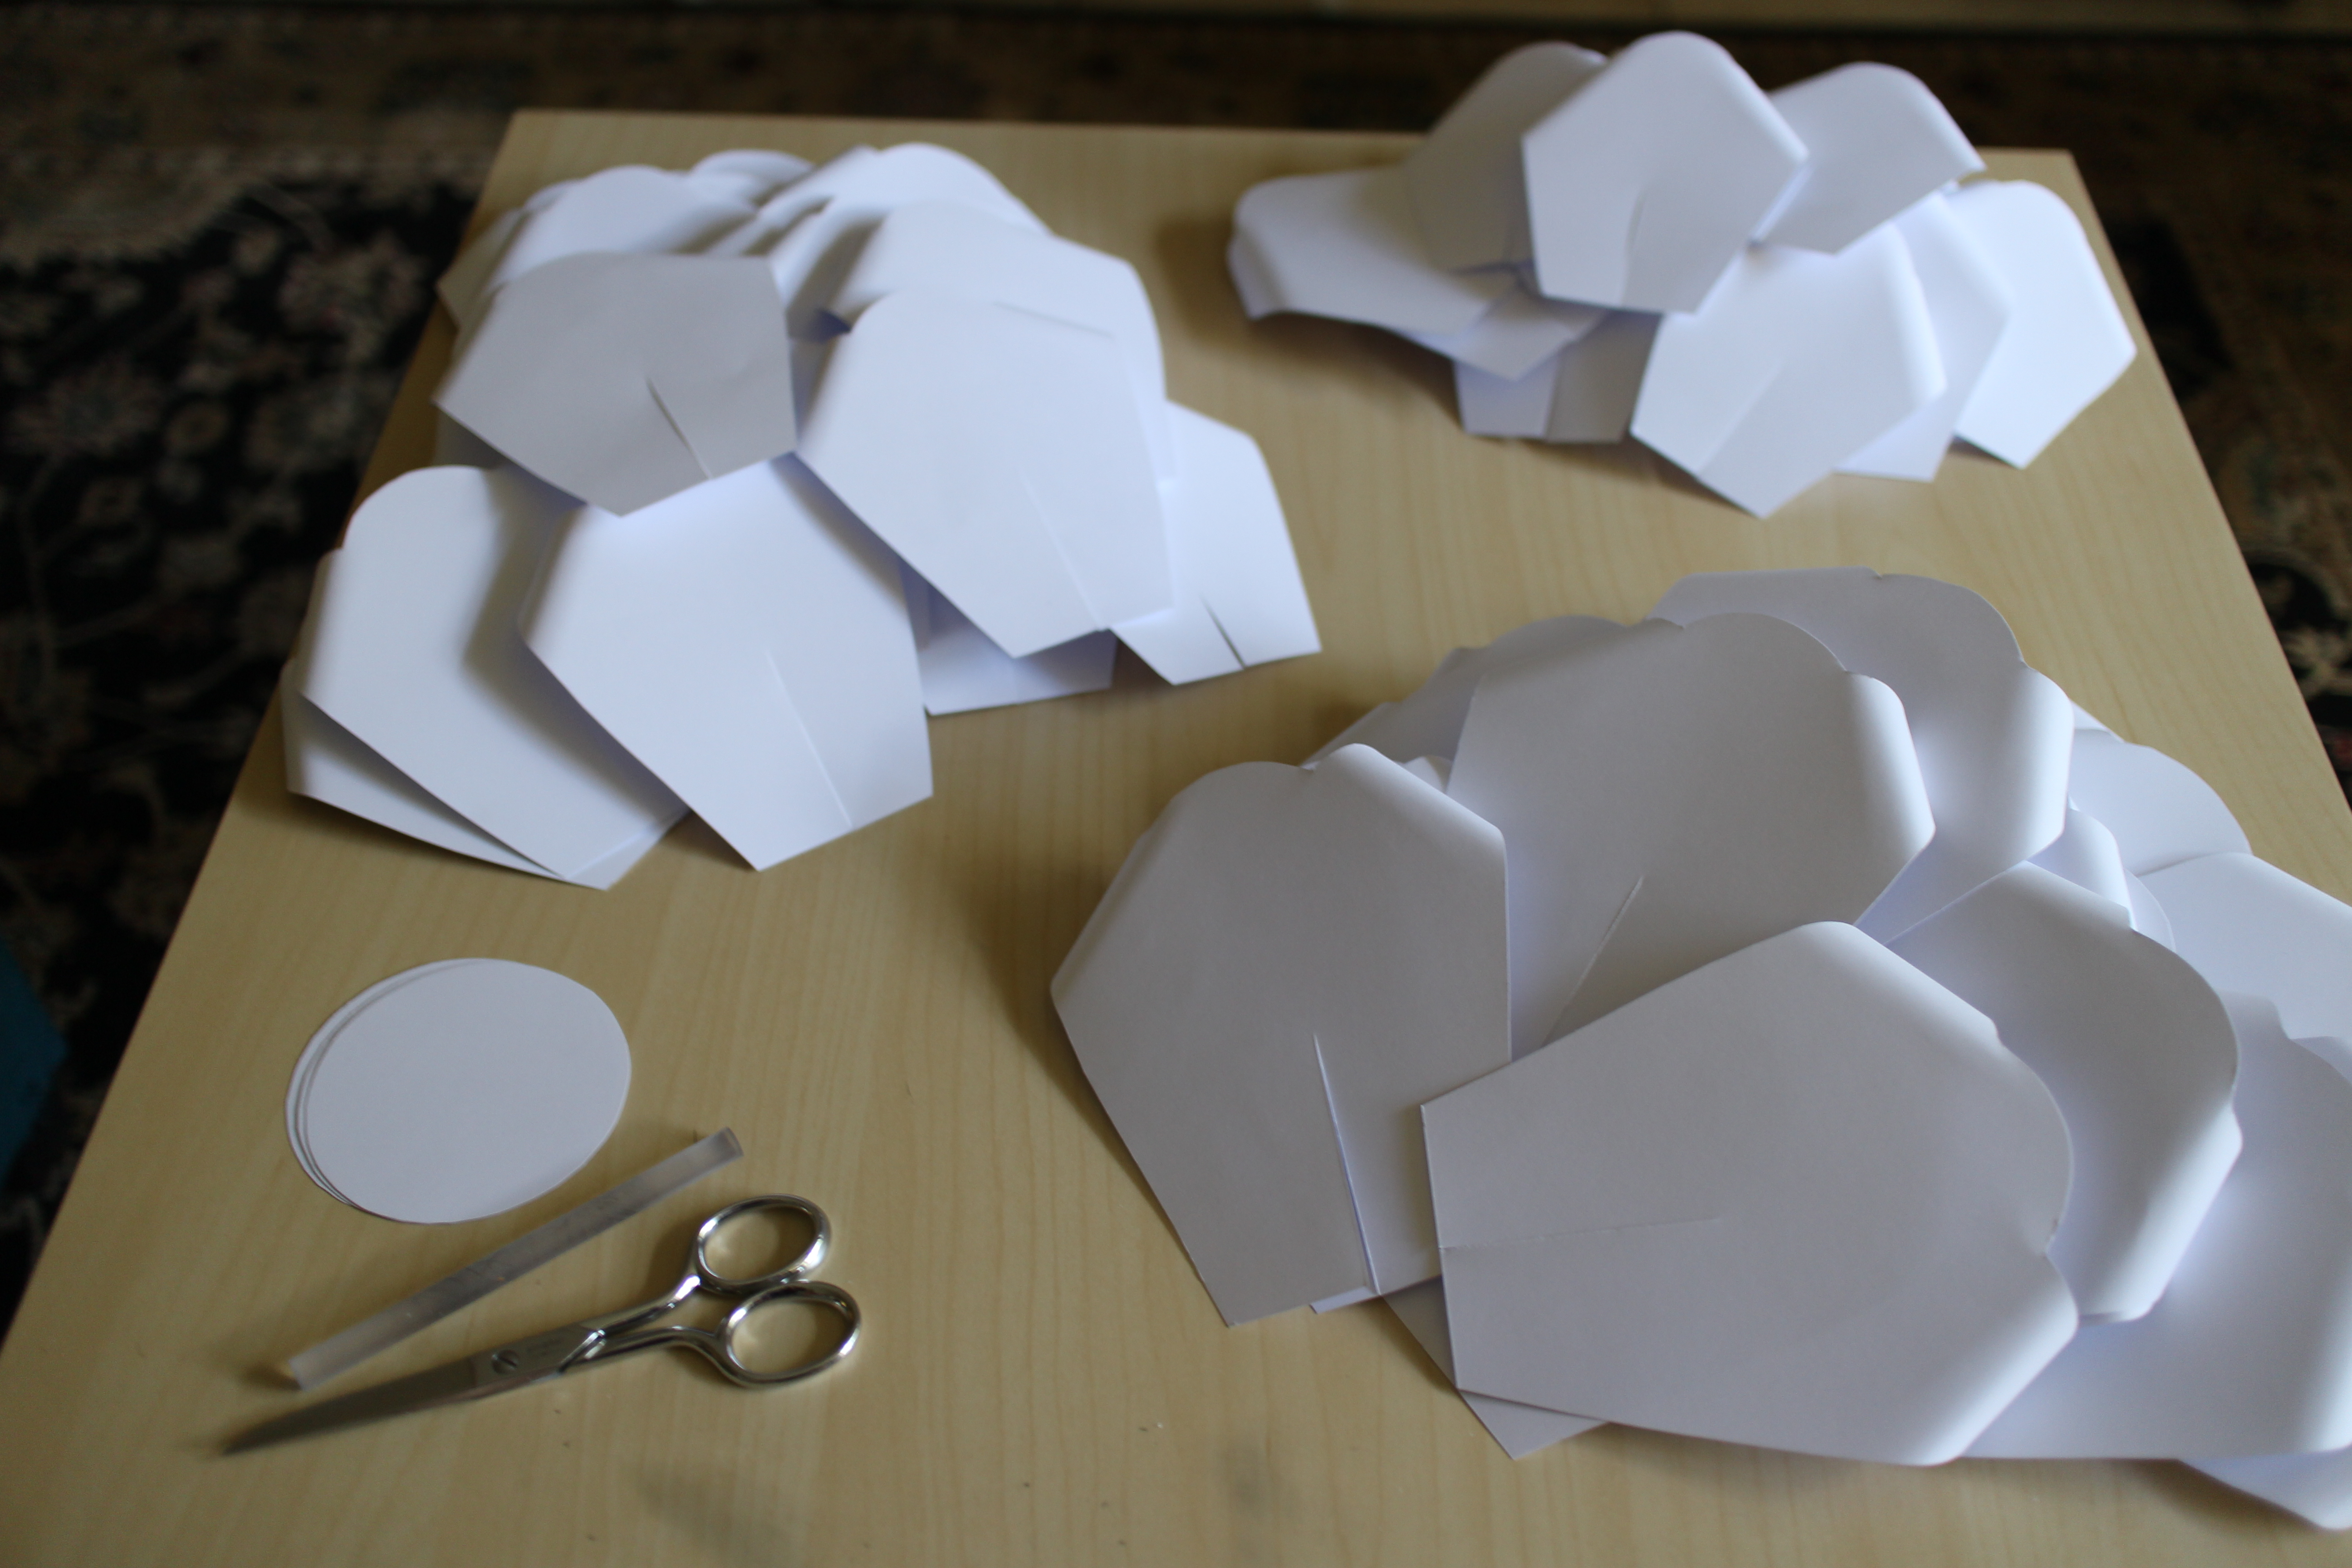
Step two. I used the provided paper flower templates to trace and cut out the petals and center of my flowers. Each flower needs one center and about seven petals of each size.

Step three. Second coat of gold!

home made luxe paper petals

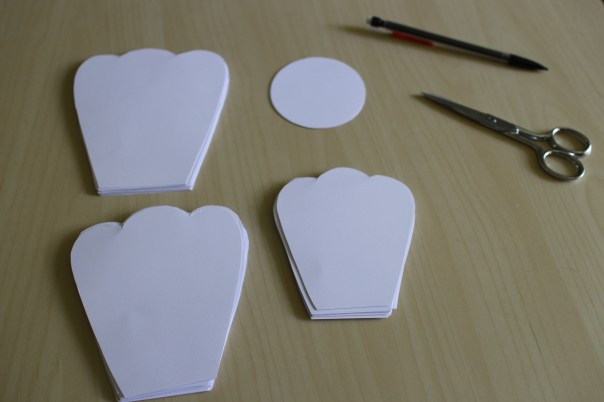
Here’s everything I needed to start constructing my paper flowers – 3 centers + 21 large petals + 21 medium petals + 21 small petals. Note: This is the part of the project that takes the most time…or maybe just feels like it takes the most time because it’s the most boring. Luckily, I was watching the Netflix reboot of Anne of Green Gables as I traced and cut. 

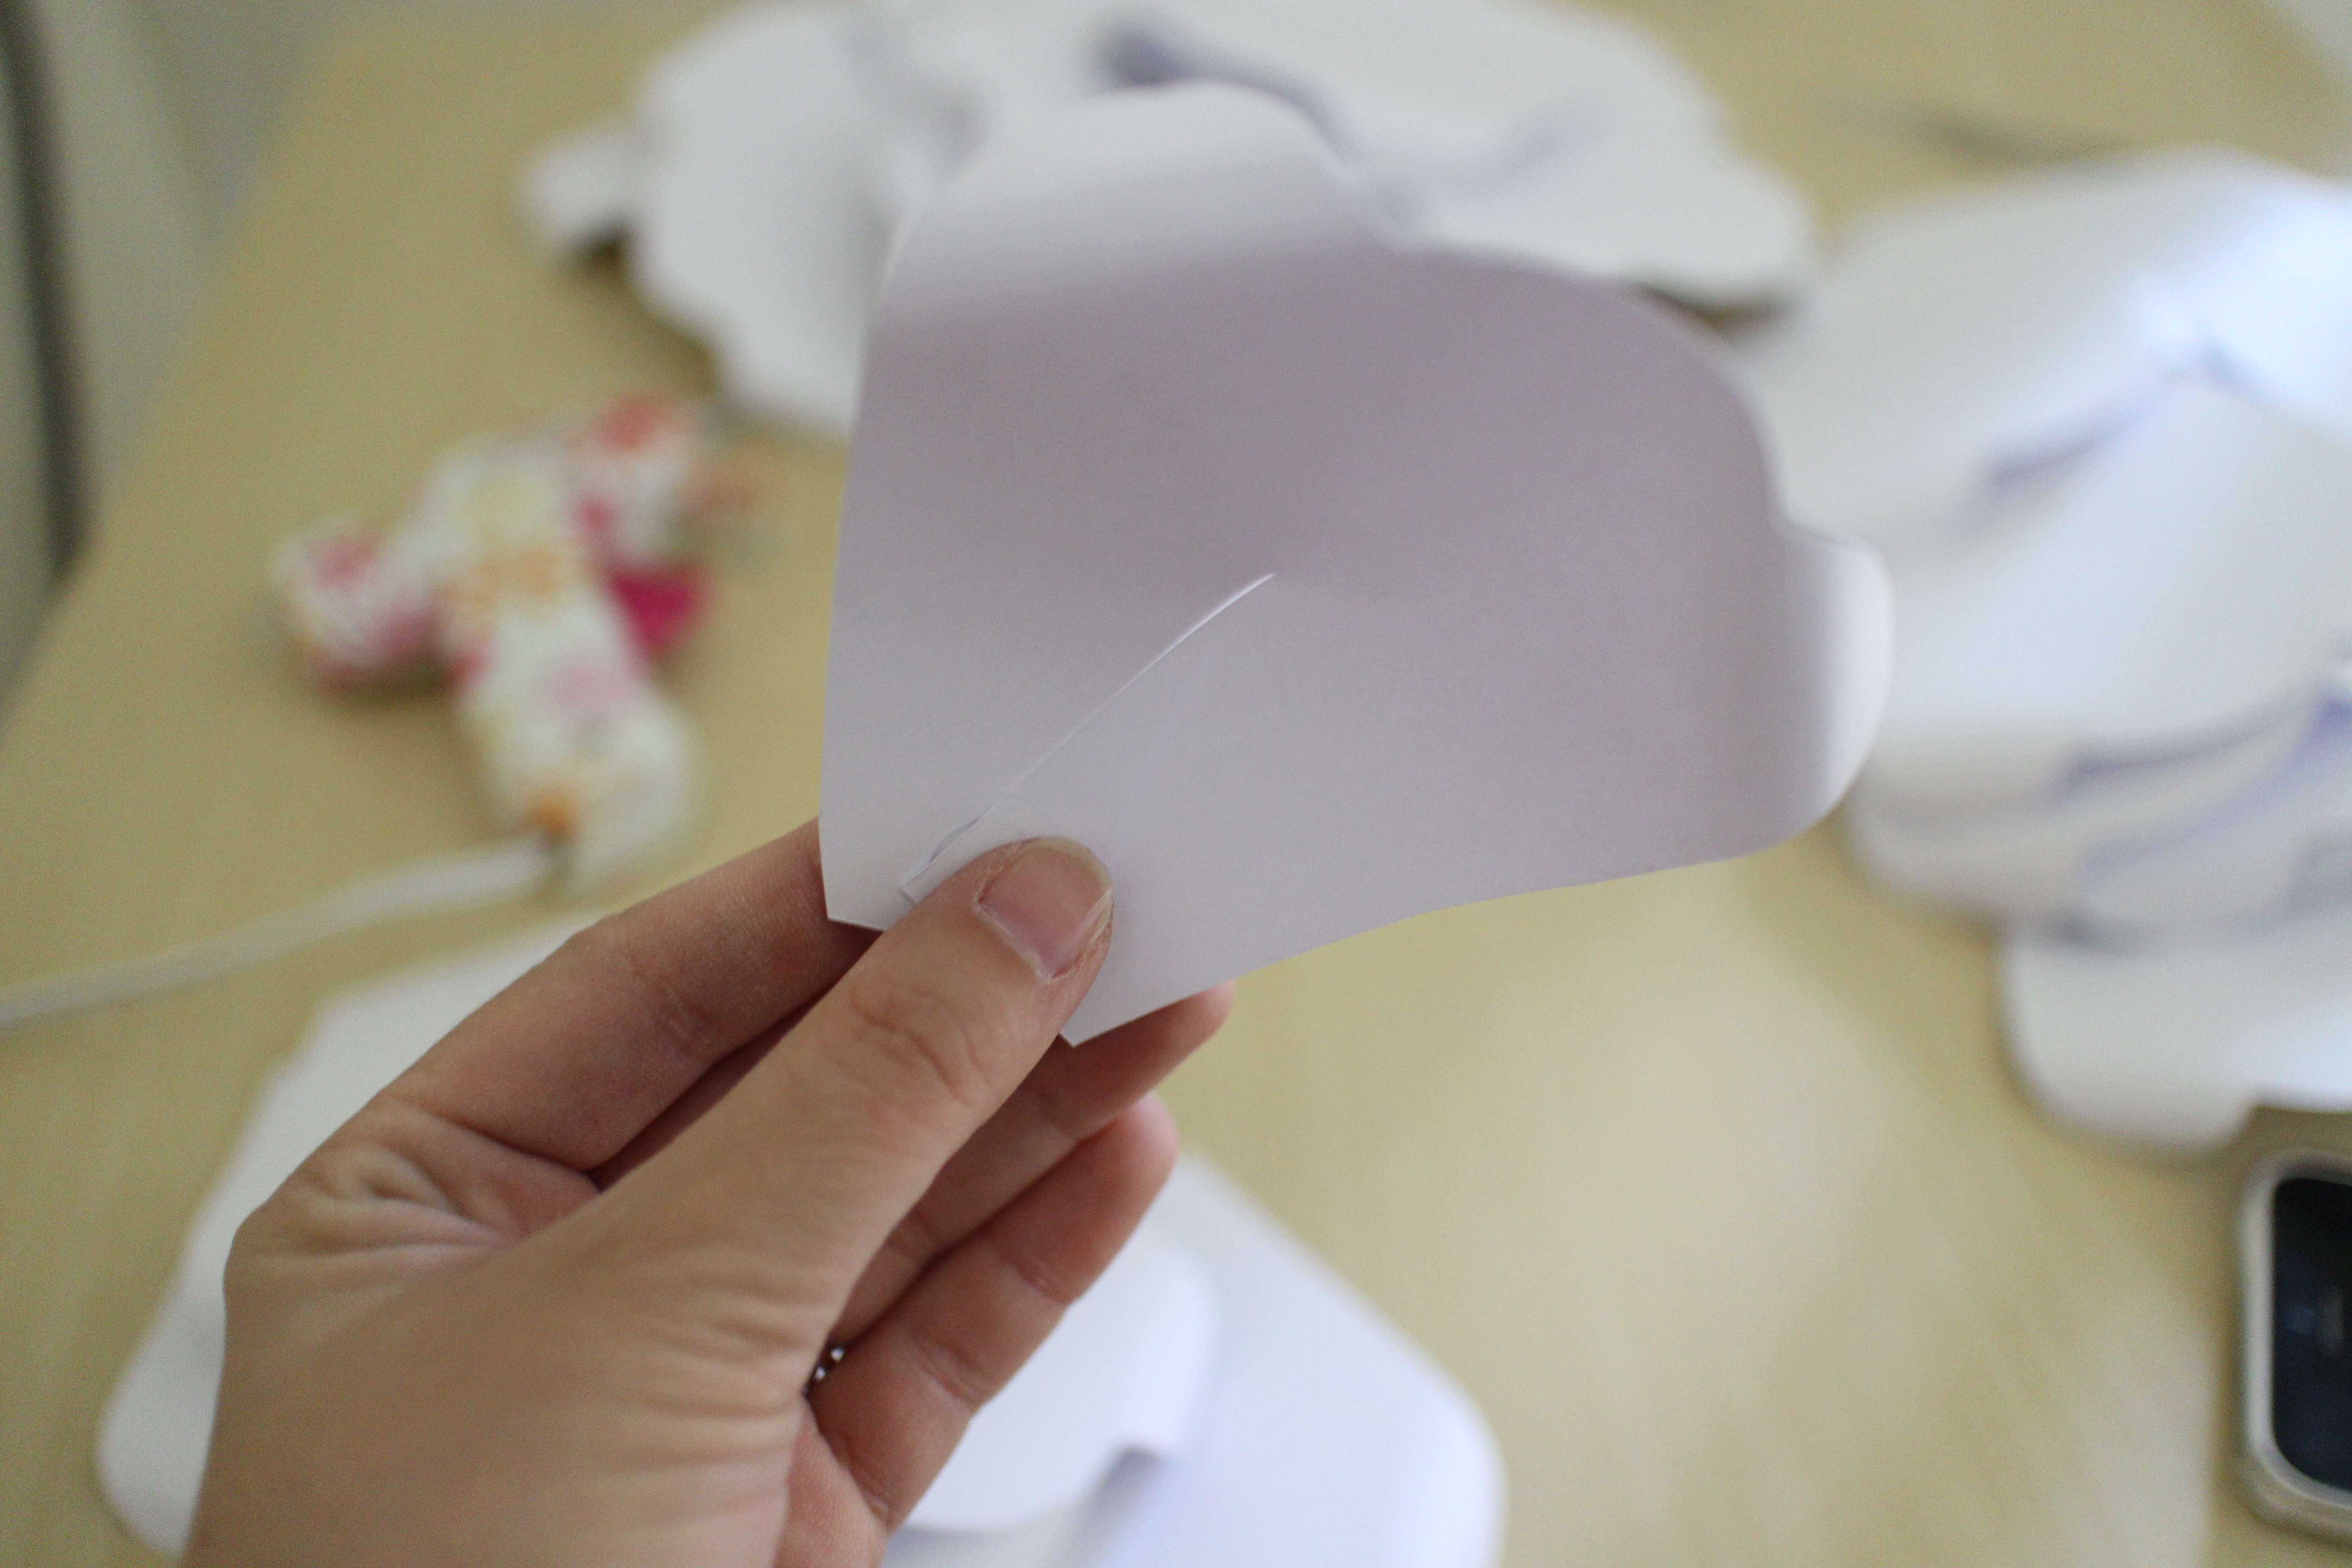
Step four. I used a glue stick to roll back the edges of each petal and then cut a slit about halfway up.

Step five. With the curled parts facing back, I overlapped one side of the slit on top of the other and glued in place with my glue gun.

home made luxe hot glue gun

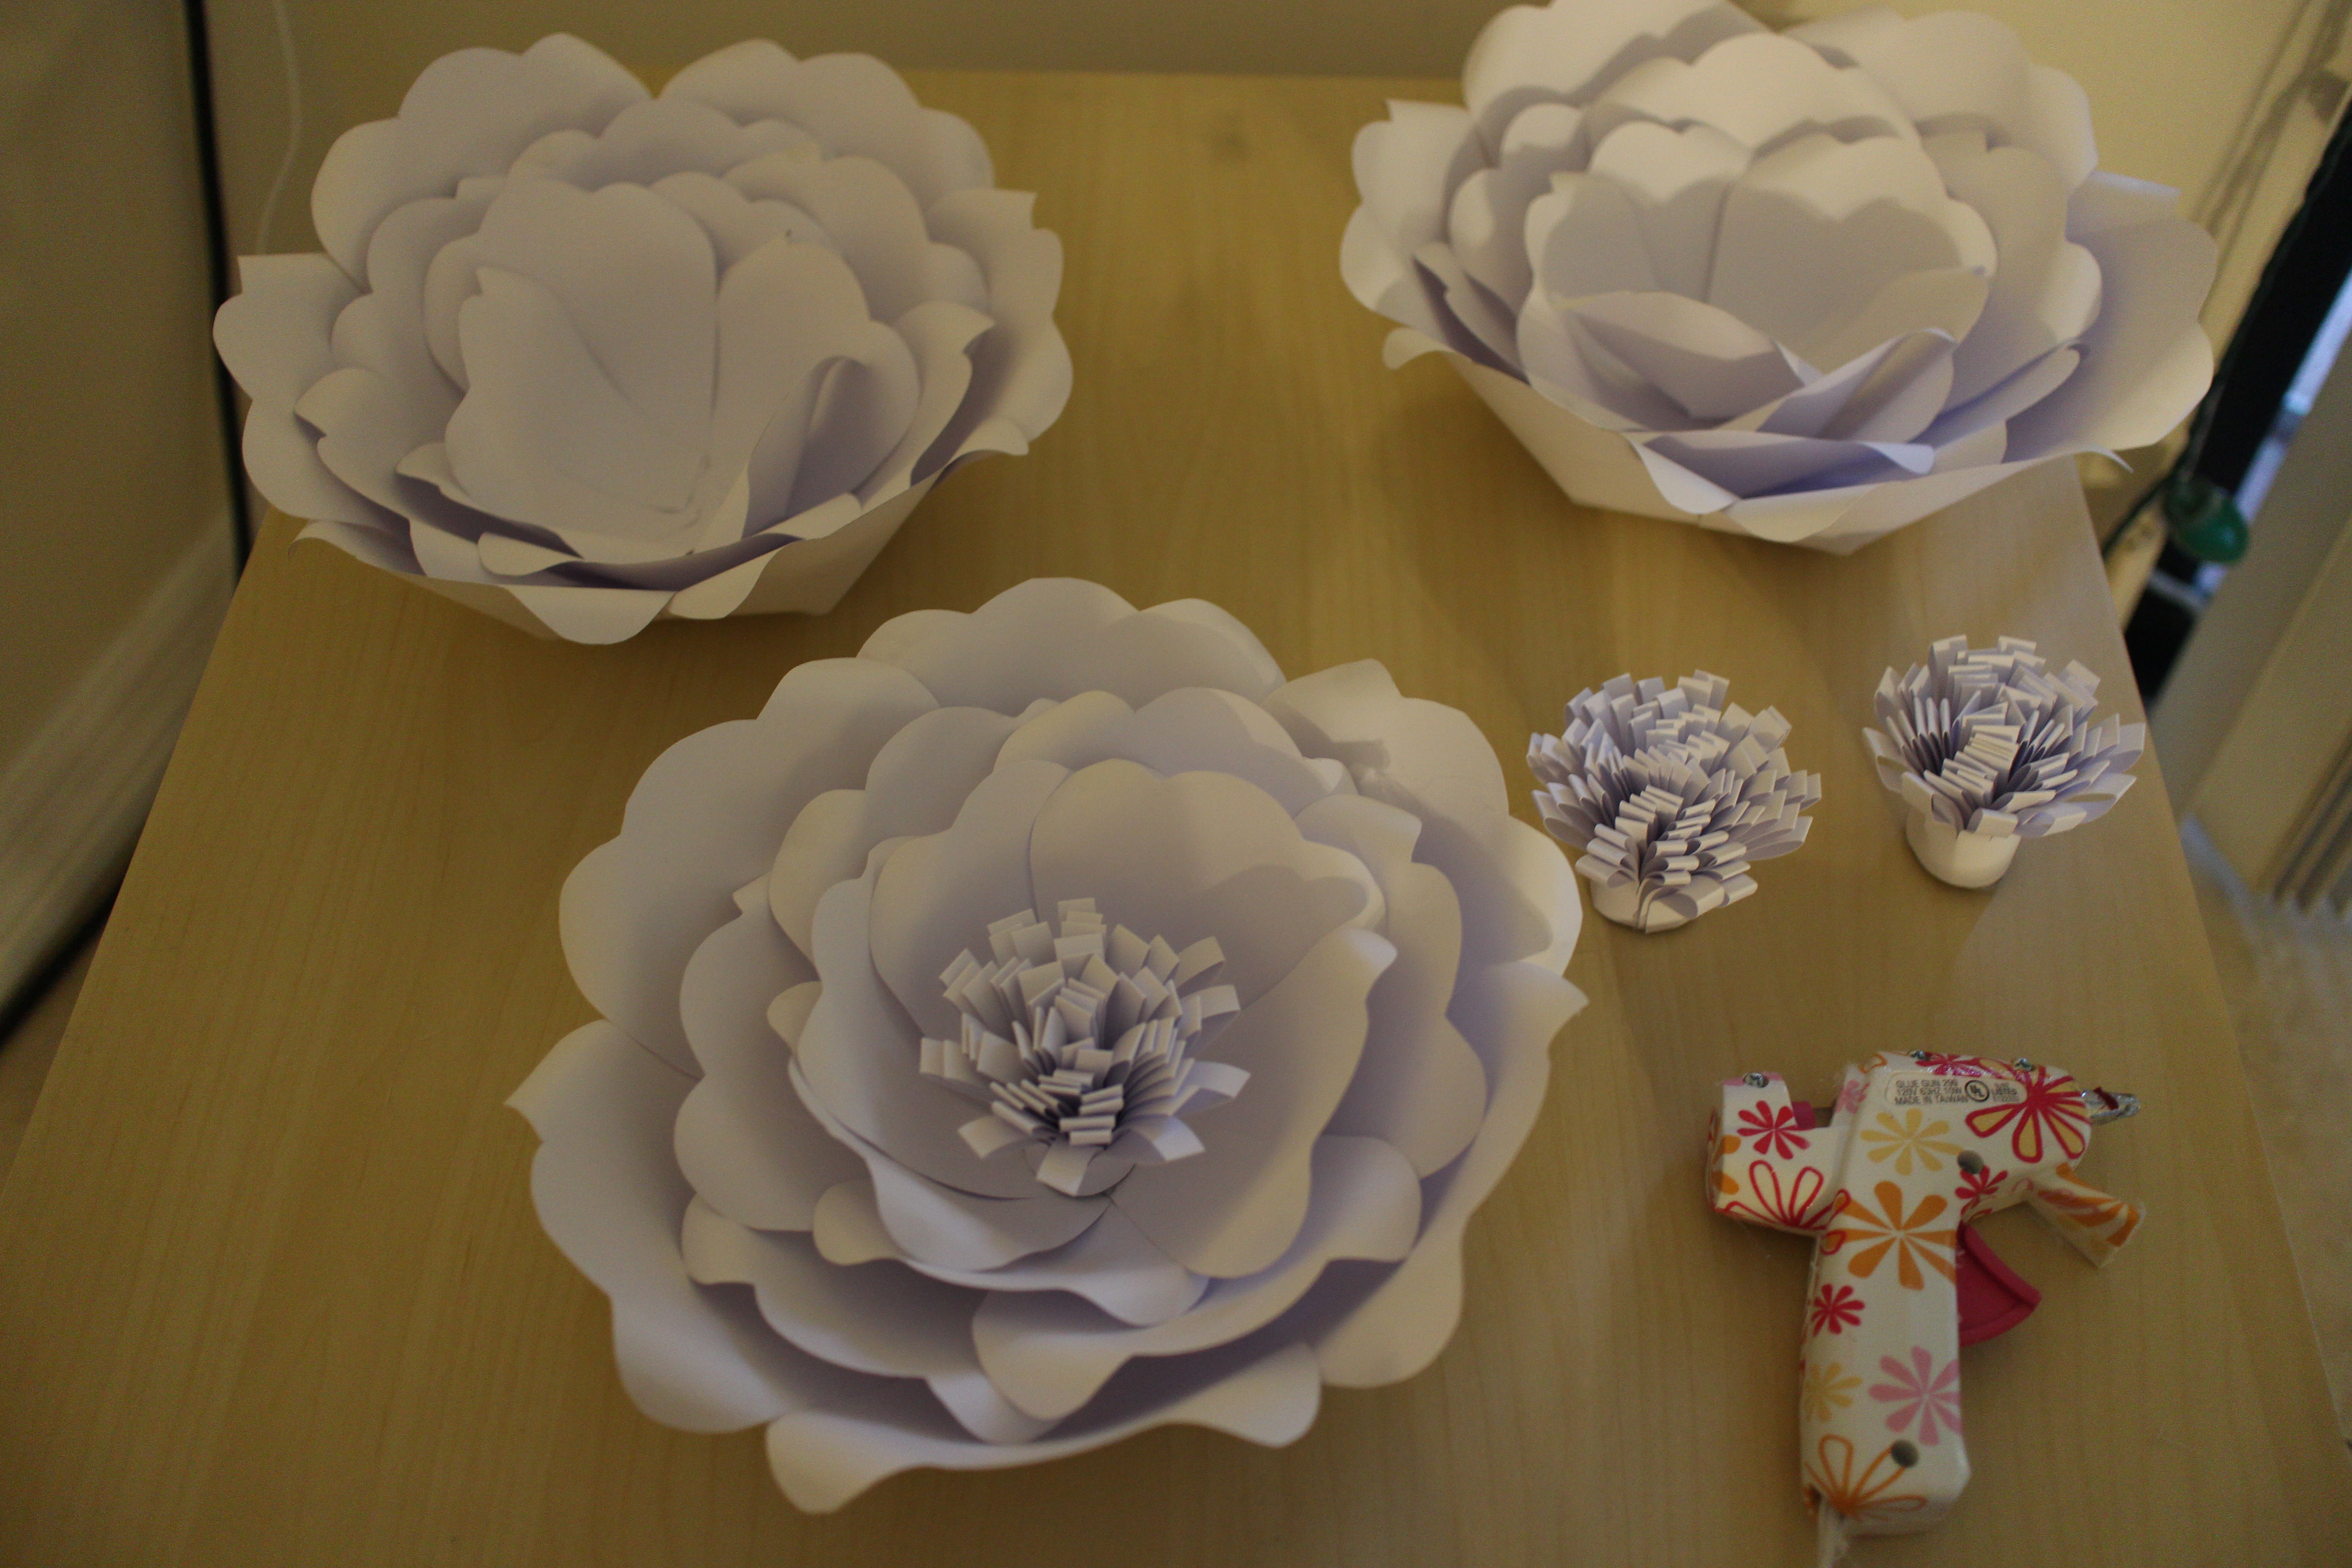
Step six. Flower assembly time! I glued the large petals together at their sides to form a circle. Next, I glued the circle center in the middle. Then I glued the medium and small petals down by their ends to form a layered effect.

Step seven. To make stamen for the center (or is it the stigma?), I used half a sheet of cardstock, folded it in half and cut down the fold, creating a comb pattern. I made six of these “combs” in total and glued them shut.

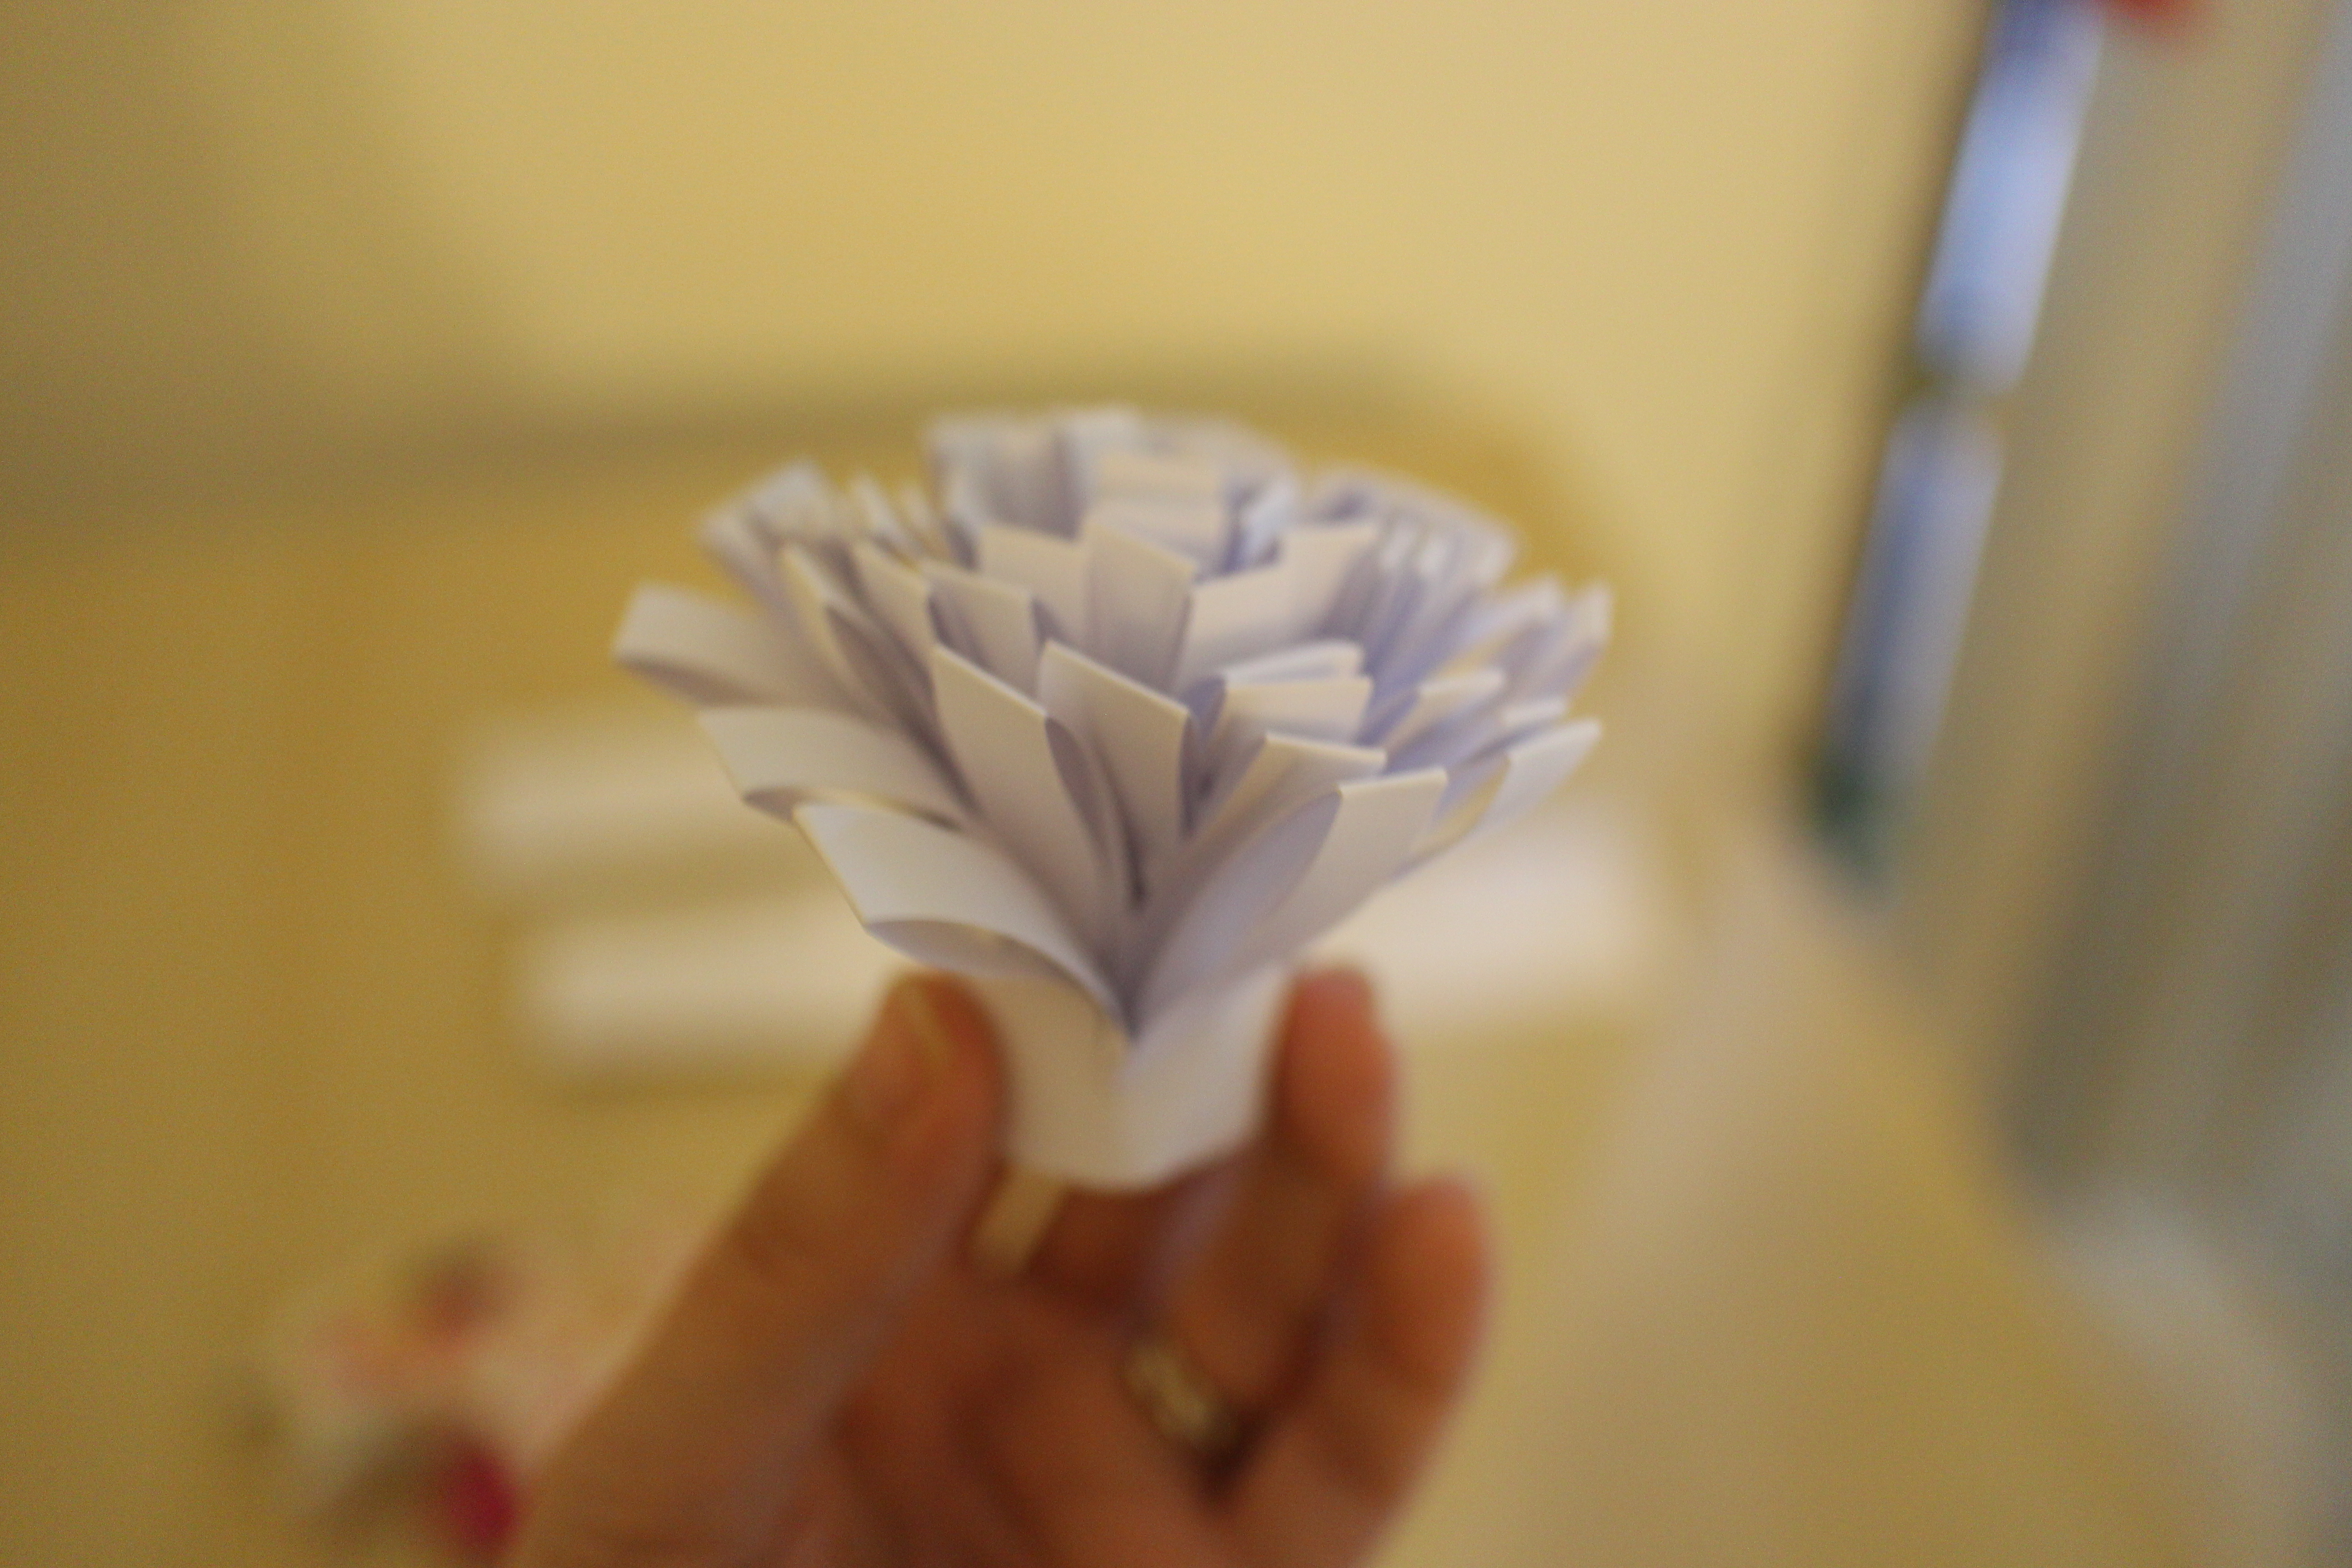
Step eight. I rolled them up (2 combs per flower), gluing as I rolled, to create these.

Step nine. These I glued in the center of the paper flowers.

DIY paper flowers on canvas

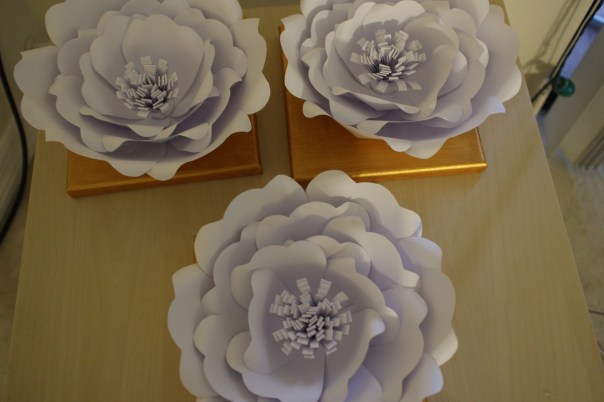
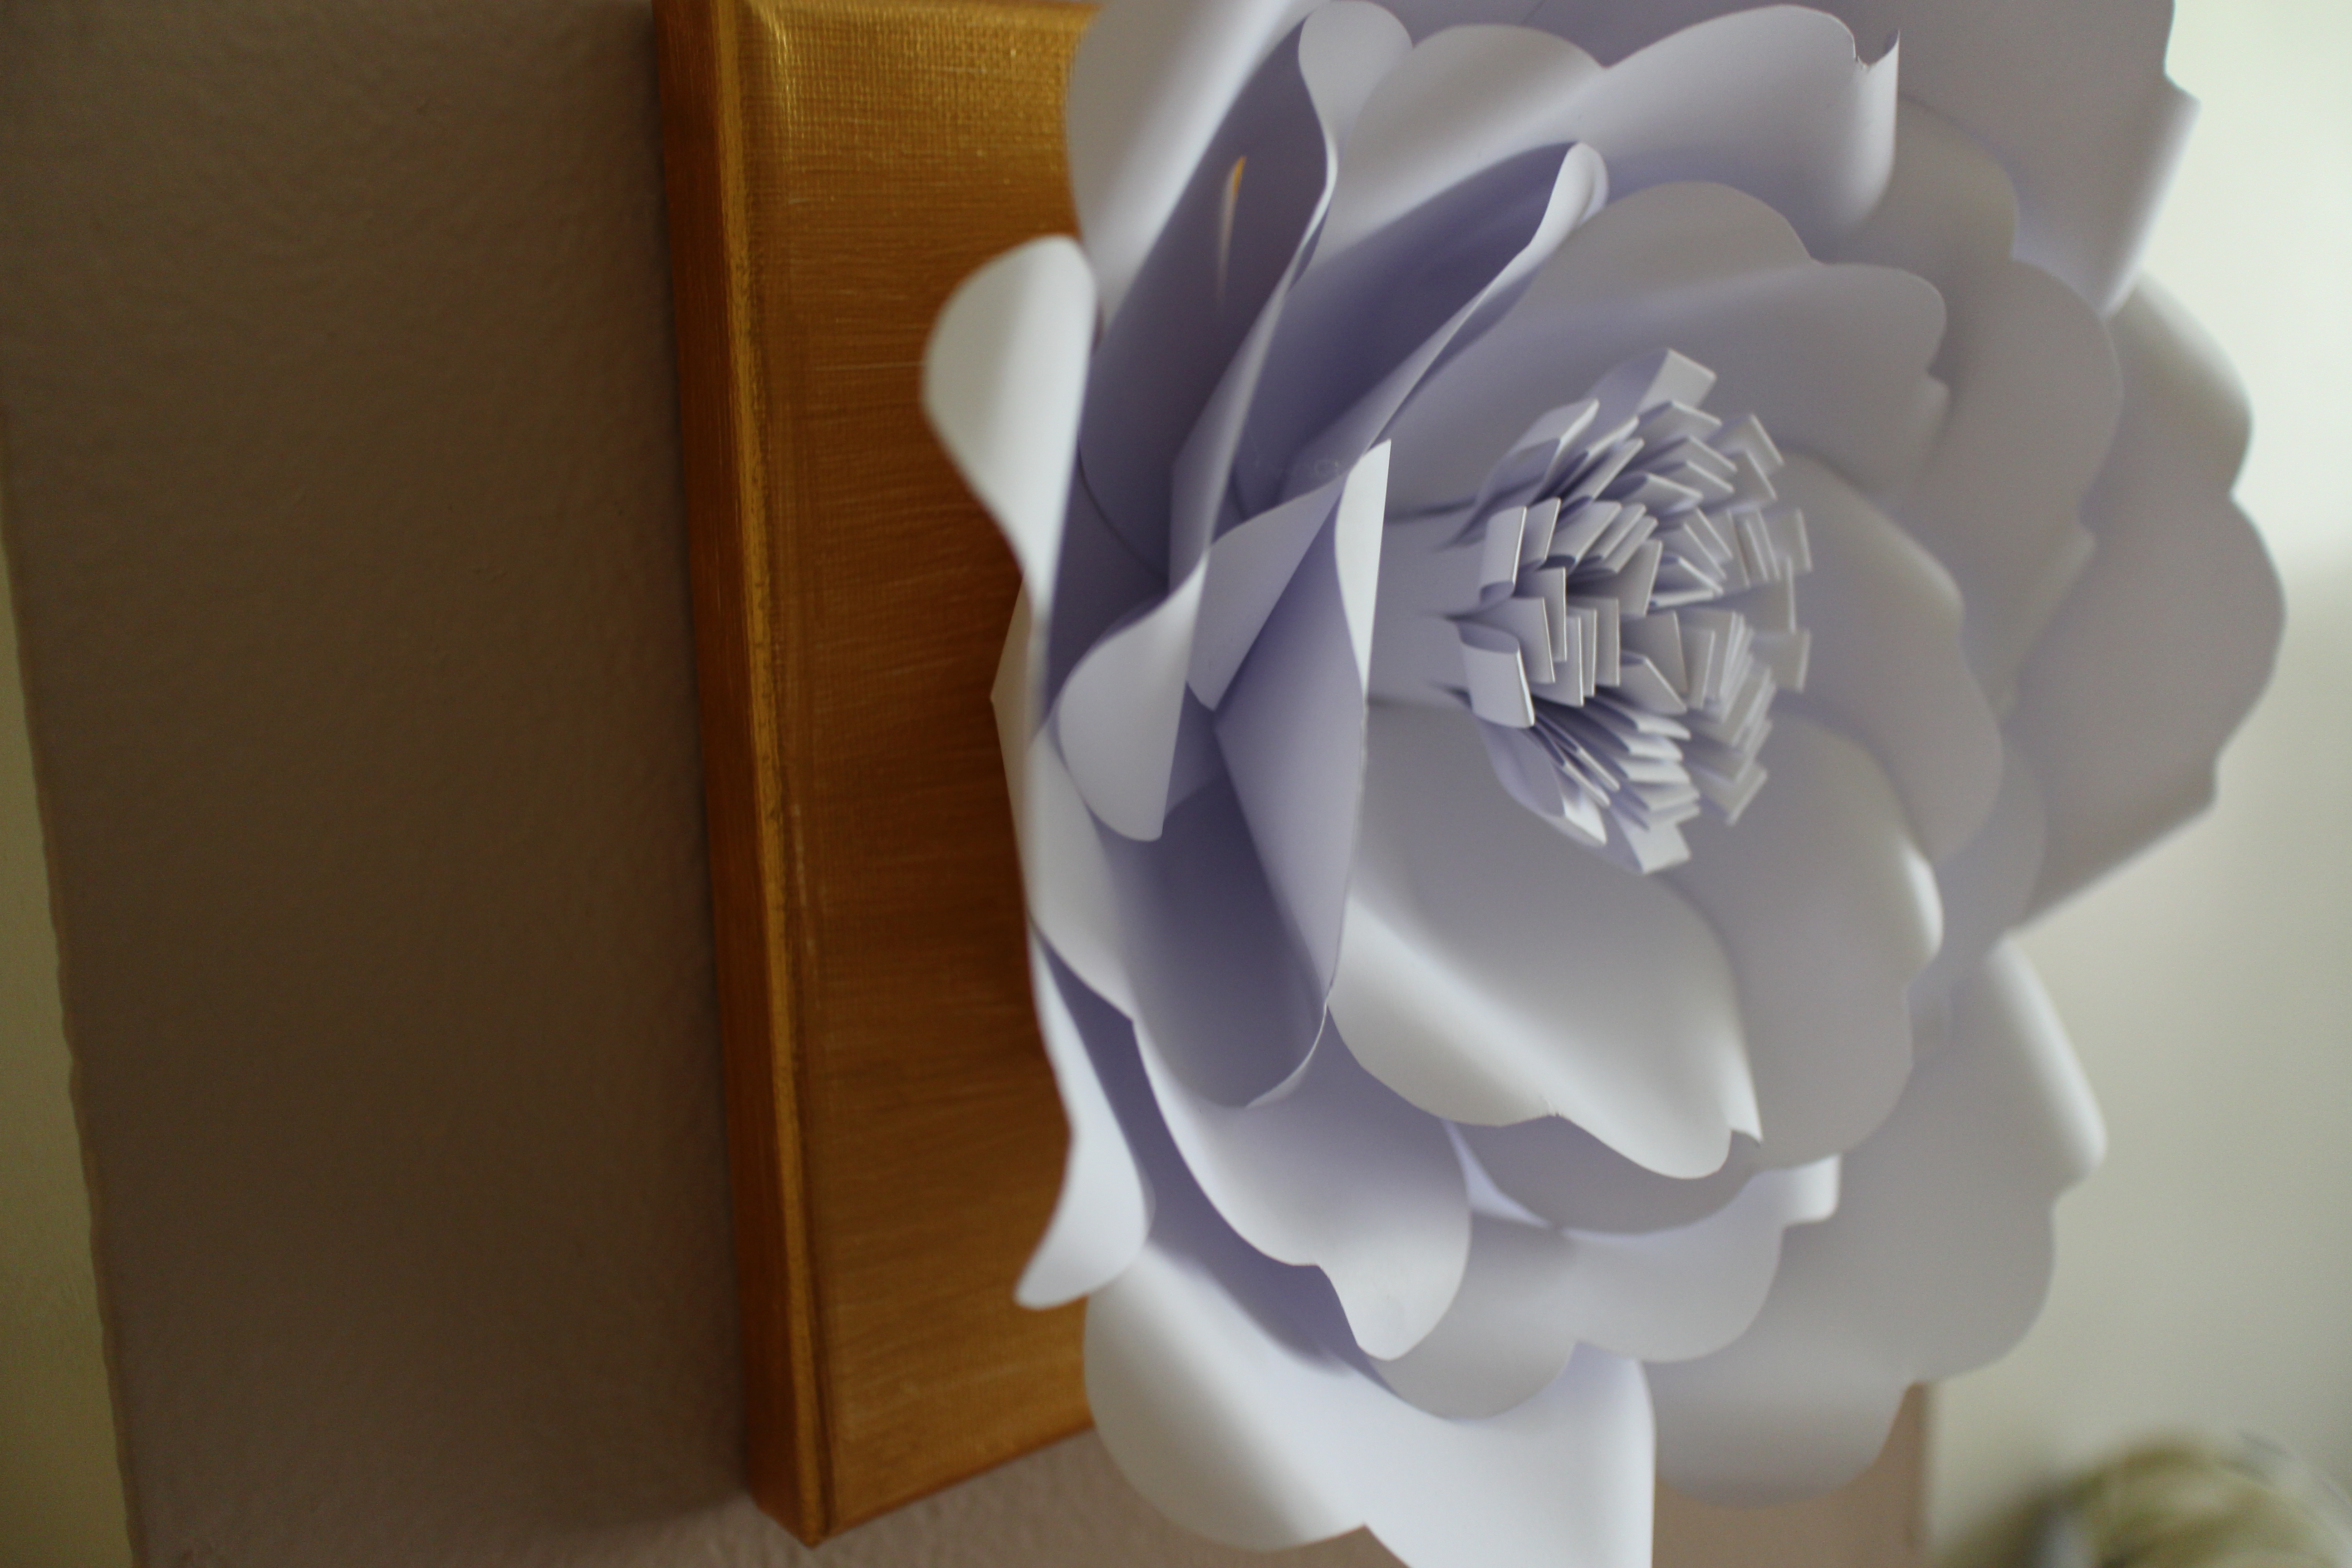
Step ten. And finally, I glued the completed paper flowers on the center of the gold canvases! My trio of paper flowers on gold canvases was complete. 🙂

Now to decide how to style them. They’re such a fun statement piece hanging on a wall!

And I love how this one looks as a centerpiece on a shelf. Ultimately, I’d like to hang them all side-by-side in my bedroom. Such a fun 3-D pop!

If you’d like to try Home Made Luxe, and I so encourage you to do so, you can purchase a subscription HERE. If you’re like me, you love to craft but don’t always have the time to gather supplies…or your indecisiveness about WHAT to craft leaves you project-less altogether. Home Made Luxe solves this conundrum! It truly is Pinterest delivered to your doorstep.

What do you think? Do you love making crafts and DIY’s? Would you ever try a subscription service to facilitate the hobby. I gotta say…so far I’m pretty into it!

craft